
Join the Joey'z Family!
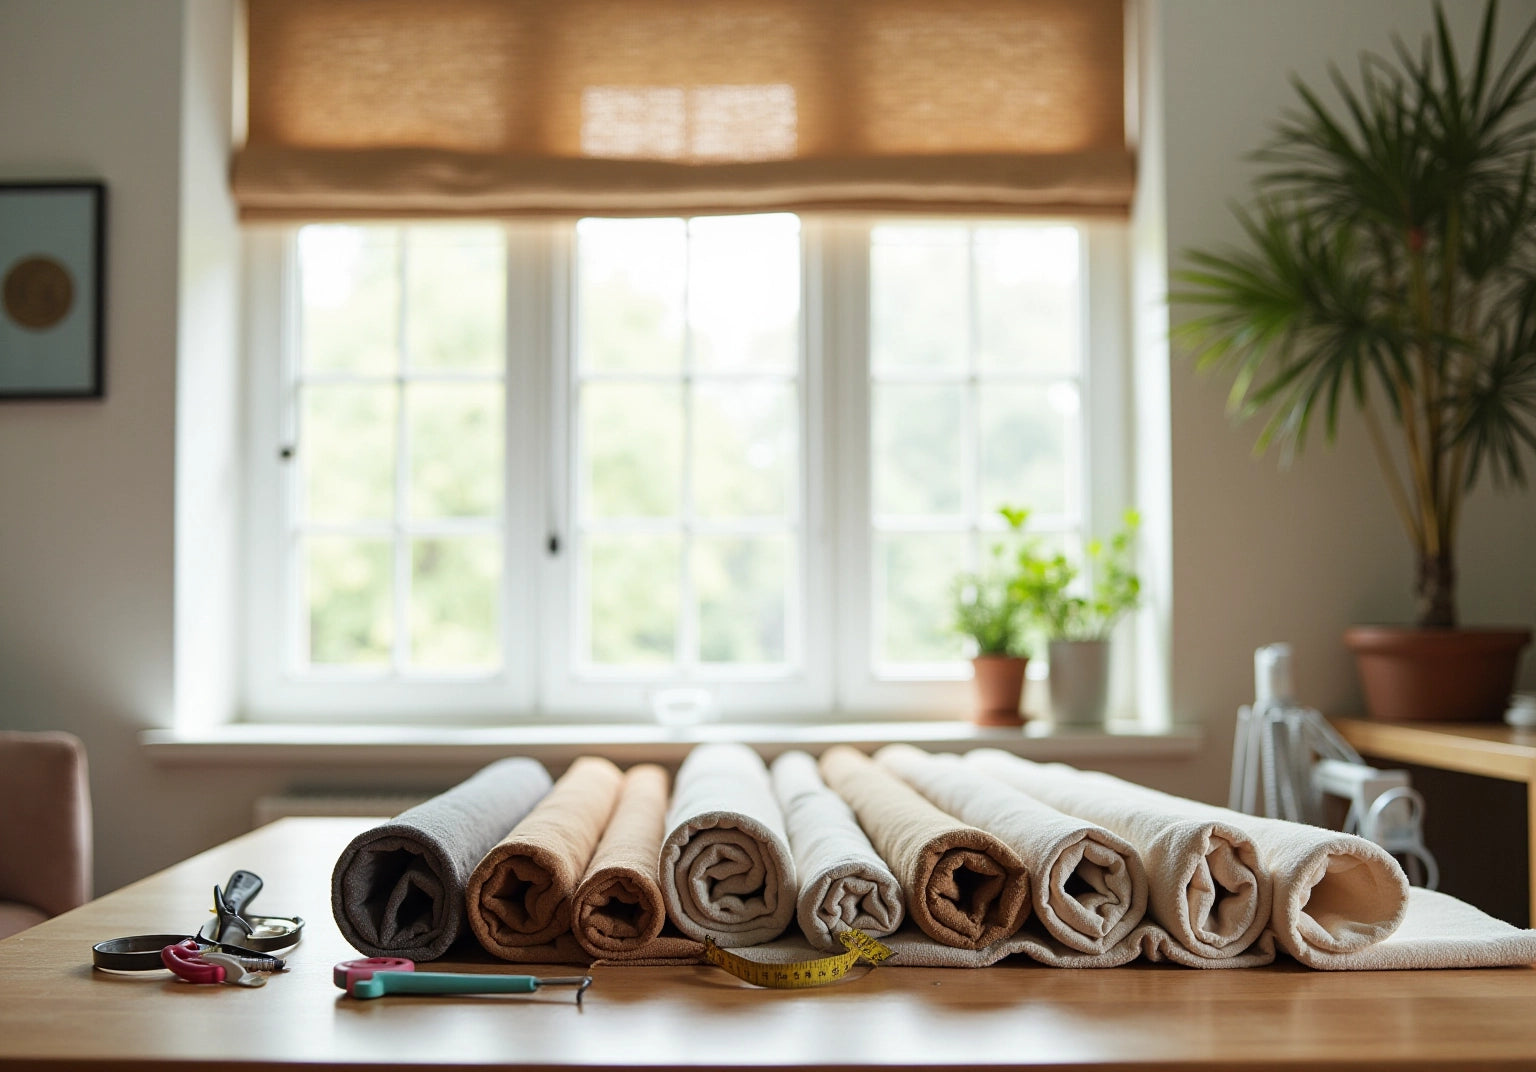
Creating your own DIY Roman shades can be a rewarding project, and we understand that it might seem daunting at first. This article outlines a detailed four-step process to help you every step of the way.
Each step is supported by clear instructions on materials, techniques, and measurements, ensuring that you can craft shades that not only enhance your home decor but also reflect your personal style. Remember, we’re here to help you create the home you love, and with these guidelines, you can feel confident in your ability to transform your space.
Creating a cozy and stylish home environment often begins with the right window treatments. We understand that the idea of DIY projects can sometimes feel overwhelming. However, DIY Roman shades not only enhance the aesthetic appeal of a room but also offer practical benefits like light control and privacy.
This guide will gently walk you through the essential steps of crafting these elegant shades, from gathering materials and measuring windows to the final installation. You might be wondering how to get started, but with the right approach and a bit of creativity, you can transform your living space with custom-made Roman shades that reflect your unique style.
We’re here to help you create the home you love.
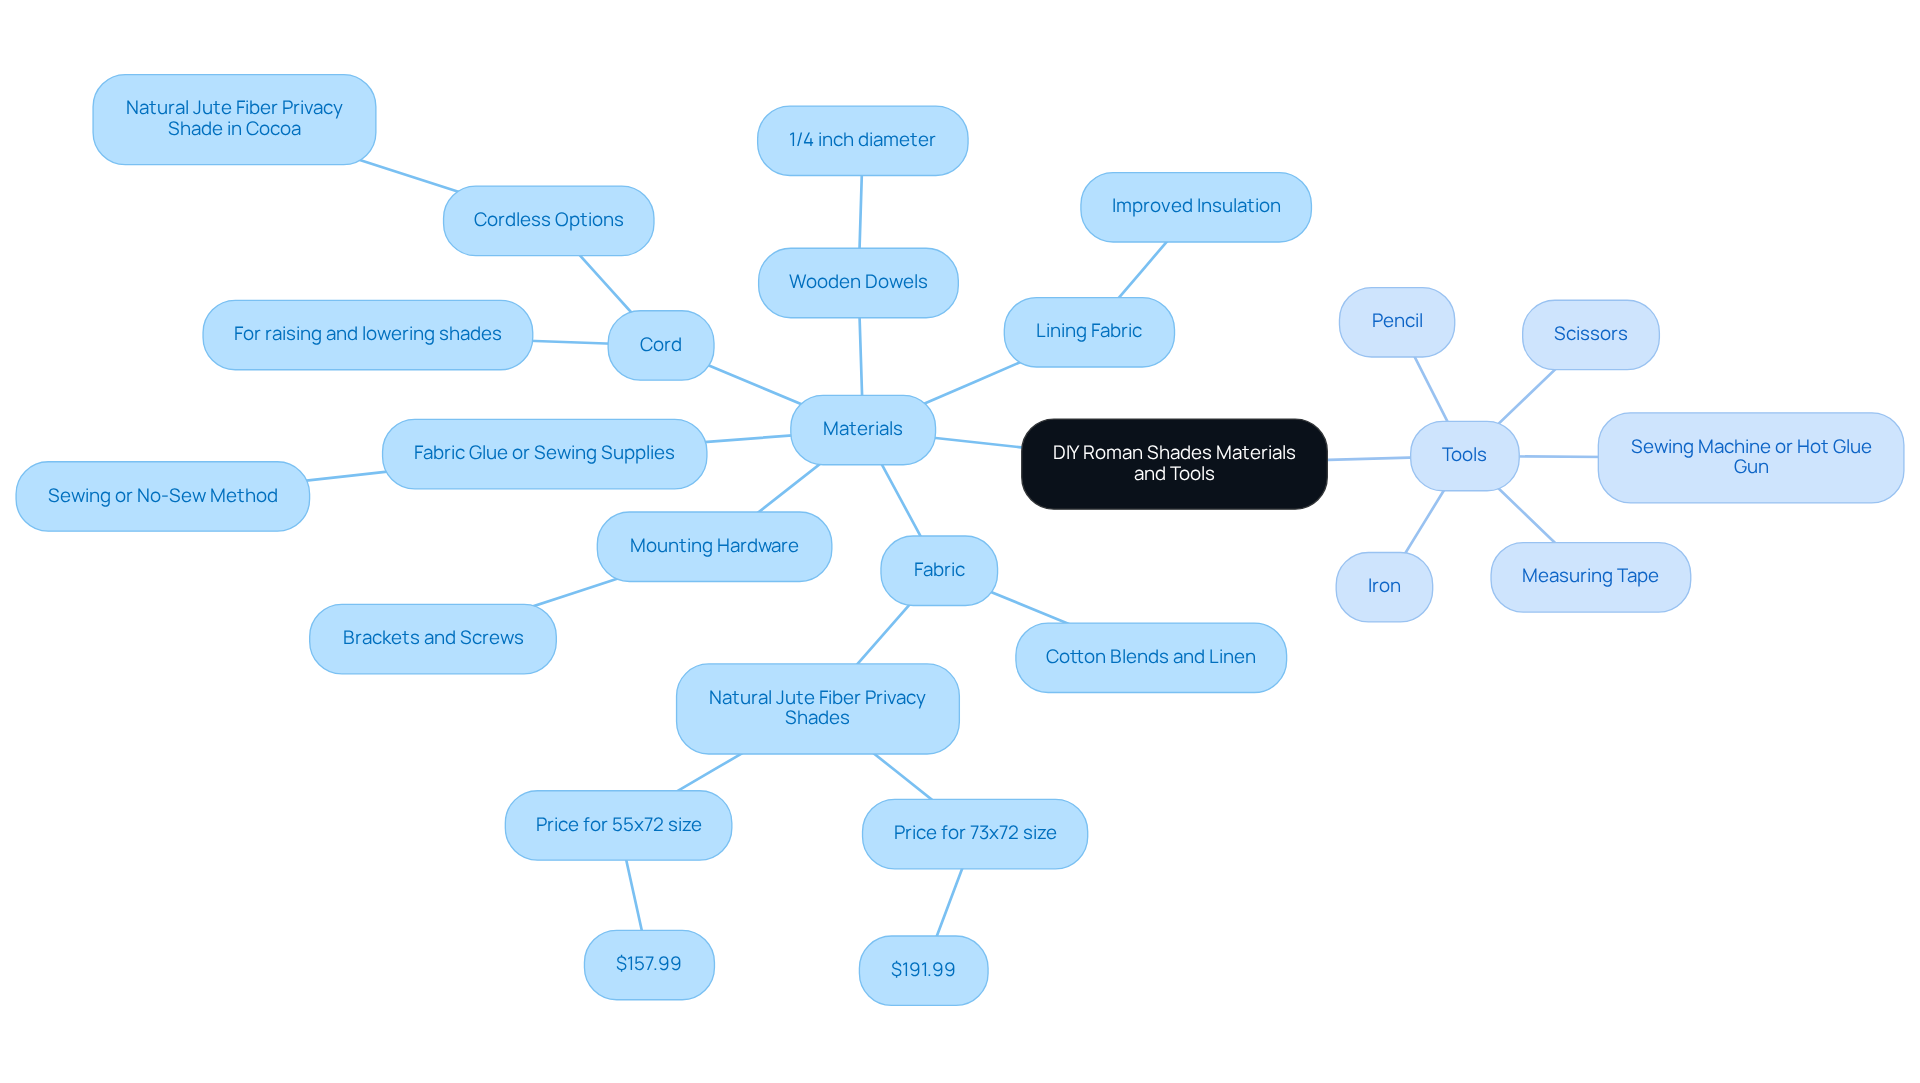
To create your DIY Roman shades, gather the following essential materials and tools:
Having these materials and tools ready before you start your DIY Roman shades project will streamline the process, minimizing the need for last-minute store trips and ensuring a more enjoyable crafting experience. Furthermore, take into account the typical expense of materials for DIY window coverings, which can differ depending on fabric selection and quality. This foresight will help you budget effectively for your project.
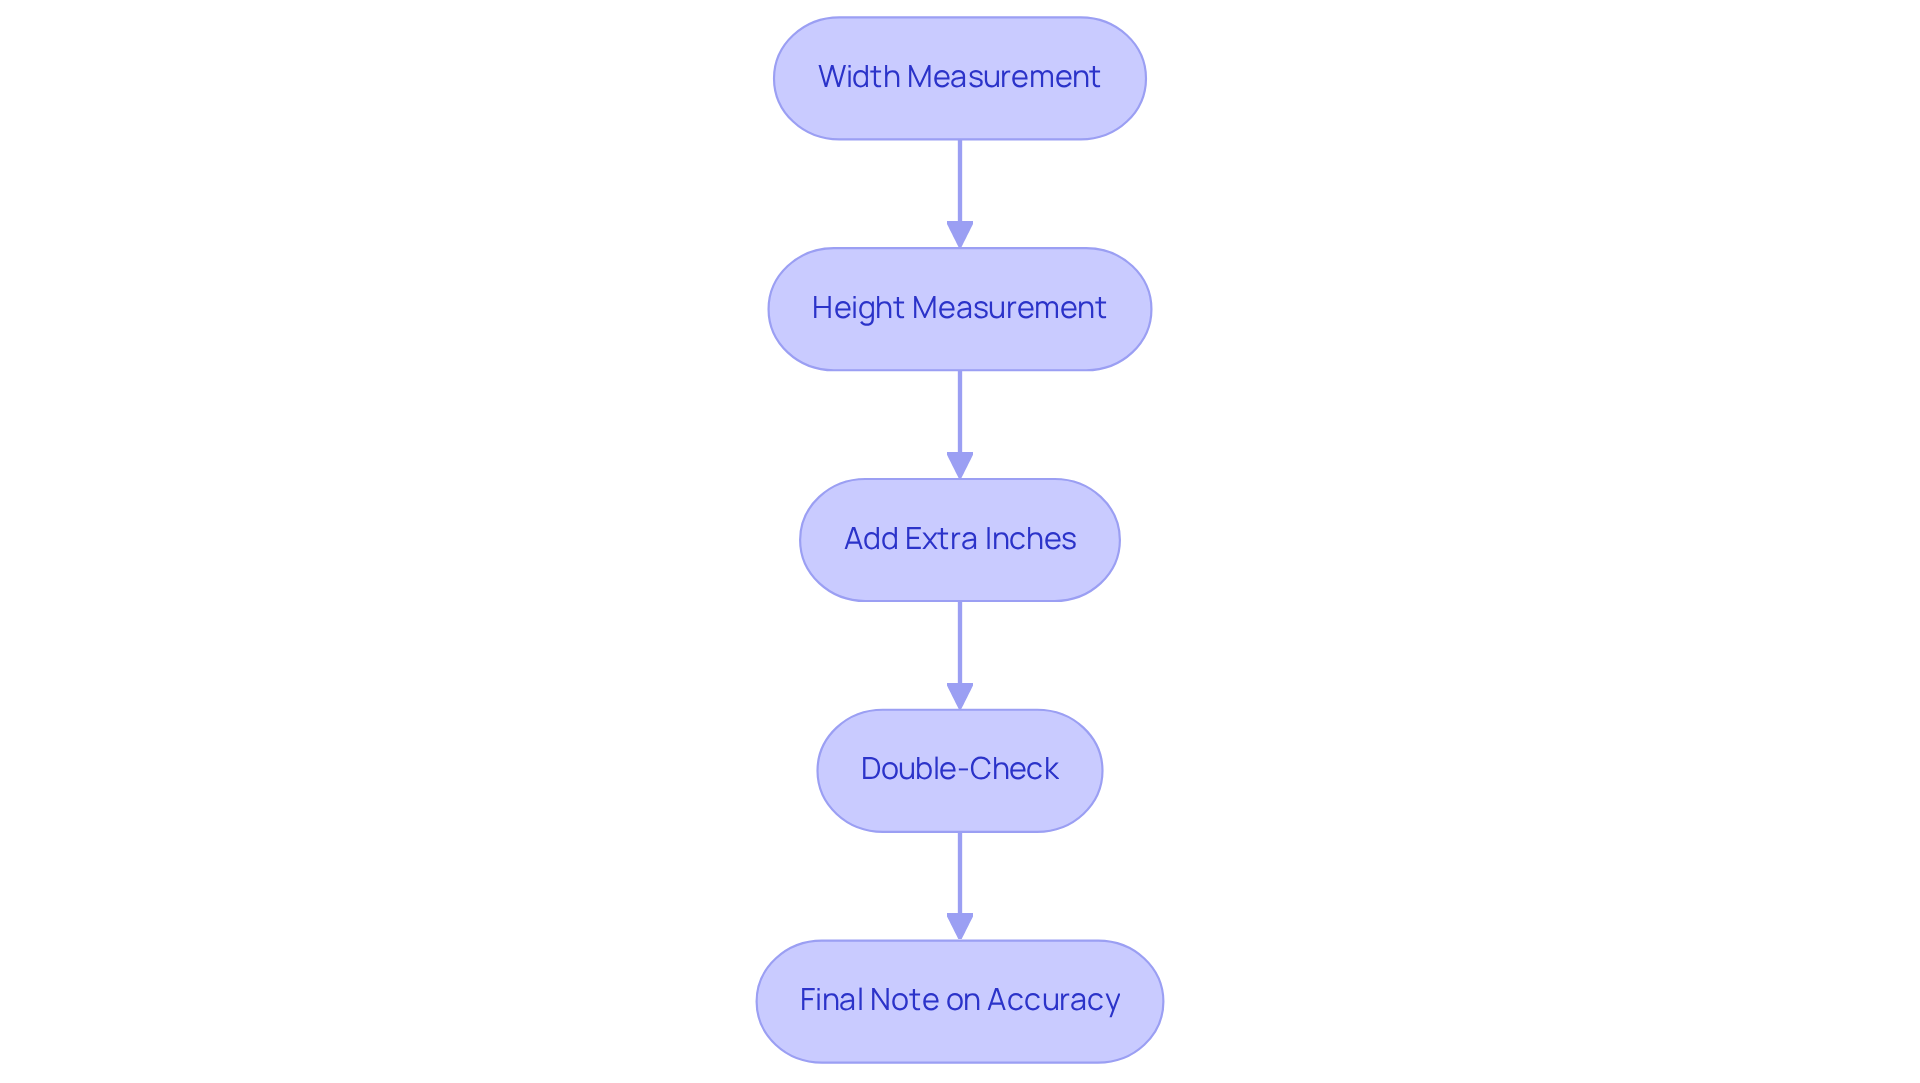
Measuring your windows accurately for DIY Roman shades may seem daunting, but we’re here to carefully guide you through this process. Follow these essential steps to ensure a perfect fit:
Width Measurement: Start by measuring the width of the opening at the top, middle, and bottom. Remember to record the narrowest measurement, as this will help you achieve a snug fit. A snug fit is vital to prevent gaps that can compromise both light control and the aesthetics of your space.
Height Measurement: Next, measure the height from the top of the frame to the sill. Take measurements from the left, center, and right, using the longest measurement to ensure complete coverage. This attention to detail will help you avoid any surprises during installation.
Add Extra Inches: For a proper fit, consider adding 2-4 inches to the width and 10-12 inches to the height. This allowance is important for adequate light coverage and will make mounting easier, enhancing both functionality and style.
Double-Check: Before cutting any fabric, always measure twice to confirm accuracy. This simple precaution can save you from costly mistakes that might arise from miscalculations.
Accurate measurements are vital for achieving the desired aesthetic appeal and functionality of your window treatments. We understand that even minor discrepancies can lead to significant issues, such as improper alignment or gaps, which can detract from the overall look of your home. By following these guidelines, you can ensure a smooth installation process and enjoy beautifully designed diy roman shades that will truly enhance your living area. Together, let’s create the home you love.
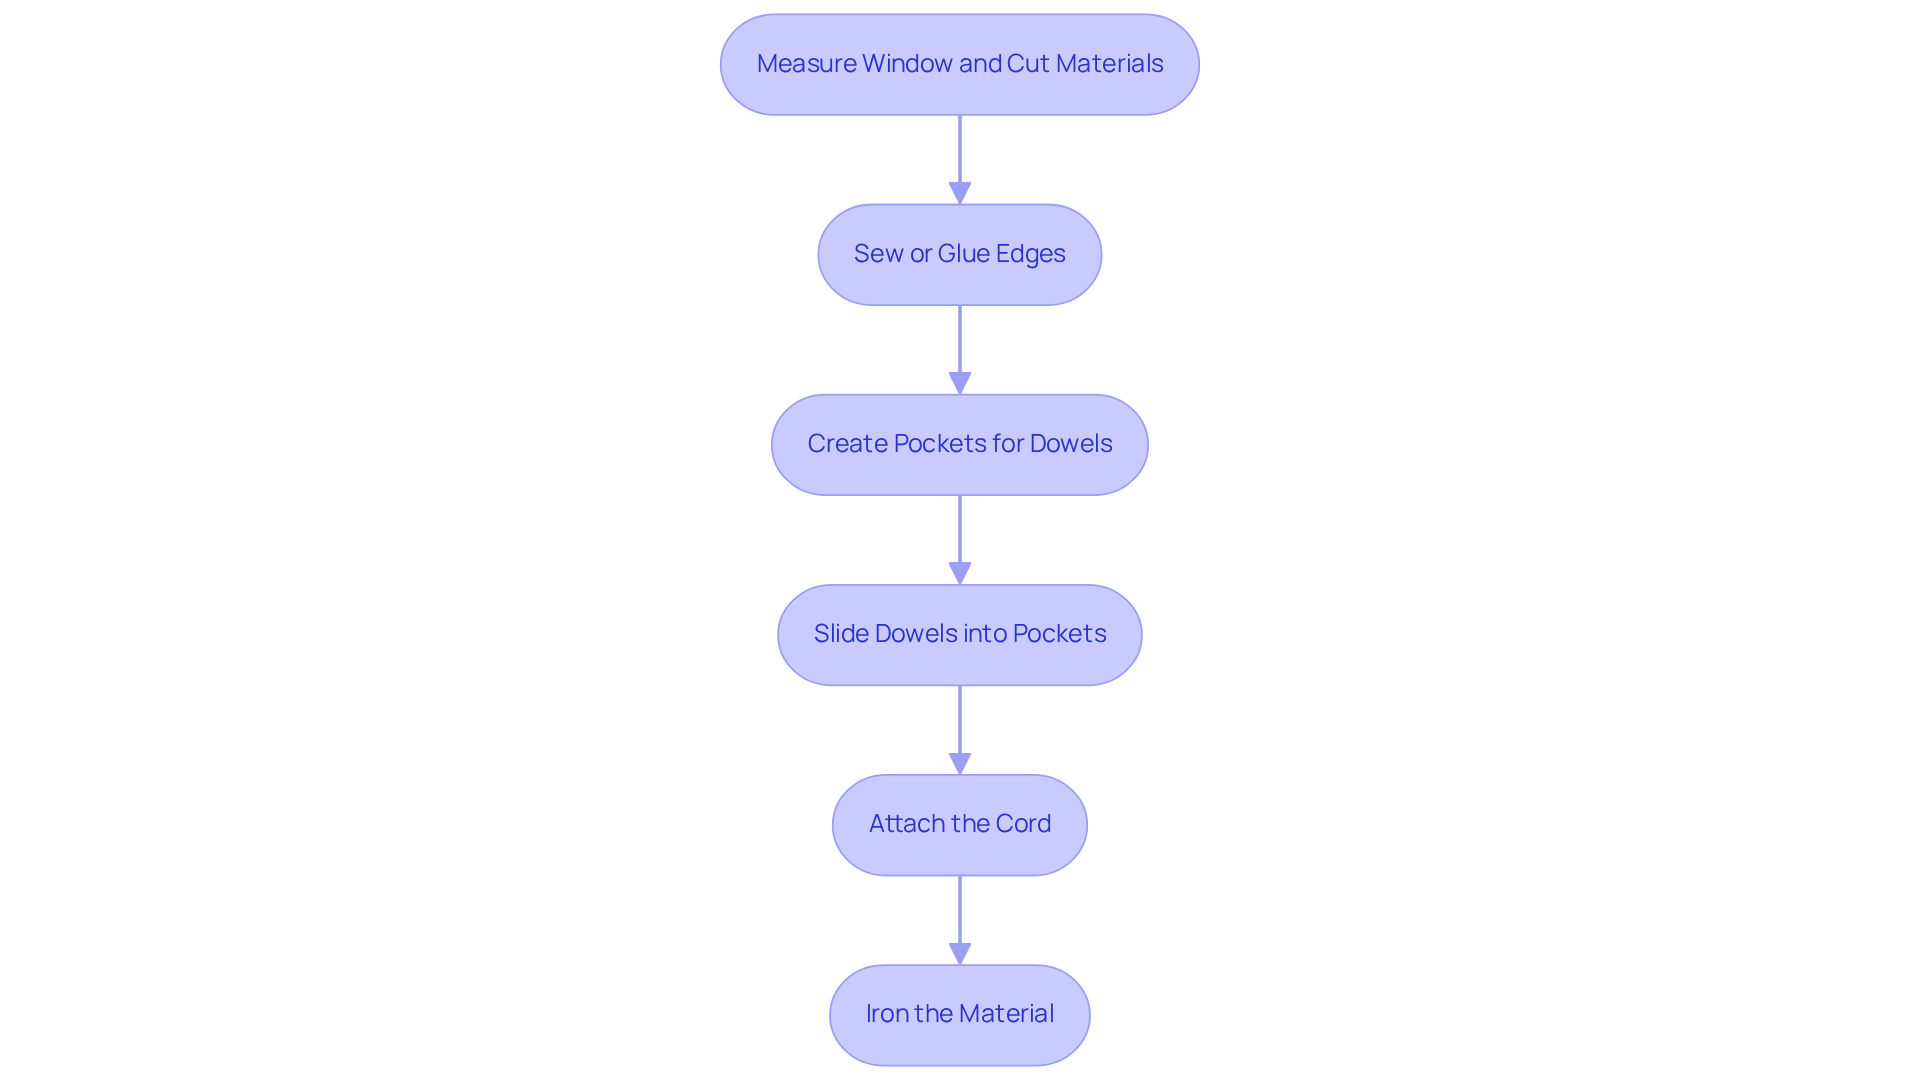
Creating your own DIY Roman shades can be a rewarding project that enhances your home. Let’s walk through the steps together, ensuring you feel confident in your crafting journey.
By utilizing high-quality materials from Joey'z Shopping Spree, including options like cordless and light-filtering fabrics, you can craft fashionable and practical DIY Roman shades. These choices not only enhance your home decor but also ensure safety and convenience. We’re here to help you create the home you love, so take the next step and explore your options today!
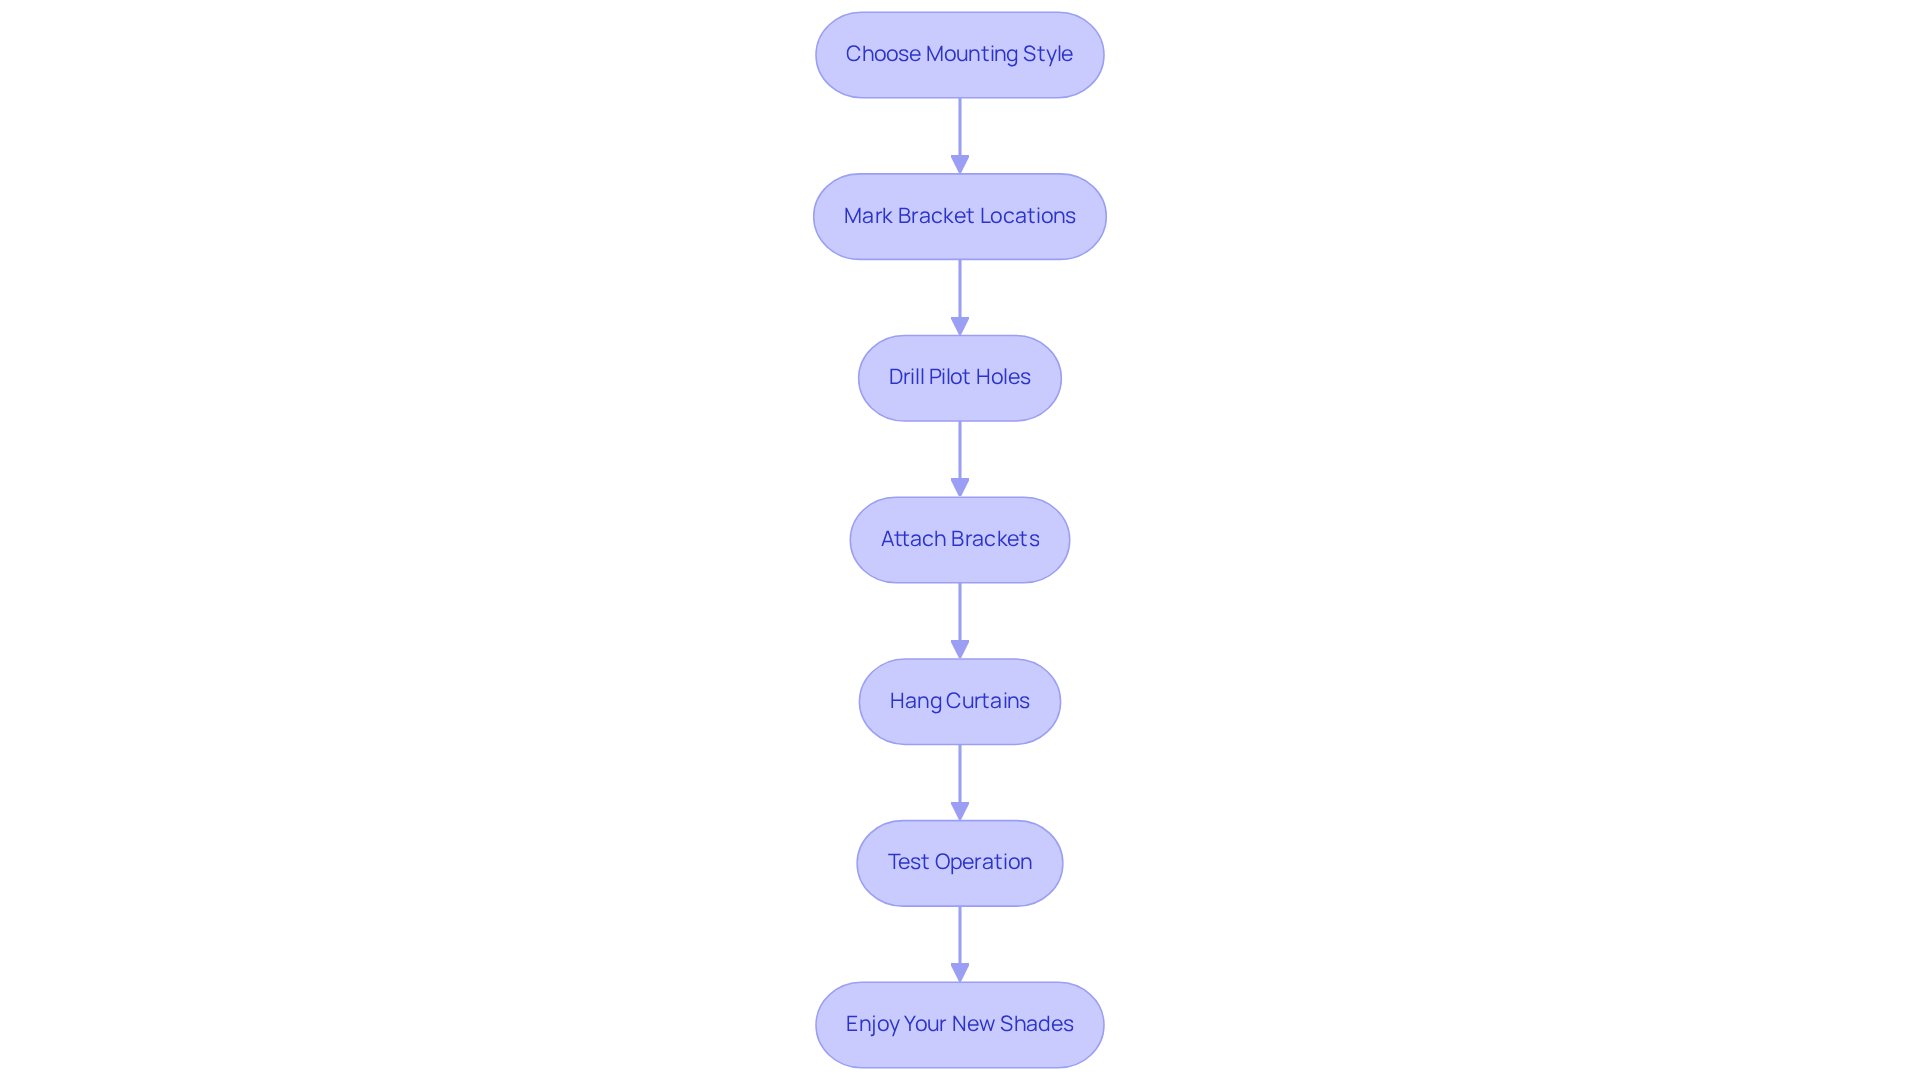
To successfully install your DIY Roman shades, let’s walk through these essential steps together:
Did you know that homeowners can save between $140 to $400 by opting for DIY installation of window treatments? This project is not only rewarding but also cost-effective. Installation costs typically range from $35 to $100 per hour, providing a broader context for your potential savings. Many home decor professionals suggest considering both mounting styles to achieve the desired aesthetic and functionality in your space. Remember, we’re here to help you create the home you love!
Creating DIY Roman shades is not just a practical endeavor; it’s a wonderful opportunity to infuse your personal style into your home while enhancing functionality. We understand that embarking on this journey can feel daunting, but this guide has illuminated the essential steps—from gathering materials to installation—ensuring a seamless crafting experience that leads to beautiful results.
The article detailed the crucial materials and tools needed, highlighting the importance of accurate window measurements for a perfect fit. Each step in constructing and installing the shades was broken down, making the process accessible and achievable for anyone looking to elevate their home decor. By choosing quality fabrics and following careful construction techniques, you’ll find that the end product not only serves a functional purpose but also adds aesthetic value to your living space.
Ultimately, making DIY Roman shades offers a rewarding blend of creativity and cost-effectiveness. You might be wondering about the potential savings on professional installations and the satisfaction of crafting something unique. This project encourages you to take charge of your interior design. Embrace the challenge, explore your fabric options, and transform your windows into a stylish focal point that reflects your personal taste. We’re here to help you create the home you love.
What materials are needed to create DIY Roman shades?
The essential materials include fabric (such as cotton blends or linen), optional lining fabric, wooden dowels (1/4 inch diameter), cord (or cordless options), fabric glue or sewing supplies, and mounting hardware (brackets and screws).
What types of fabric are recommended for DIY Roman shades?
Recommended fabrics include cotton blends and linen, which are stylish and durable. Additionally, Natural Jute Fiber Privacy Shades are a stylish option that allows soft, filtered light to enter the room.
Is lining fabric necessary for DIY Roman shades?
Lining fabric is optional but recommended for improved insulation and a refined appearance.
What tools do I need for making DIY Roman shades?
Necessary tools include a measuring tape, scissors, a sewing machine or hot glue gun, an iron, and a pencil for marking measurements.
How can I ensure the fabric looks smooth before assembly?
Use an iron to smooth the material before assembly to enhance the final appearance of your Roman shades.
What is the price range for Natural Jute Fiber Privacy Shades?
The current price for the Natural Jute Fiber Privacy Shade is $191.99 for the 73x72 size and $157.99 for the 55x72 size.
How can I make the shades safer and more modern?
Consider using cordless options like the Natural Jute Fiber Privacy Shade in Cocoa, which provides a stylish light-filtering solution without cords.
Why is it important to gather materials and tools before starting the project?
Having all materials and tools ready streamlines the process, minimizes last-minute store trips, and ensures a more enjoyable crafting experience.