
Join the Joey'z Family!

When you're trying to choose the best peel and stick flooring, you're really looking for that sweet spot where durability, style, and ridiculously easy installation all meet. For most homeowners, the clear winner is high-quality luxury vinyl tile (LVT). These options typically come with a thick wear layer—think 12 mil or more—and a realistic look that delivers a high-end finish without the high-end hassle.
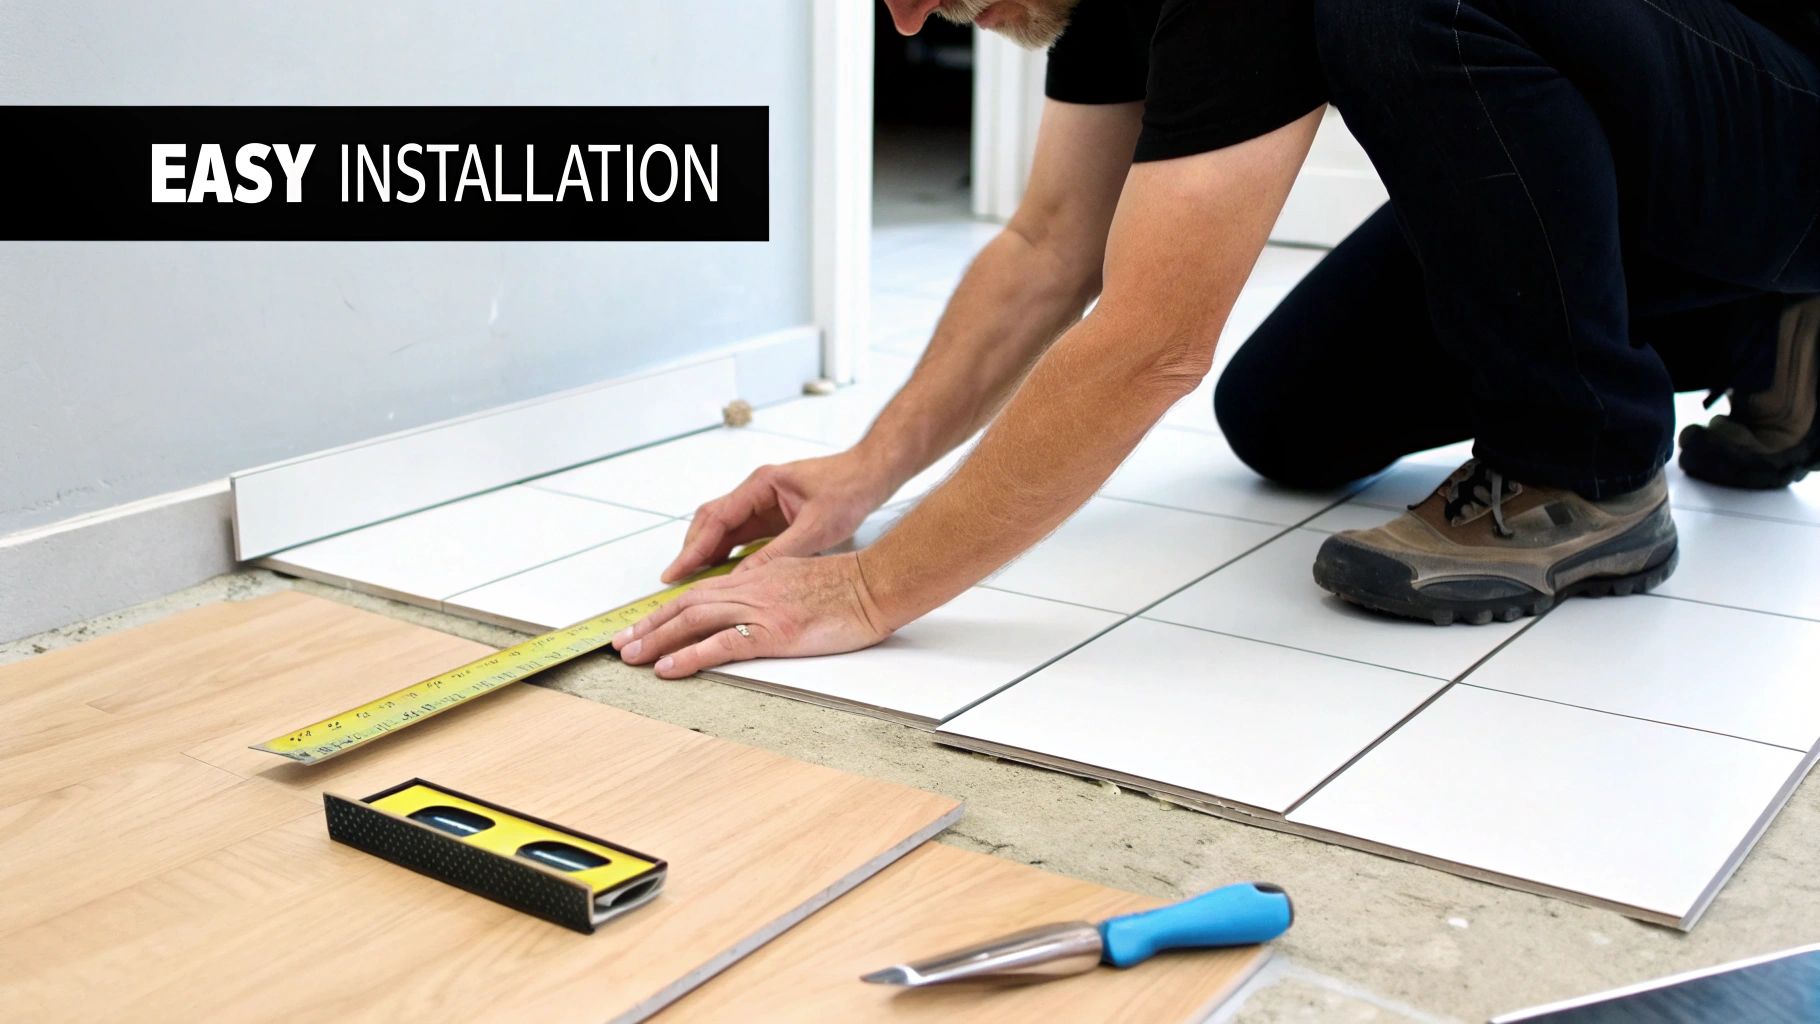
The short answer is: peel and stick flooring is a DIYer’s dream. It’s an adhesive-backed flooring material, usually vinyl, that you simply peel the back off of and press firmly onto a clean, smooth subfloor. Forget messy grout, the expense of hiring a pro, or needing specialized tools. This is one of those rare home projects you can genuinely start and finish in a single afternoon.
That simplicity is its biggest draw. The global peel and stick floor market hit USD 2.5 billion in 2024 and is expected to climb to USD 4.1 billion by 2033. This isn’t a fluke; installers report finishing jobs 50% faster, saving homeowners hundreds on labor.
When we talk about the best peel and stick flooring, we aren’t pointing to a single brand. "Best" is about finding the right balance of features that fit your life.
A great floor holds up to daily chaos without needing constant attention. Think of it like this:
The secret to success isn't just picking a pretty pattern. It's understanding what makes a floor resilient. A thicker wear layer is an invisible shield, while better materials prevent peeling and bubbling.
To make things even clearer, here's a quick-reference table. Think of this as your cheat sheet for spotting quality when you're shopping.
| Feature | Why It Matters | Look For |
|---|---|---|
| Wear Layer | This is your floor's shield against scratches, scuffs, and stains. Thicker is better. | 12 mil for moderate traffic; 20 mil+ for high-traffic areas. |
| Overall Thickness | Thicker planks feel more substantial and can hide minor subfloor imperfections. | At least 2mm for tiles and 4mm+ for planks. |
| Material Type | Determines the look, feel, and durability. LVT is a popular, high-quality choice. | Luxury Vinyl Tile (LVT) or Vinyl Composition Tile (VCT). |
| Adhesive Quality | A strong, reliable adhesive prevents peeling, bubbling, and shifting over time. | Reputable brands with positive reviews on adhesion strength. |
| Waterproofing | Crucial for kitchens, bathrooms, and basements to prevent water damage. | Products labeled "100% waterproof" or "water-resistant." |
By keeping these factors in mind, you'll be able to quickly tell which products are built to last and which ones might cause headaches later on.
Not all peel and stick flooring is created equal. The quality can range from fantastic to flimsy, and that difference determines whether your floor looks amazing for a decade or starts peeling in a year. To find the best peel and stick flooring that will actually go the distance, you have to become a bit of a label detective.
If there’s one number to obsess over, it’s the wear layer. This is a clear, tough top coating that guards the design underneath from scratches, scuffs, and stains. It is the single most important factor in how long your floor will look good.
Think of it like a phone screen protector. A cheap one stops minor scratches, but a high-quality one can save your screen from a drop.
The core of the tile itself plays a huge role. Most of the best peel and stick flooring is made from vinyl, but the quality varies.
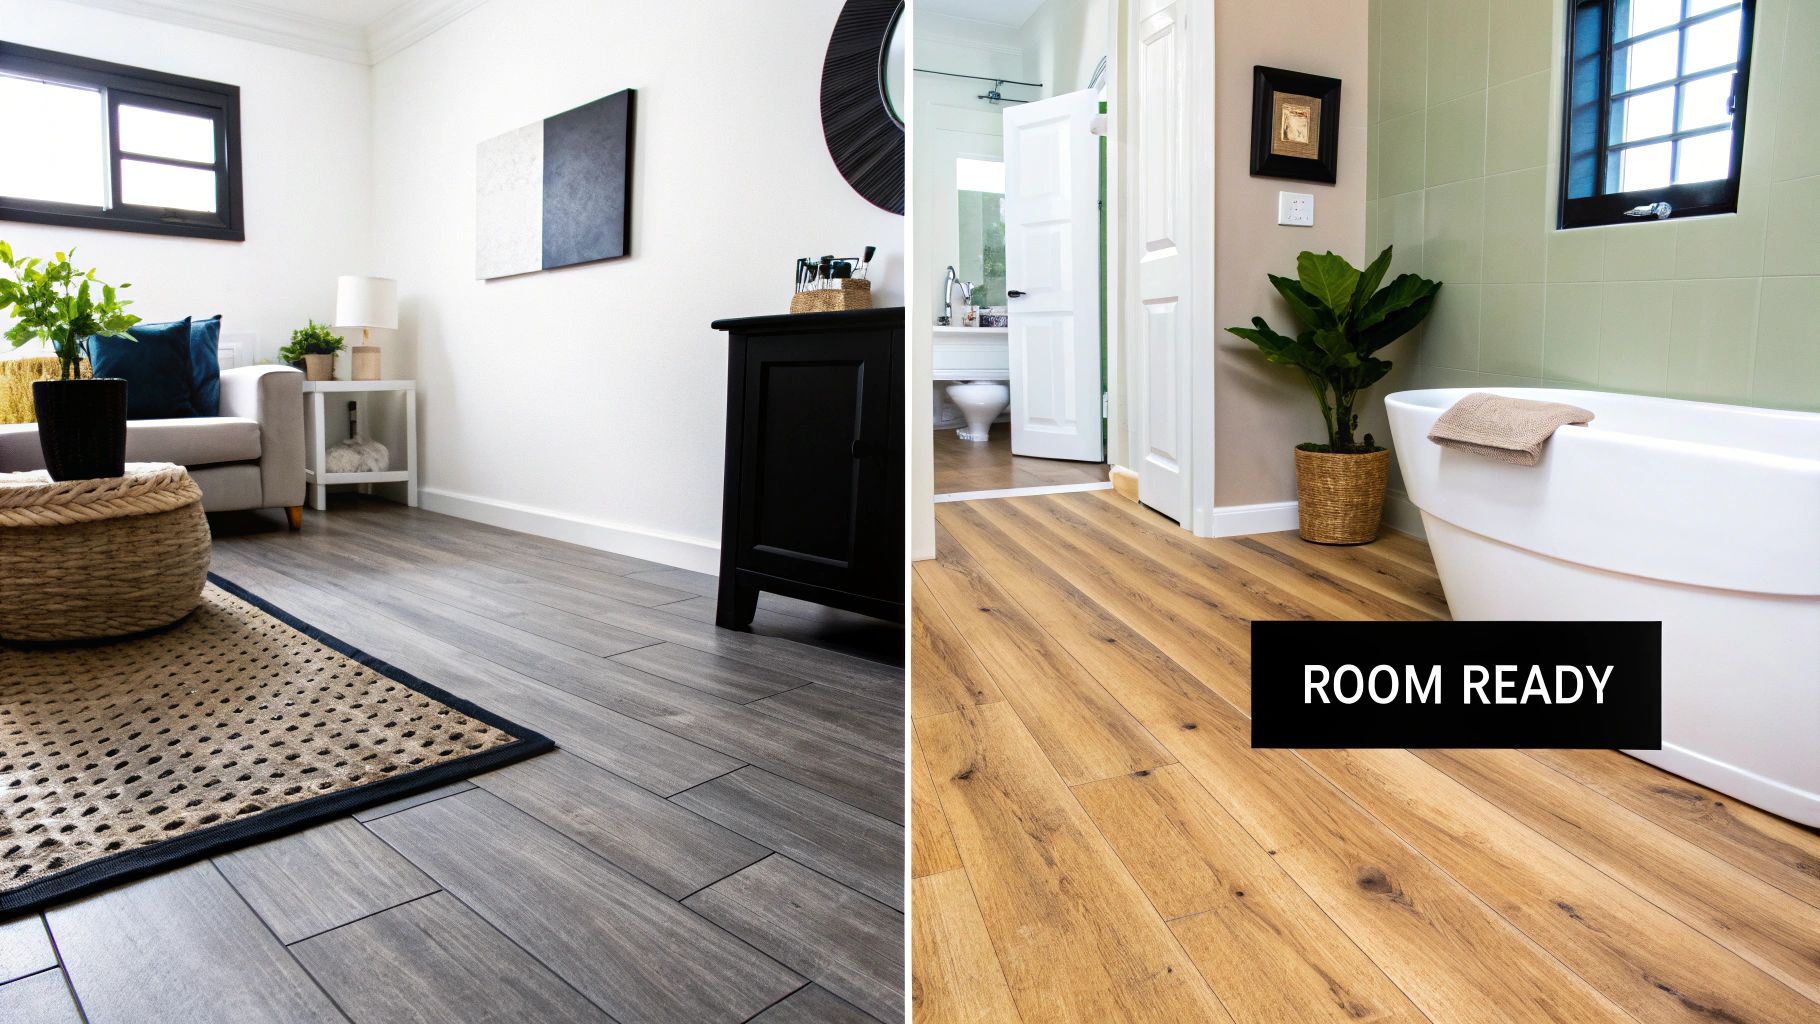
Luxury Vinyl Tile (LVT) is the gold standard. It’s a multi-layered product known for realistic designs, durability, and a comfortable feel. LVT is almost always thicker and more rigid than old-school vinyl, which helps it hide minor bumps in your subfloor.
The overall tile thickness, measured in millimeters (mm), is another clue to its quality.
A thicker tile—think 4mm or more for planks—doesn't just feel more substantial. It provides better sound insulation and is more forgiving of an imperfect subfloor. Thinner tiles often show every dip and bump from underneath.
This infographic breaks down the core pillars of making a smart flooring choice.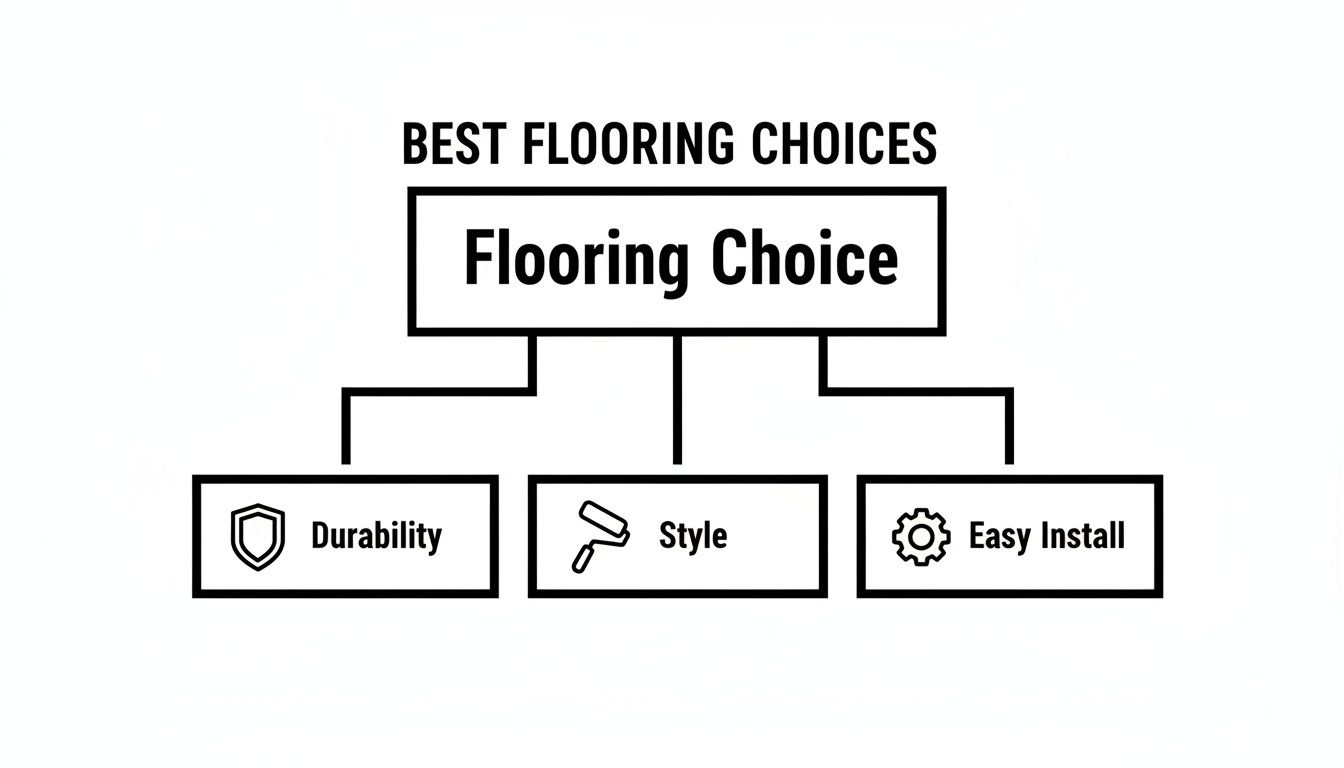
Ultimately, the best product for you is one that strikes the right balance between these three elements for your specific room and needs.
Finally, let's talk about the "stick" in peel-and-stick: the adhesive. The quality of that glue separates a floor that stays locked down from one that lifts at the corners after the first change in humidity.
While you can't see the adhesive before you buy, there are clues to its quality:
The market for resilient vinyl flooring is projected to grow by USD 18.05 billion between 2025 and 2029. People love these floors because they can slash installation time by up to 60%. For an even deeper dive, check out this comprehensive guide to the best peel and stick flooring.
Choosing the best peel and stick flooring isn’t about finding one miracle product; it's a matchmaking game. What works for a quiet bedroom would fail in a chaotic hallway. The secret is to match the floor's features with the real-world demands of your room.
Think beyond color and pattern. Does the room face constant moisture? Heavy foot traffic? The chaos of kids and pets? Answering these questions first is key to picking a floor you’ll love for years.
In rooms where water is a constant guest—bathrooms, kitchens, laundry rooms—water resistance is paramount. A standard floor can soak up moisture, leading to swelling, peeling, or subfloor damage.
For these spaces, a 100% waterproof vinyl tile is non-negotiable. Vinyl itself is impervious to water, but seams can be a weak point.
Hallways, entryways, and family rooms are the true proving grounds. They endure muddy boots, pet claws, and the relentless back-and-forth of a busy household. In these areas, durability is king.
Your floor's defense system is its wear layer. For high-traffic areas, a thin wear layer is like sending a knight into battle with aluminum foil armor.
Look for a thick, scratch-resistant wear layer of at least 20 mil. This robust top coating protects the design from scuffs and fading. Thicker planks (4mm or more) also provide better stability and a more solid feel.
| Room | Key Requirement | Recommended Feature | Best For |
|---|---|---|---|
| Bathroom | Waterproofing | 100% waterproof vinyl, tight seams | LVT with a high-quality adhesive that resists humidity |
| Kitchen | Durability & Water Resistance | Thick wear layer (20+ mil), waterproof core | LVT that can handle spills, traffic, and dropped items |
| Living Room | Durability & Comfort | Thick plank (4mm+), 20 mil wear layer | Premium LVT that feels solid underfoot and resists wear |
| Bedroom | Comfort & Aesthetics | Thicker planks for a softer feel | Almost any quality peel-and-stick vinyl will work here |
| Hallway/Entryway | Extreme Durability | Highest wear layer you can find (20+ mil) | Commercial-grade or high-end residential LVT |
| Basement | Moisture Resistance | 100% waterproof core, strong adhesive | LVT designed to go over concrete or imperfect subfloors |
This chart should give you a solid starting point for matching the product to the space.
Your living situation also plays a huge role. The needs of a renter are different from those of a long-term homeowner.
For Renters:
The goal is a beautiful, temporary upgrade that won't jeopardize your security deposit. Look for products marketed as removable. Always do a patch test in a hidden spot, like a closet, to see how the tile sticks and comes off. For more inspiration, see our guide to small room decorating ideas.
For Homeowners:
Your focus is on long-term performance. Investing in higher-quality materials pays off. Opt for a premium LVT with a thick wear layer and a reputable adhesive. The upfront cost might be higher, but the longevity offers far greater value over time.
Getting a professional, long-lasting look with the best peel and stick flooring isn't about skill—it's about prep work. The secret to a flawless finish that lasts is what you do before you peel off that first backing.
Before laying a single tile, your subfloor must be clean, flat, and dry. Any dust or grime will weaken the adhesive, leading to lifting corners. Give the floor a thorough sweep and mop, then let it dry completely.
Next, inspect the surface for bumps or dips. Sand down any high spots and use a floor-leveling compound to fill in low areas or deep grout lines if you're going over old tile. A smooth start is the only way to get a smooth finish.
Vinyl flooring can expand and contract with temperature changes. To prevent buckling or gaps, you must let the tiles acclimate to the room's environment first.
Simply open the boxes and lay the tiles out flat in the room for at least 48 hours. This gives them time to adjust to your home's temperature and humidity, ensuring a stable fit.
Don't skip acclimation! It’s a simple, hands-off task that prevents the most common installation headaches. A little patience here pays off tenfold.
One of the best things about this project is that you don't need expensive power tools. The market for self-adhesive vinyl is set to hit USD 22.45 billion by 2025, largely because it can speed up projects by up to 40%.
You only need a few basic items:
Cutting tiles to fit around doorframes might seem intimidating, but it's easy. Create a template first by tracing the obstacle's shape onto a piece of paper.
Transfer that outline onto a vinyl tile and carefully score it with your utility knife. You don't need to cut all the way through—just score the surface and gently snap the tile along the line for a clean break.
You've done the work, your new floor is in, and it looks incredible. Now, the goal is to keep it that way. Thankfully, peel and stick flooring is wonderfully low-maintenance. A little regular care is all it takes.
Simple, consistent cleaning is your best friend. A daily sweep or vacuum (on the hard floor setting) will handle dust. For a deeper clean, use a damp mop and a gentle, pH-neutral cleaner. Steer clear of harsh chemicals, abrasive scouring pads, or steam mops, as they can wear down the protective layer.

A few small habits can go a long way in preventing damage.
Even with the best peel and stick flooring, issues can pop up. The great news? Repairs are incredibly simple.
One of the greatest benefits of a tile-based system is that you don't have to replace the entire floor to fix one small problem. You can treat each tile individually.
Here’s a quick guide to handling common hiccups:
Understanding proper cleaning methods is also crucial. For instance, knowing how to handle avoiding sticky residue after mopping will keep your floors looking pristine.
When shopping for the best peel and stick flooring, it's easy to focus on the price tag. But the smartest move is to balance upfront cost with how long the floor will actually last. A cheap tile might seem like a win today, but if it scratches or peels in a year, you’ll spend more to replace it.
The price for peel and stick tiles can range from under $1.00 to over $5.00 per square foot. That difference is directly tied to quality.
What makes one tile pricier than another? A few key things determine where a product lands on the price spectrum:
Figuring out your budget is straightforward.
To calculate your total square footage, simply multiply the length of the room by its width. For example, a 10-foot by 12-foot room is 120 square feet.
Now, here’s a golden rule: always buy extra. You’ll need it for miscuts and future repairs. A safe bet is to add 10-15% to your total square footage. For that 120-square-foot room, you’d want to buy at least 132 square feet of flooring. Multiply that number by the price per square foot for your total material cost.
Investing in durable flooring pays off. You can learn more about how quality materials create a better living space in our article on sustainable interior design materials.
Even after doing your homework, a few questions always pop up. Here are clear, straightforward answers to the most common ones.
Yes, you absolutely can! But—and this is a big but—your success depends on the prep work. Your original tile floor must be spotless, dry, and level. The most important step is filling in the grout lines with a floor leveling compound. If you don't, the outline of the old grid pattern will eventually show through your new flooring.
The lifespan varies from 5 to 25 years. It depends on three things: product quality, foot traffic, and subfloor preparation. A high-quality vinyl tile with a thick wear layer (20 mil or more) in a quiet room could last for decades, while a budget tile in a busy hallway will show its age much faster.
The vinyl material itself is 100% waterproof. You could leave a tile in a bucket of water without damaging it. However, the installation as a whole is better described as water-resistant. The weak points are the tiny seams between each tile. If a lot of water pools on the floor, it can eventually seep through to the subfloor. For bathrooms, install tiles as tightly as possible to minimize this risk.
For the most part, no. The adhesive on quality tiles is engineered for a strong, lasting bond. However, some installers use a flooring primer for extra peace of mind, especially in high-traffic zones. Just check the manufacturer's warranty first—applying your own glue can sometimes void it.
Ready to find the perfect foundation for your next project? Explore the beautiful and durable home decor options at Joey'z Shopping and start your transformation today. Visit us at https://joeyzshopping.com to see our latest collections.