
Join the Joey'z Family!
Table of Contents
Learning how to hang curtains properly is simpler than you think. The big secret? Hang them high and wide.
This single design trick makes a world of difference. When you mount your curtain rod higher than the window frame and extend it past the sides, you instantly create the illusion of a bigger, more elegant space. This technique is what separates a DIY-looking job from a polished, professional finish.
Ever walked into a room where the windows just looked perfect? Chances are, the person who hung those curtains knew about the “high and wide” method. This isn't just a designer whim; it's a clever way to manipulate visual space and maximize natural light. It's the most effective trick for making any room feel taller and more luxurious.
When a curtain rod is hung right on the window frame, it visually shrinks the window. It boxes in your line of sight and can make even a large room feel cramped. The goal of hanging curtains properly is to treat your window as a feature, not a limitation.
Getting the placement right does more than just look good—it completely changes the vibe of the room. Here’s what this simple principle actually does:
“A pretty room with poorly hung curtains is like a beautiful, pulled-together lady wearing way 'too-small pants'. It cheapens everything else, stands out in a jarring way, and just makes everyone feel uncomfortable.”
With this one adjustment, your window goes from being just an opening in the wall to a genuine architectural feature.
To really nail this, you need to get the measurements right. Most interior designers I know recommend mounting the rod about 4 to 6 inches above the window frame.
For the width, you’ll want the rod to extend 8 to 12 inches past the frame on each side. This extra space is critical. Using a rod that’s too short can reduce your window’s openness by up to 20%, blocking both light and your view. It's a common mistake, accounting for nearly a quarter of all returns on DIY curtain installations, according to some curtain wall market trends.
This bit of planning ensures your curtains frame the window perfectly when open and provide full coverage when closed.
| Placement Rule | Recommended Measurement | The Design Benefit |
|---|---|---|
| Hang It High | Mount the rod 4-6 inches above the window frame. | Draws the eye upward, making the ceiling feel taller. |
| Go Wide | Extend the rod 8-12 inches beyond the frame on each side. | Lets more light in and makes the window appear larger. |
| Let It Flow | Curtains should just skim or "kiss" the floor. | Creates a clean, tailored, and professional look. |
Following these guidelines is the easiest way to get that custom-designed feel without the huge price tag.
Before you drill a single hole, let's talk about the gear that makes the difference between a pro-level installation and a sad, sagging curtain rod. Having the right tools and hardware is the foundation of a successful project, ensuring your curtains stay exactly where you put them for years to come. Think of this as your pre-flight checklist for a frustration-free install.
Here’s a secret: the screws and anchors included with your curtain rod are often a one-size-fits-all solution. For a truly secure hang, you must match your hardware to your specific wall type. This is the single most important step to prevent a future curtain catastrophe.
Different walls need different kinds of support. Using the wrong anchor is a recipe for loose brackets or, even worse, a rod that pulls clean out of the wall.
Pro Tip: Don't rely solely on a stud finder. While hitting a stud is ideal, it’s not always possible where you need a bracket. Learning to use the right wall anchors gives you the freedom to place your curtains exactly where you want them.
The weight of your fabric and the width of your window dictate the kind of rod you need. A flimsy rod will bow under the weight of heavy drapes, and nothing screams "amateur job" like a sagging curtain rod. For a flawless hang, always choose a curtain rod with a diameter of at least one inch for standard curtains.
If you’re working with heavier fabrics like velvet or lined blackout panels, consider an even thicker rod. This brings us to a non-negotiable rule for wider windows: you must use a center support bracket. Any span over 60 inches absolutely requires a middle support to prevent sagging. You can check out our collection of durable curtain rods and hardware to find the perfect fit.
The quality of your hardware has a direct impact on the final result. The global curtain hardware market was valued at USD 4.8 billion in 2023 and is expected to grow, driven by homeowners who understand the value of a professional finish, as noted by curtain hardware trends on DataHorizzon Research. Choosing robust hardware isn't an extra cost—it's an investment in a look that lasts.
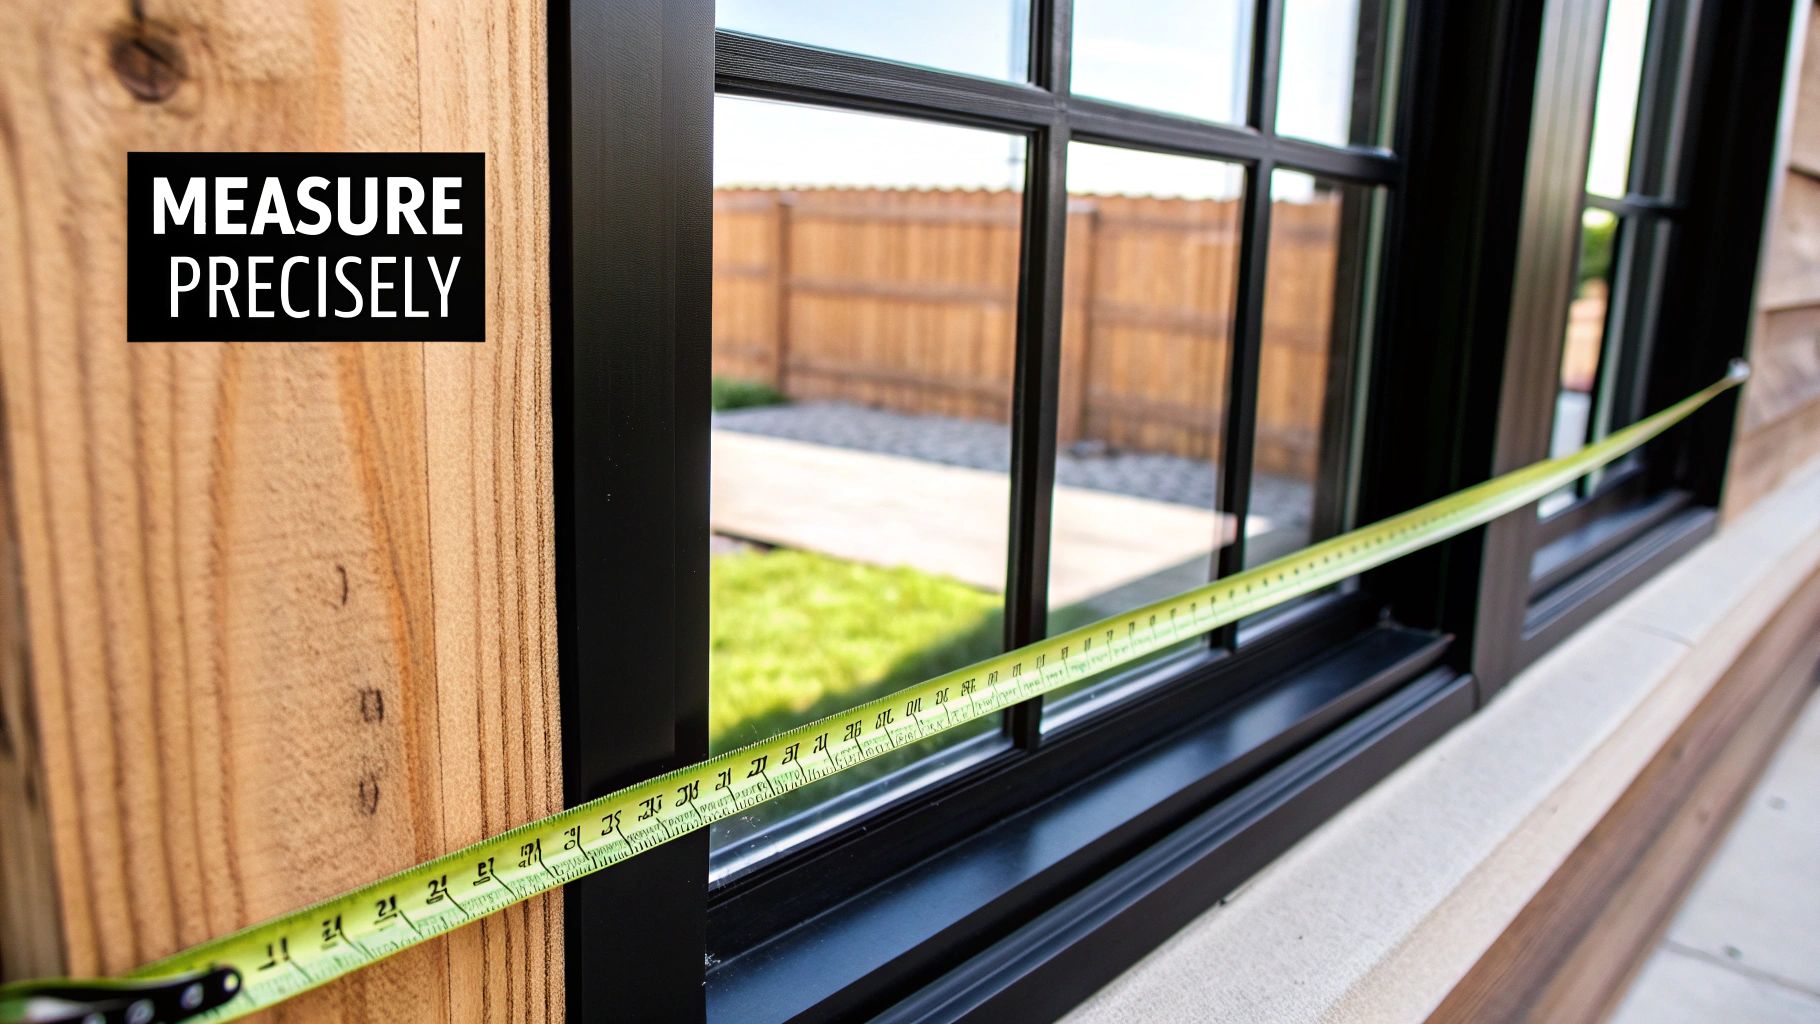
Guesswork is the enemy of great design, especially when it comes to curtains. Before you add panels to your cart, getting your measurements right is the single most critical step. This is what separates a professional, intentional look from something that just looks off.

First, measure your rod width. Remember the "high and wide" principle? Your rod should extend 8-12 inches past the window frame on each side. Just measure the total width of your window (including the trim) and add at least 16 inches to that number. That's your target rod length.
This extra width is the secret to maximizing natural light. It allows you to pull the curtains completely clear of the glass when they're open, so you don't lose any of that beautiful sunshine.
Next, let's talk length. This is where personal style comes in. You'll always measure from where you plan to install the rod—not from the top of the window frame—down to where you want the fabric to end. And before you start, it’s a good idea to know how to accurately measure your windows themselves to ensure everything lines up perfectly.
Here are the three most popular looks to choose from:
Insider Tip: Don't assume your floors are perfectly level, especially in older homes. I've learned this the hard way! Measure from your rod placement down to the floor on the left, in the center, and on the right side of the window. Use the shortest of the three measurements to avoid awkward dragging.
Finally, consider how the curtain is constructed at the top. Grommet tops, for example, sit above the rod, which means the curtain will hang slightly shorter than its listed length. Tab tops create a gentle scalloped effect that can also change the final look.
You've done the prep work and you've got your hardware—now for the fun part. This is where all that careful planning comes together. Let’s walk through the installation so it feels less like a chore and more like a satisfying DIY win.
The old carpenter's motto is your best friend here: measure twice, drill once. Grab your pencil, a tape measure, and a level. Using the height you already determined, make a small, clear mark on the wall for your first bracket. Before you get ahead of yourself, hold the bracket up to that mark and use your level to ensure the screw holes are perfectly vertical, then mark where those screws will go.
With your first bracket location marked, it’s time to line up the other side. Place your level on top of your first mark and extend a faint, straight line across the top of your window. This simple step is the secret to avoiding a crooked curtain rod that will annoy you forever.
If your window is wide enough to need a center support bracket, find the midpoint of your window and mark it on that same level line. For more guidance on getting the height just right, our guide on how high to hang curtains provides expert tips.
Now, let's drill. If you're not hitting a wall stud, you'll need wall anchors. Drill a pilot hole that's slightly smaller than the anchor itself, then gently tap the anchor into the hole with a hammer until it’s flush with the wall.
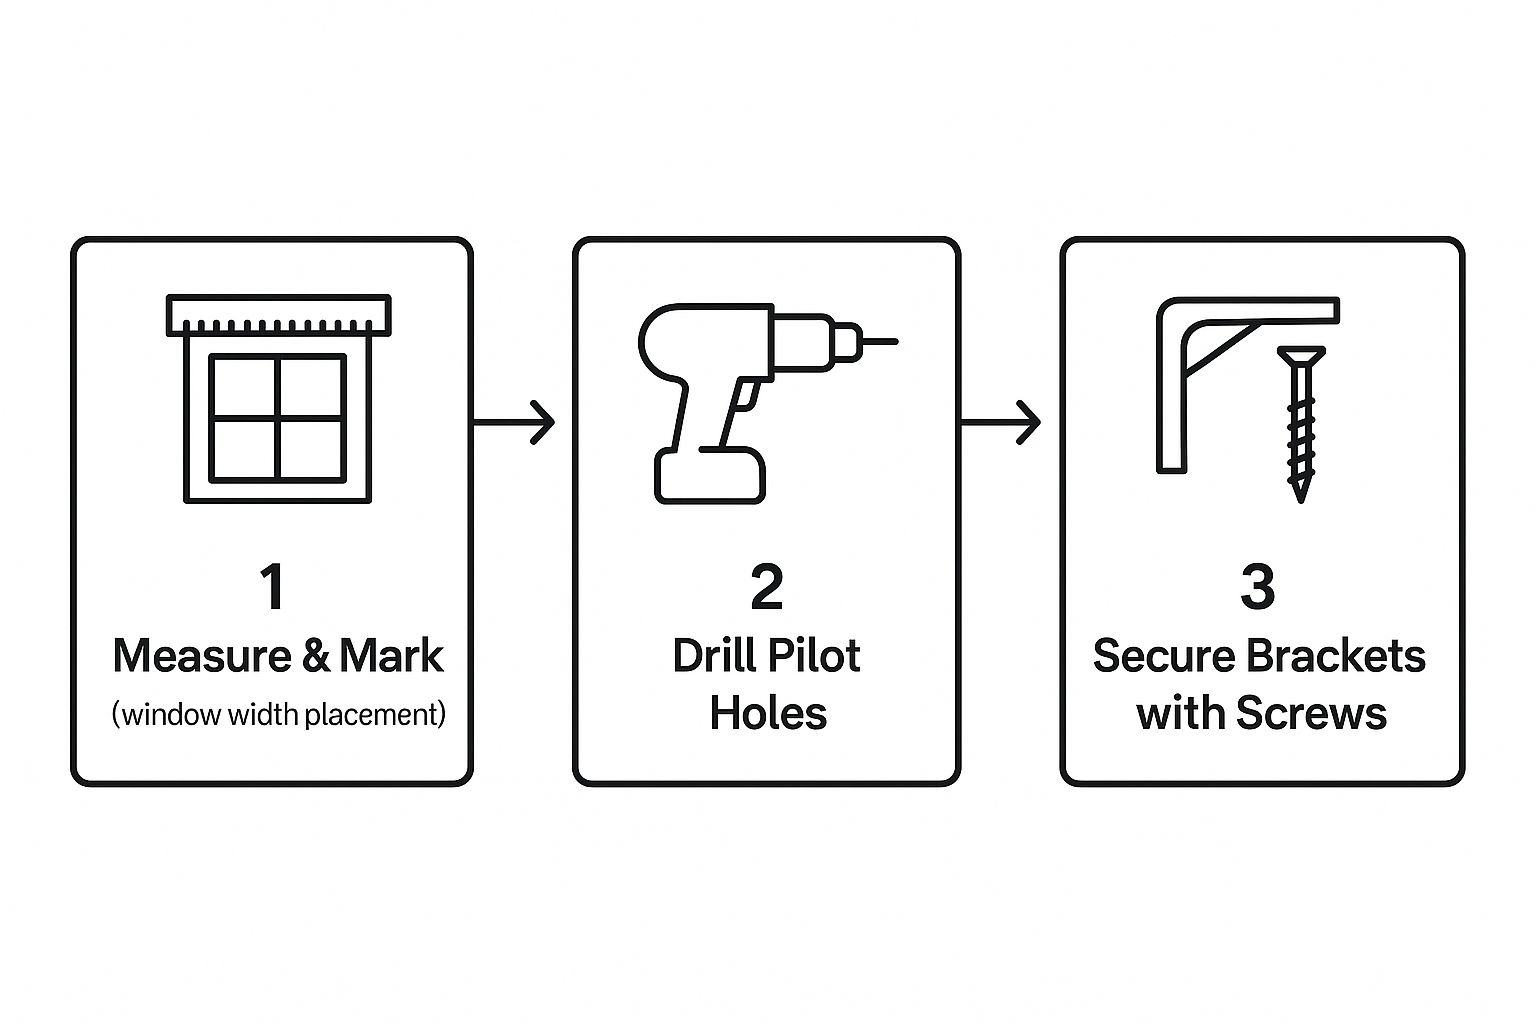
A methodical approach is everything. Measure, mark, drill, and then secure. That's the key to a stable installation that looks like a pro did it.
With your anchors ready, screw the brackets into the wall. You want them to be snug and firm, but don't overtighten them—you could crack the drywall. A secure bracket is the foundation for curtains that will hang beautifully for years.
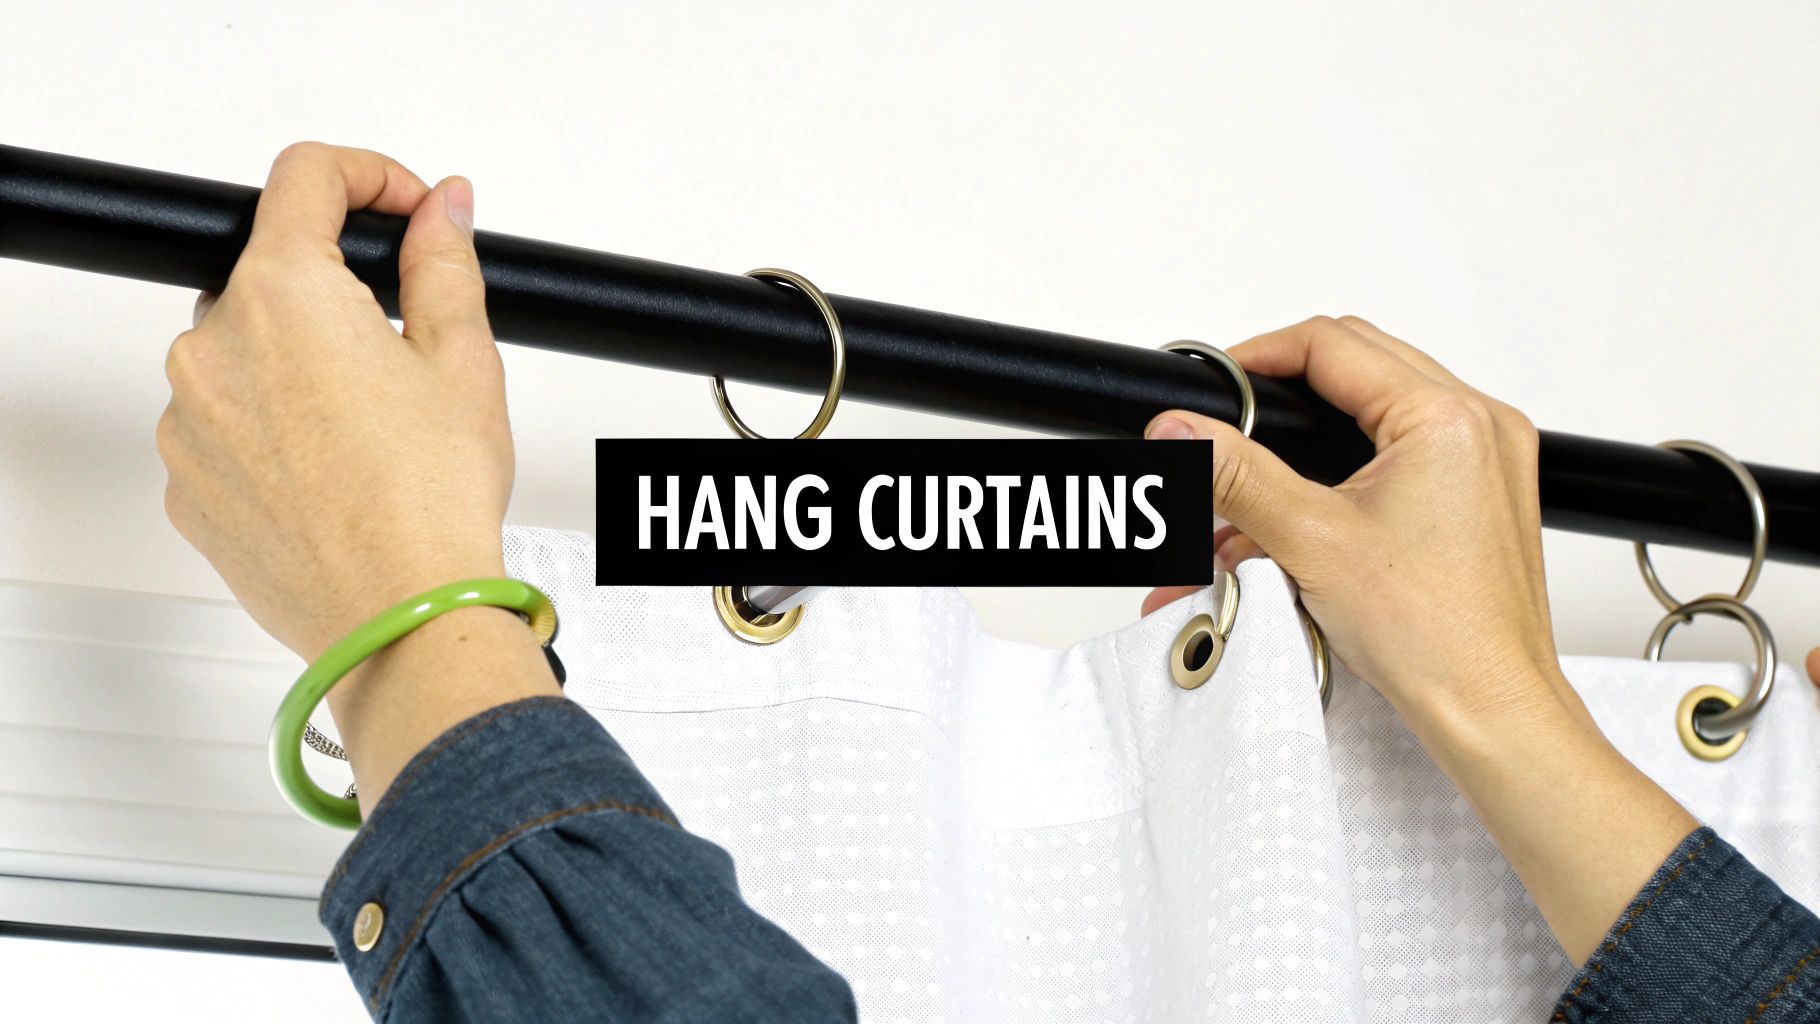
Insider Tip: Assemble everything on the floor before you climb the ladder. Thread the curtains onto the rod and attach the finials. It’s much easier to lift the whole thing up at once than to wrestle with heavy fabric while trying to keep your balance.
Once you’ve placed the rod into the brackets, grab your level one last time to double-check that it’s perfectly straight. Most brackets have tiny set screws to lock the rod in place, so tighten those now. And that's it! Step back and admire your work.
After the measuring and drilling, we get to the fun part where the personality of your room truly comes to life. The curtains and hardware you choose are the finishing touches that pull the entire space together. Choosing a style that complements your home’s aesthetic—whether it’s modern minimalist or classic traditional—is key.
The hardware sets the tone. A simple, matte black rod can create a clean, contemporary feel, while an ornate brass rod with detailed finials leans more traditional. As you select your curtains, you might want to consider how they align with current home interior trends to achieve a look that feels both personal and fresh.
Traditional curtain rods are a classic for a reason, offering an endless variety of styles. But for a sleeker, more integrated look, recessed curtain tracks have been gaining popularity. These tracks are installed flush with the ceiling, making the curtains appear to float effortlessly from above. This option is fantastic for minimalist spaces or rooms with low ceilings because it draws the eye upward without the visual interruption of a rod.
For a complete walkthrough of all your options, be sure to read our detailed article on how to choose curtains for every room.
| Feature | Traditional Curtain Rod | Recessed Curtain Track |
|---|---|---|
| Aesthetic | Visible, decorative element. Comes in many finishes and styles (wood, metal, etc.). | Hidden and minimalist. Creates a seamless, "floating curtain" effect. |
| Installation | Mounted on the wall above the window frame. | Installed directly into or onto the ceiling, often during construction or renovation. |
| Best For | Traditional, rustic, or transitional decor. Rooms with standard to high ceilings. | Modern, minimalist, and contemporary spaces. Rooms with low ceilings or wall-to-wall windows. |
| Versatility | Wide range of finials and rings to customize the look. | Limited decorative options, but offers a clean, architectural feel. |
Ultimately, both are great choices. It just comes down to whether you want your hardware to be a statement piece or a subtle, functional detail that lets the curtains be the star.
The fabric you choose impacts everything from light control to the room’s overall mood. Your decision should be a balance of aesthetics and function. Here’s a quick breakdown:
Your curtains should feel like a natural extension of your personal style. Whether you prefer the dramatic statement of floor-puddling velvet drapes or the crisp simplicity of sheer panels, the right combination will make your windows a true focal point.
Getting your curtains hung is a huge win, but the final styling creates that polished, intentional look. These last steps are the secret to taking your window treatments from simply functional to professionally styled. A handheld steamer is your best friend for dealing with any wrinkles or creases from the packaging. Gently steaming the fabric after it’s hung allows gravity to help, letting stubborn folds fall away easily for a smooth, luxurious drape.
Once they're wrinkle-free, it's time to "train" your curtains. This simple process ensures they hang in beautiful, uniform pleats instead of looking stiff or puffy, and it’s a trick the pros use all the time.
When you untie them, the fabric will remember this shape, creating graceful columns that look incredibly high-end. This is one of those small details that make a massive difference in how to hang curtains properly for a designer finish.
Layering curtains offers both functional and aesthetic benefits, adding depth and texture to a room. Pairing delicate sheer panels with heavier blackout drapes gives you ultimate control over light and privacy. You can let soft light filter through the sheers during the day and draw the heavier panels for total darkness at night.
Stylist's Tip: When layering, use a double curtain rod. Mount the sheer curtains on the inner rod and the main drapes on the outer one. This ensures both layers operate smoothly without getting tangled up.
Finally, consider tie-backs or holdbacks to complete the look. Modern, minimalist metal hooks can add a sharp, clean touch, while elegant rope tie-backs bring a more classic feel. They are perfect for neatly sweeping curtains aside to frame your window and let in maximum sunlight.
Even the best-laid plans can leave you with a couple of lingering questions. Before you start drilling, let’s run through a few of the most common queries we get.
The short answer is 4 to 6 inches above your window frame. This is the sweet spot that most interior designers recommend. Hanging your rod a bit higher than the frame creates an illusion of height, which makes your ceilings feel taller and the whole room seem more spacious. It's a small adjustment with a huge visual impact.
The right length for your curtains depends on the style you want to achieve. For a clean, tailored look that feels modern and crisp, your curtains should just "kiss" the floor, barely grazing the surface. If you’re leaning toward something more dramatic and luxurious, letting them "puddle" with an extra 2 to 4 inches of fabric on the floor adds a real touch of elegance. The one thing to avoid is curtains that stop short and hang awkwardly above the floor, as this can make a window feel stunted.
If your curtain rod is longer than 60 inches, then yes, absolutely. A center support bracket is non-negotiable for longer spans. Over time, gravity will cause any long rod to sag in the middle, creating a noticeable bow. This is especially true if you've picked out heavier drapes, like velvet or blackout curtains. That little bracket in the middle does all the heavy lifting to keep your rod perfectly straight for years to come.
Feeling ready to put these tips into practice? Find the perfect curtains and hardware to create a look you’ll love at Joey'z Shopping. We have everything you need to get that stunning, professional finish.
Start your project today at https://joeyzshopping.com.