
Join the Joey'z Family!
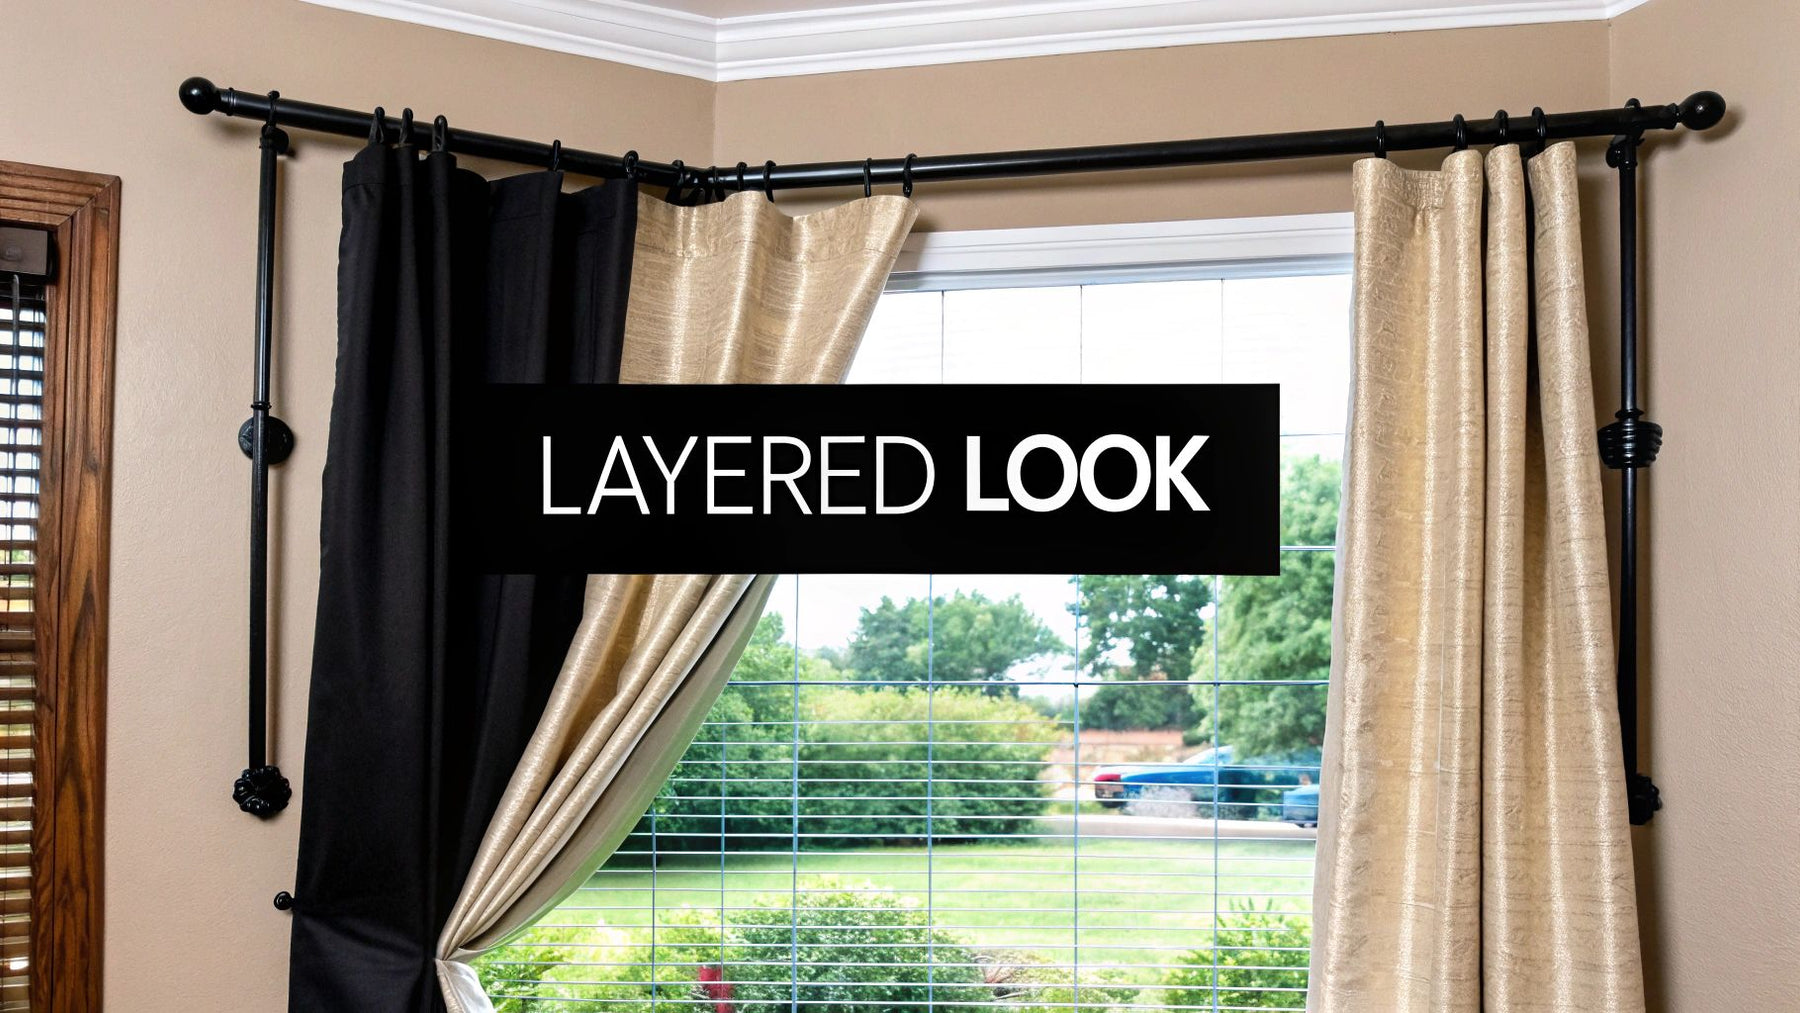
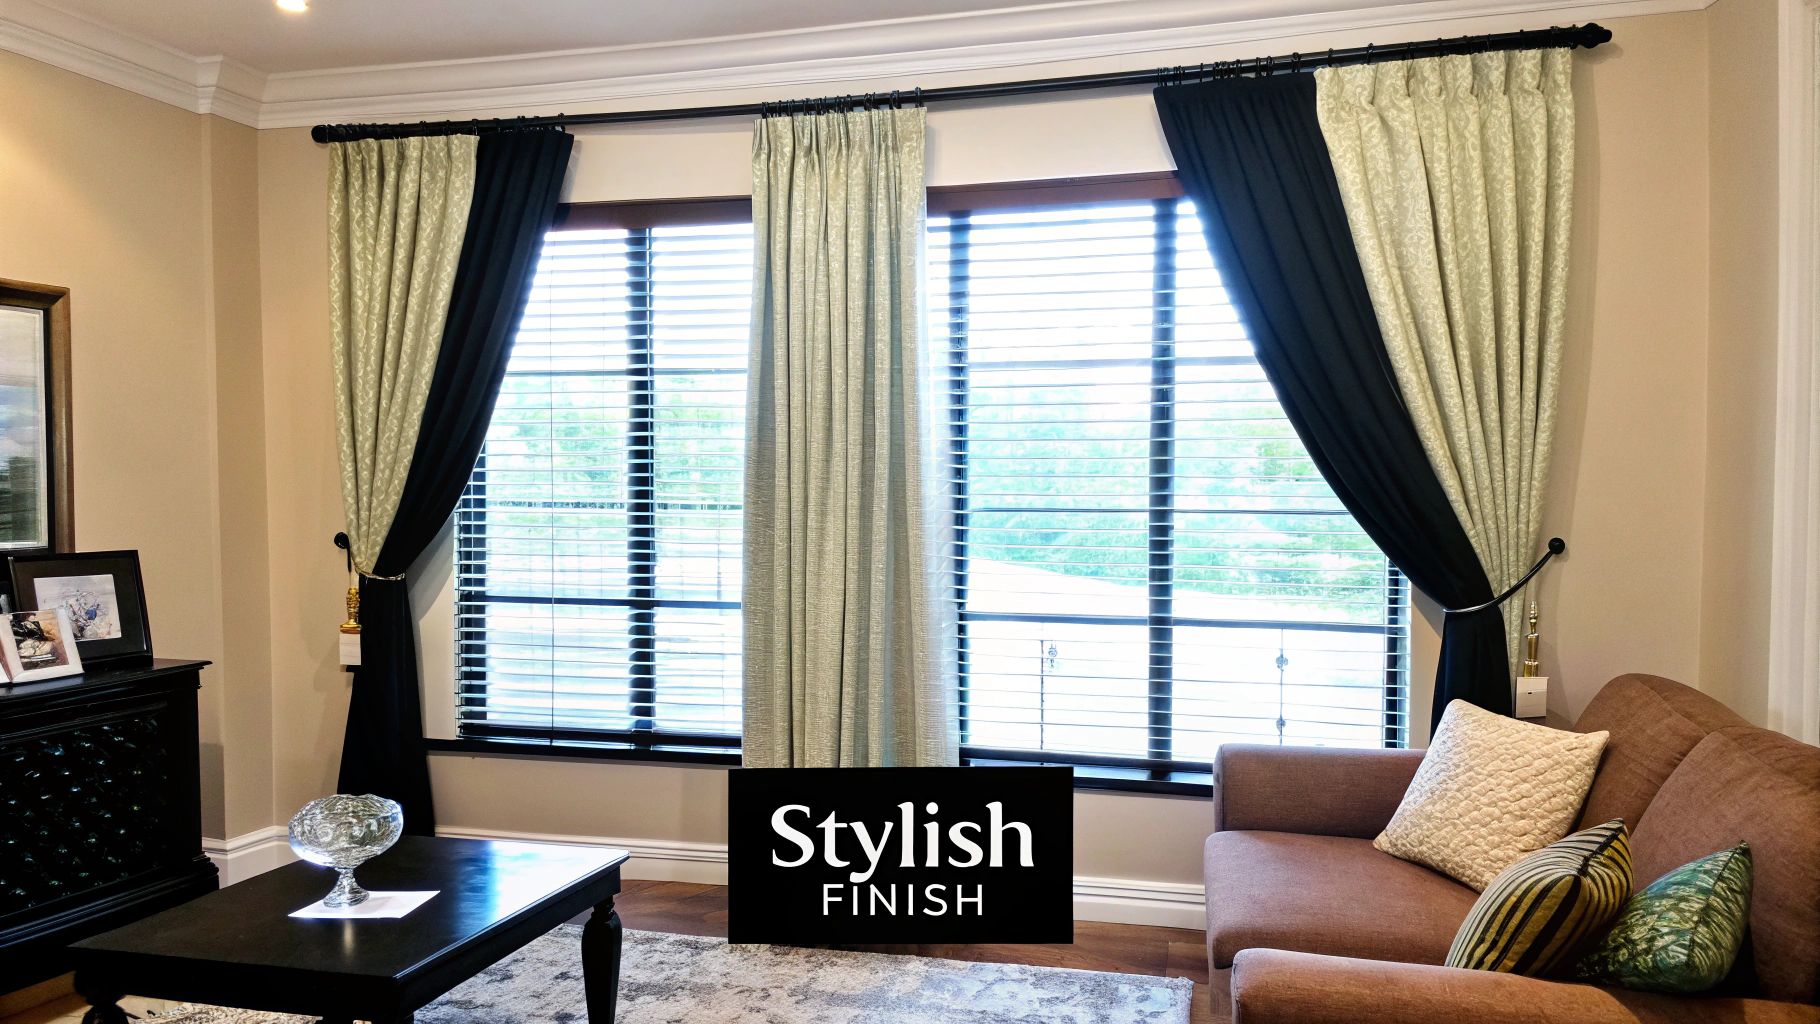
Can you install curtains over blinds? Absolutely. Hanging curtains over your existing blinds is a classic design trick that adds instant polish and depth. The key is using a curtain rod with enough projection—the distance it extends from the wall—so your new drapes can flow freely without catching on the blinds.
This guide will walk you through everything you need to know, from picking the right hardware to the final installation.
Pairing curtains with blinds isn't just a style choice; it's a practical upgrade that boosts comfort and adds character to your space. If your room feels a bit bare or your blinds aren't quite meeting your needs, this layered approach is the perfect solution.
The primary benefit is superior light control. Blinds are great for filtering harsh sunlight and providing privacy, but they often let light leak through the slats. Adding curtains—especially blackout or thermal panels—over them gives you the power to achieve total darkness whenever you want. This is ideal for bedrooms or creating a movie-theater atmosphere in your living room.
Beyond managing light, this combination packs a serious functional punch. A good set of thermal curtains adds a substantial layer of insulation, helping to keep your home warmer in the winter and cooler in the summer. Over time, that translates into real savings on your energy bills.
But let's be honest, the aesthetic payoff is immediate. Layering adds a wonderful sense of depth, texture, and softness that makes a room feel finished and inviting.
For a deeper dive into creating these beautiful, textured looks, check out our guide on how to layer curtains with sheers.
| Benefit | Why It Matters |
|---|---|
| Superior Light Control | Go from gently filtered light to complete blackout in seconds. |
| Improved Insulation | Helps regulate room temperature, potentially lowering energy costs. |
| Enhanced Privacy | The dual layers provide a solid barrier against outside eyes. |
| Elevated Aesthetics | Adds texture, color, and a sophisticated, professionally designed feel. |
| Noise Reduction | The extra fabric layer can help dampen outside sounds. |
This combination has become a homeowner favorite for a reason. With residential projects making up over 55% of the global window coverings market, people are constantly seeking clever ways to boost both function and style.
Picking the right hardware is the most critical step. When you're installing curtains over blinds, the goal is to create enough space for them to open and close without snagging. This is where a term called projection becomes your most important consideration.
Projection is simply how far the curtain rod extends from the wall. You need brackets that push the rod out far enough to clear the blinds' headrail and slats completely. As a solid rule of thumb, look for a projection of at least 3 to 4 inches for most standard blinds.
The rod you choose sets the stage for both the style and the practicality of your window treatment. A simple single rod is often all you need, but a couple of other options are worth considering.
Your brackets are what truly make this installation possible. The standard brackets included in a curtain rod kit often won't cut it; they're usually too shallow. Look specifically for adjustable or extension brackets that let you set the exact distance you need from the wall.
Insider Tip: Don't just eyeball it. Measure the deepest part of your blinds—usually the headrail—and add at least one full inch. That's your absolute minimum projection distance.
Finally, let's talk about securing everything. Using the right wall anchors is non-negotiable if you want a sturdy installation. Never drive a screw directly into drywall without one. Ensure the anchors you buy are rated for your wall type (drywall, plaster, or masonry) and can support the weight of your curtains.
It's this blend of function and style that has made layering so popular. With the North American blinds market accounting for over 50% of the global share, people are always looking for new ways to get the clean utility of blinds with the soft, decorative touch of curtains. You can explore the latest market trends on Fortune Business Insights to see just how big this trend is.
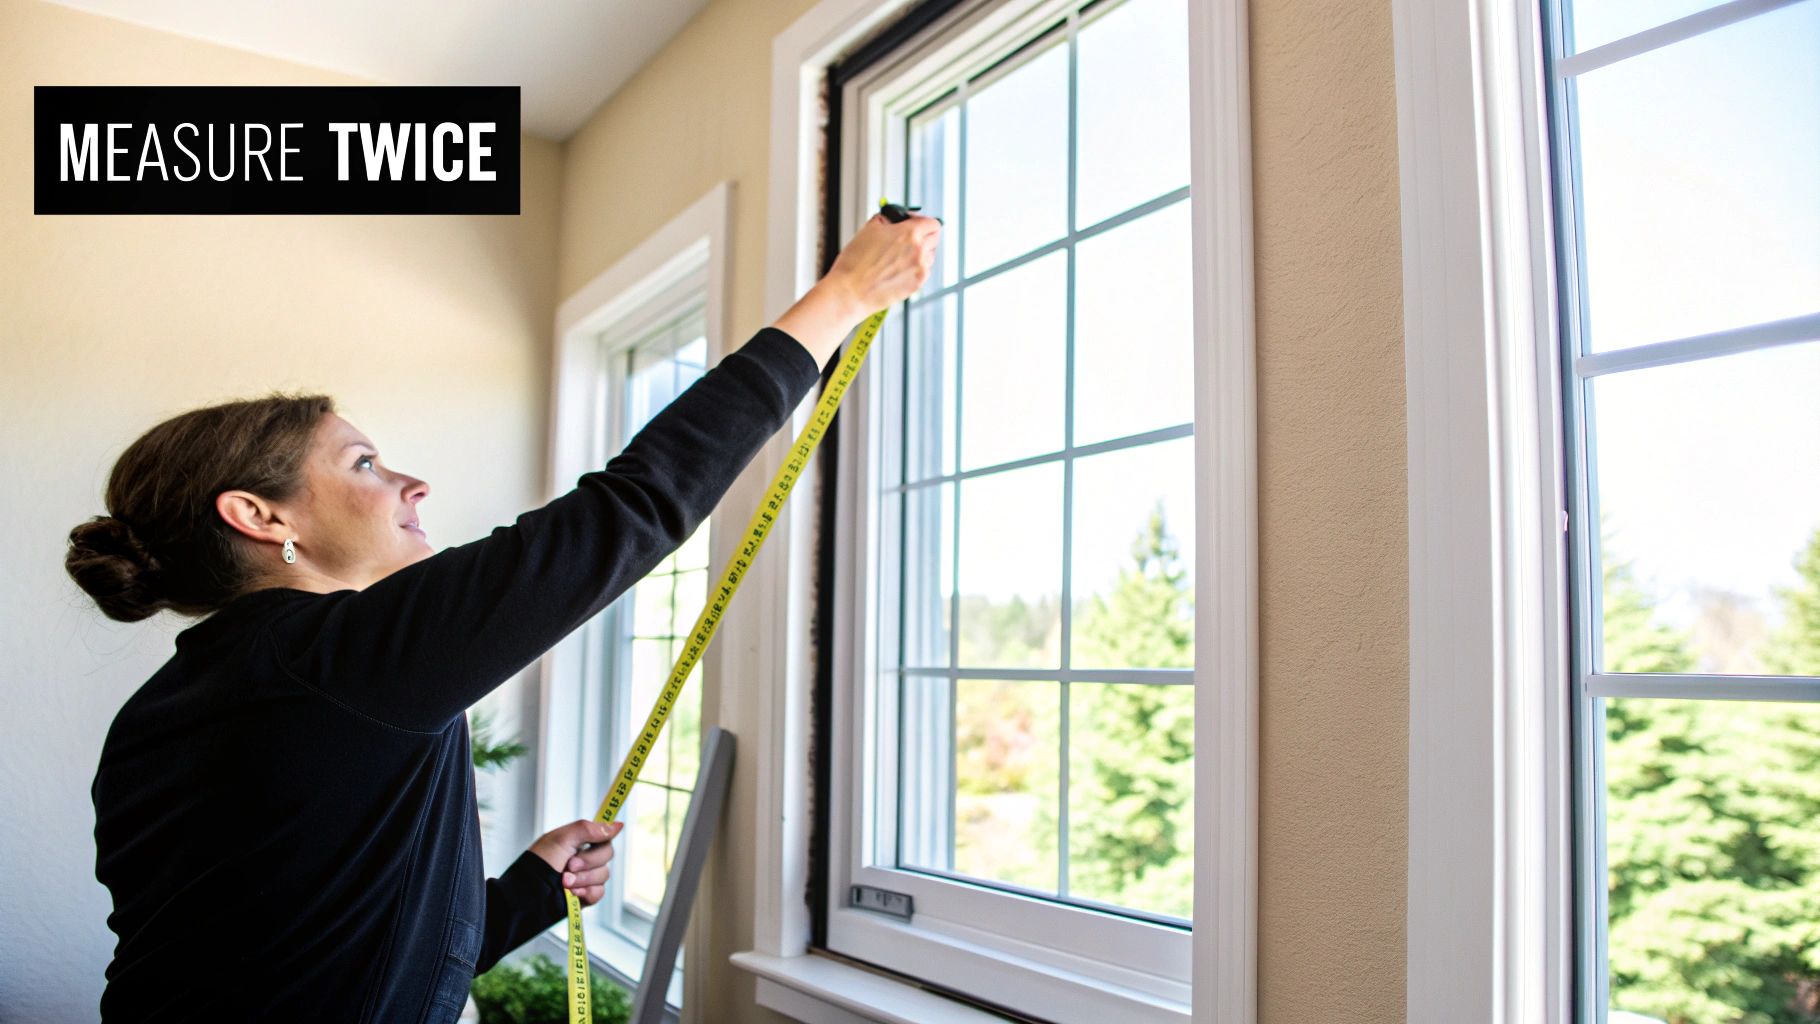
Getting your measurements right is the single most important part of this project. It’s what separates a custom, high-end look from something that just feels off. But don't worry, all you need is a tape measure and a little practical know-how.
First, determine your curtain rod width. To make the window feel larger and allow maximum light when the curtains are open, the rod must extend beyond the window frame.
A great rule of thumb is to add 3 to 6 inches on each side. Measure the total width of your window frame (including trim), then add between 6 and 12 inches to that number. That final figure is your target rod width.
Next, decide where you want your curtains to end. This choice dramatically changes the feel of the room. There are three classic styles to consider.
To measure for length, start your tape measure where you plan to hang the rod. We always recommend going 4 to 6 inches above the window frame to create an illusion of height. Then, measure down to your chosen endpoint—whether that's a float, kiss, or puddle.
For a more detailed walkthrough, our complete guide on how to measure a window for curtains perfectly breaks down every detail.
Once you've sorted out your rod width and curtain length, the last step is to mark where your brackets will go. This simple prep makes the actual process of how to install curtains over blinds a breeze.
Use your measurements to mark the spots for your bracket holes, both above and to the sides of the window frame.
Pro Tip: Always use a level to draw a faint pencil line connecting your two bracket marks. This is your secret weapon for a perfectly straight curtain rod, even if your window frame or ceiling isn't perfectly level.
Alright, you’ve planned and measured—now for the fun part. This is where your vision comes to life. This process is more straightforward than it looks, and with a few tips, you’ll have a secure setup that looks professionally done.
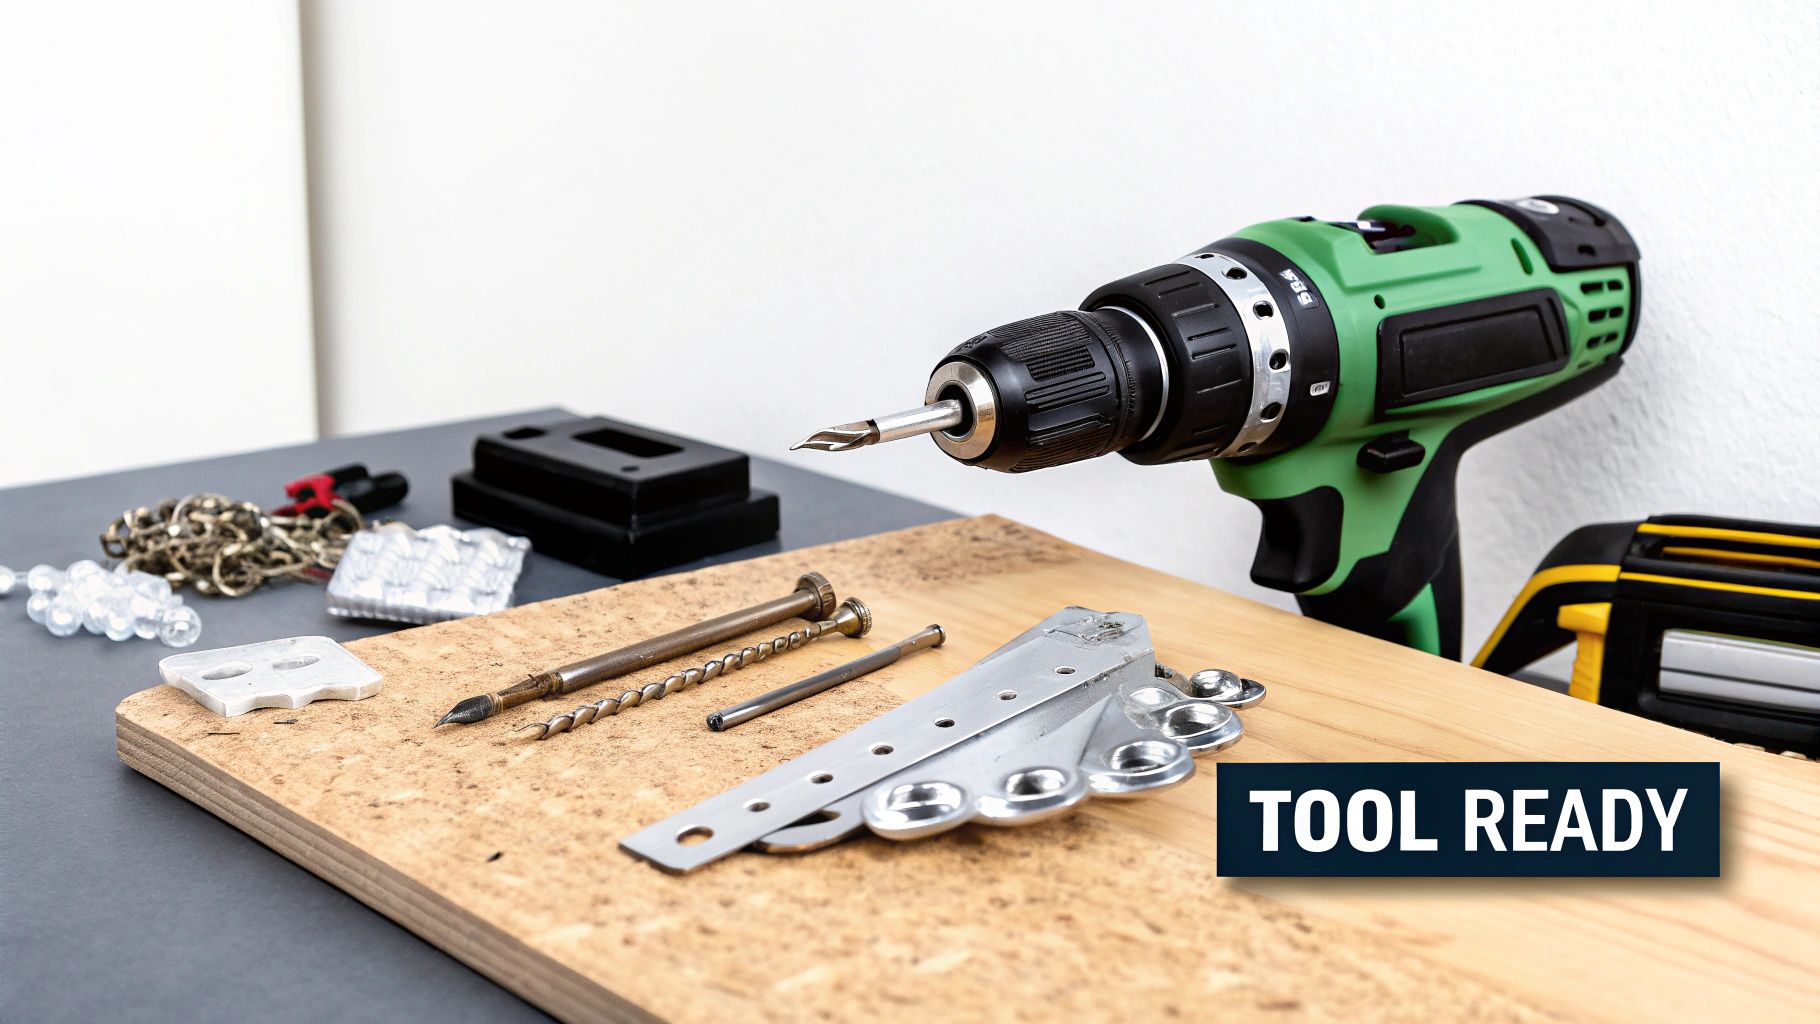
Before you start, get organized. Having all your tools ready makes the entire job feel like a satisfying DIY project instead of a chore.
| Tool/Material | Purpose |
|---|---|
| Curtain Rod & Brackets | The main hardware for hanging your curtains. |
| Tape Measure | For double-checking your measurements on the wall. |
| Pencil | To mark bracket placement. |
| Level | Absolutely crucial for ensuring a straight, professional-looking rod. |
| Drill & Bits | To create pilot holes for screws and anchors. |
| Wall Anchors | To secure brackets in drywall if you can't hit a stud. |
With these items handy, you're set for a smooth installation.
Using the measurements you took earlier, mark the spots on the wall where your brackets will go. Now for the one step you cannot skip: use a level to draw a faint line connecting your marks. This is your best defense against a crooked rod.
Once your spots are marked, it's time to drill. If you’re lucky enough to hit a wall stud (the solid wood beams in your wall), you can drill directly into it. If not, you'll need to install wall anchors first. These create a secure grip for your screws in hollow drywall.
A common mistake is using anchors too flimsy for the weight of the curtains. Always check the weight rating on the package and choose one that can comfortably support both your rod and drapes.
With your anchors in place (or holes pre-drilled into a stud), screw the brackets firmly to the wall. Give them a gentle tug to ensure they’re secure. Finally, thread your curtains onto the rod, place the rod into the brackets, and lock it in. Step back and admire your work.
This simple workflow is all it takes to successfully install curtains over blinds. The infographic below breaks it down visually.
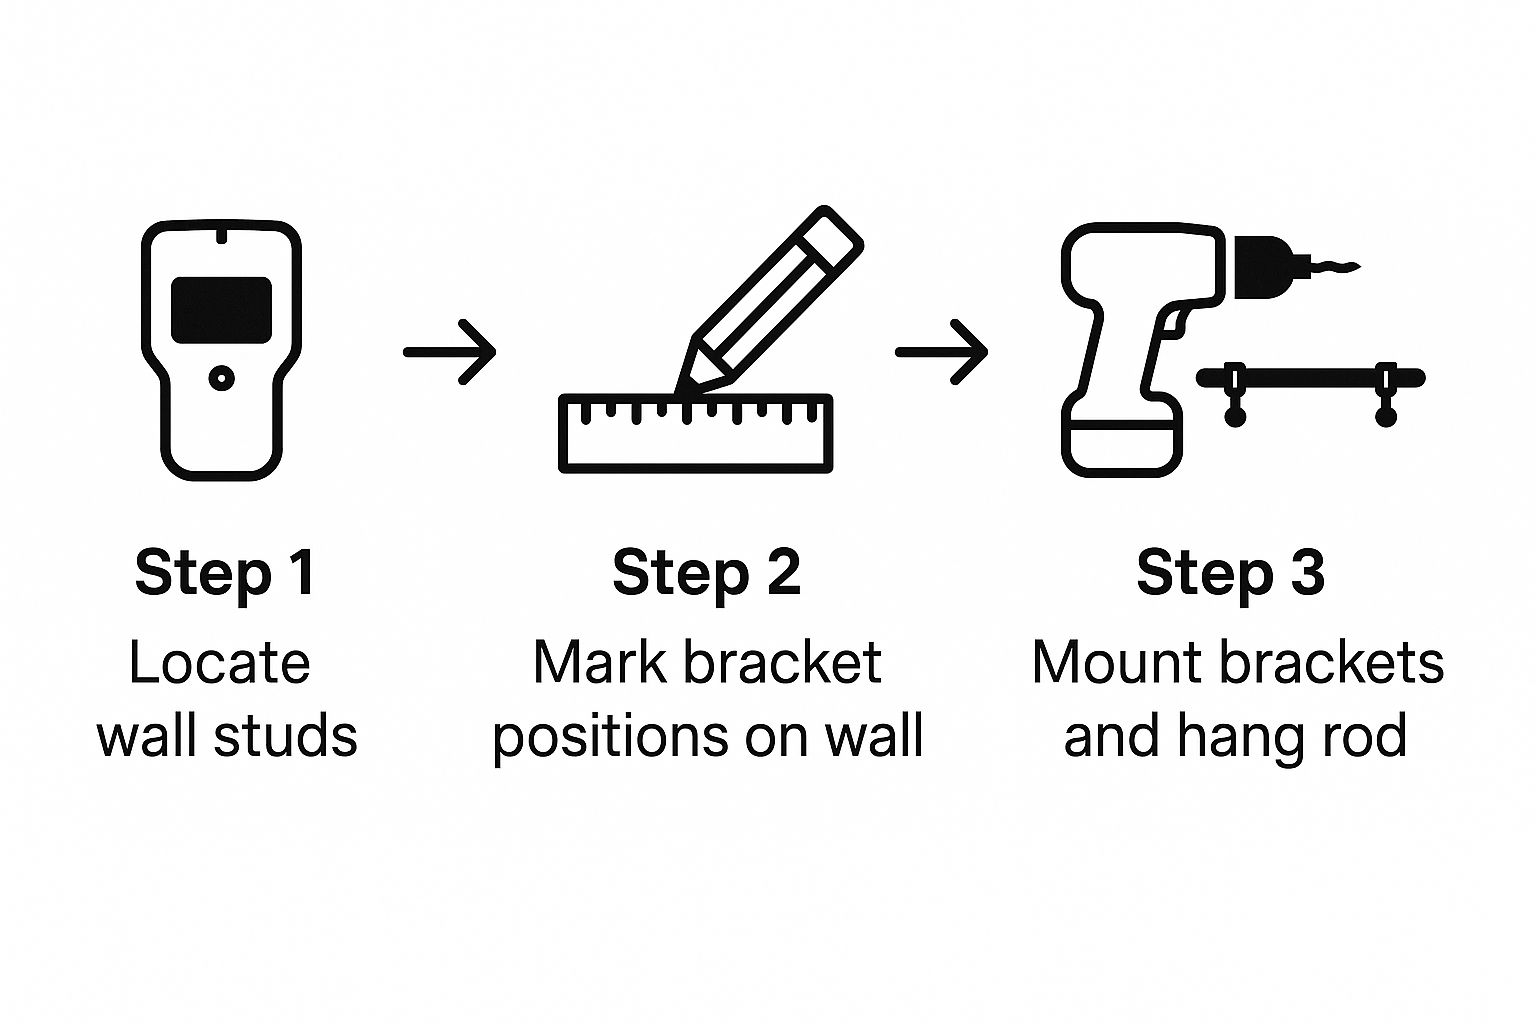
As the visual shows, it boils down to three key actions: finding studs, marking precisely, and mounting securely.
Even with the best plans, you might hit a snag. If your wall isn't perfectly flat (which is common), you can slip a small shim behind one of the brackets to make it level. It’s a tiny adjustment that makes a huge difference.
Renting or don't want to make holes? No problem. Our guide on how to hang curtains without drilling explores creative, damage-free alternatives.
By the way, you're not alone in wanting this layered look. The global market for curtains and blinds was valued at over USD 26.1 billion and is projected to climb past USD 44.58 billion by 2035. This boom is driven by people in growing cities looking for stylish and functional home solutions. You can see the full research on this growing market for more details.
Even a straightforward project can raise a few questions. Let's tackle the most common ones about how to install curtains over blinds so you can proceed with total confidence.
The best curtain rod is one with enough projection to clear the blinds. Your top choice is a standard adjustable curtain rod paired with brackets that provide a projection of at least 3 to 4 inches. This gives the drapes enough space to hang beautifully and glide smoothly without snagging. Wraparound rods are also an excellent option as they curve back to the wall, blocking side light for a polished look.
Yes, you do. The large headrail on vertical blinds requires much deeper brackets than standard ones. Look for deep projection brackets (5-6 inches), adjustable extension brackets for custom-fitting, or ceiling-mounted brackets if you lack sufficient wall space above the window frame.
For a professional designer look, you should install the curtain rod 4 to 6 inches above the top of the window frame. This simple trick creates the illusion of a taller window and higher ceilings, making the entire room feel more spacious and elegant. If you have very high ceilings, you can go even higher for a more dramatic effect, but be sure to buy longer curtain panels to match.
No, a tension rod is not a good solution. Tension rods are designed to fit inside the window frame, where your blinds are already located, leaving no room. More importantly, they lack the strength to support the weight of most curtains and will likely sag or fall. For a secure and lasting installation, you must use a rod mounted to the wall with sturdy brackets and anchors.
Of course, if a DIY project starts to feel like too much of a headache, there's no shame in calling in a pro. For those in the Altoona area, getting help from experienced folks like Handyman Services in Altoona, PA can ensure a flawless installation.