
Join the Joey'z Family!

Learning how to install peel and stick flooring is one of the most rewarding DIY projects you can tackle. The secret to a professional finish, however, isn't just in the sticking—it's all in the prep work. If you take the time to create a clean, smooth, and perfectly level surface, the rest of the job is surprisingly simple.
This guide will walk you through every step, from prepping the subfloor to adding the final trim. Let's transform your room.
Table of Contents
Peel and stick flooring has exploded in popularity, and for good reason. It’s the go-to for homeowners and renters who want a high-impact upgrade without the high cost or headache of traditional flooring. You can take a dull, tired room and completely transform it in a single afternoon.
Before we dive into the step-by-step, it's helpful to see the big picture. This table breaks down the entire project so you know exactly what you're getting into.
A summary of the essential stages, tools, and time estimates for your DIY flooring project.
| Stage | Key Action | Essential Tools | Estimated Time (per 100 sq ft) |
|---|---|---|---|
| Preparation | Cleaning, leveling, and priming the subfloor. | Broom, mop, level, floor patch compound, primer | 1–3 hours (plus drying time) |
| Layout Planning | Finding the center of the room and snapping chalk lines. | Measuring tape, chalk line, carpenter's square | 30 minutes |
| Acclimation | Letting tiles adjust to the room's temperature and humidity. | None | 48 hours (passive time) |
| Installation | Cutting and fitting tiles around obstacles. | Utility knife, straight edge, tape measure | 2–4 hours |
| Finishing | Rolling the floor and installing transition strips. | J-roller, saw for transition strips | 30–60 minutes |
Think of this as your roadmap. Having everything ready for each stage is the key to a smooth, stress-free installation day.
The short answer is: it offers a fantastic blend of affordability, style, and simplicity. Designers and architects are increasingly recommending vinyl solutions for their ease of maintenance and trendy designs, as detailed in recent vinyl flooring market analysis.
Here’s a breakdown of its pros and cons:
Pros:
Cons:
When weighing options, understanding selecting suitable flooring, such as LVP and laminate for rental properties can highlight its long-term benefits in specific situations.
Expert Tip: I can't stress this enough: always let your tiles acclimate to the room's temperature for at least 48 hours before you start. This simple step prevents the vinyl from expanding or shrinking after installation, which is crucial for a stable, long-lasting bond.
A stunning peel-and-stick floor is 90% preparation. Skipping this stage is like trying to paint a masterpiece on a dirty, lumpy canvas—every shortcut you take will show up in the final result.
Getting your subfloor perfectly clean, smooth, and ready is the single most important thing you can do. It's what makes the difference between a floor that looks professionally installed and one that starts peeling up in a few months.

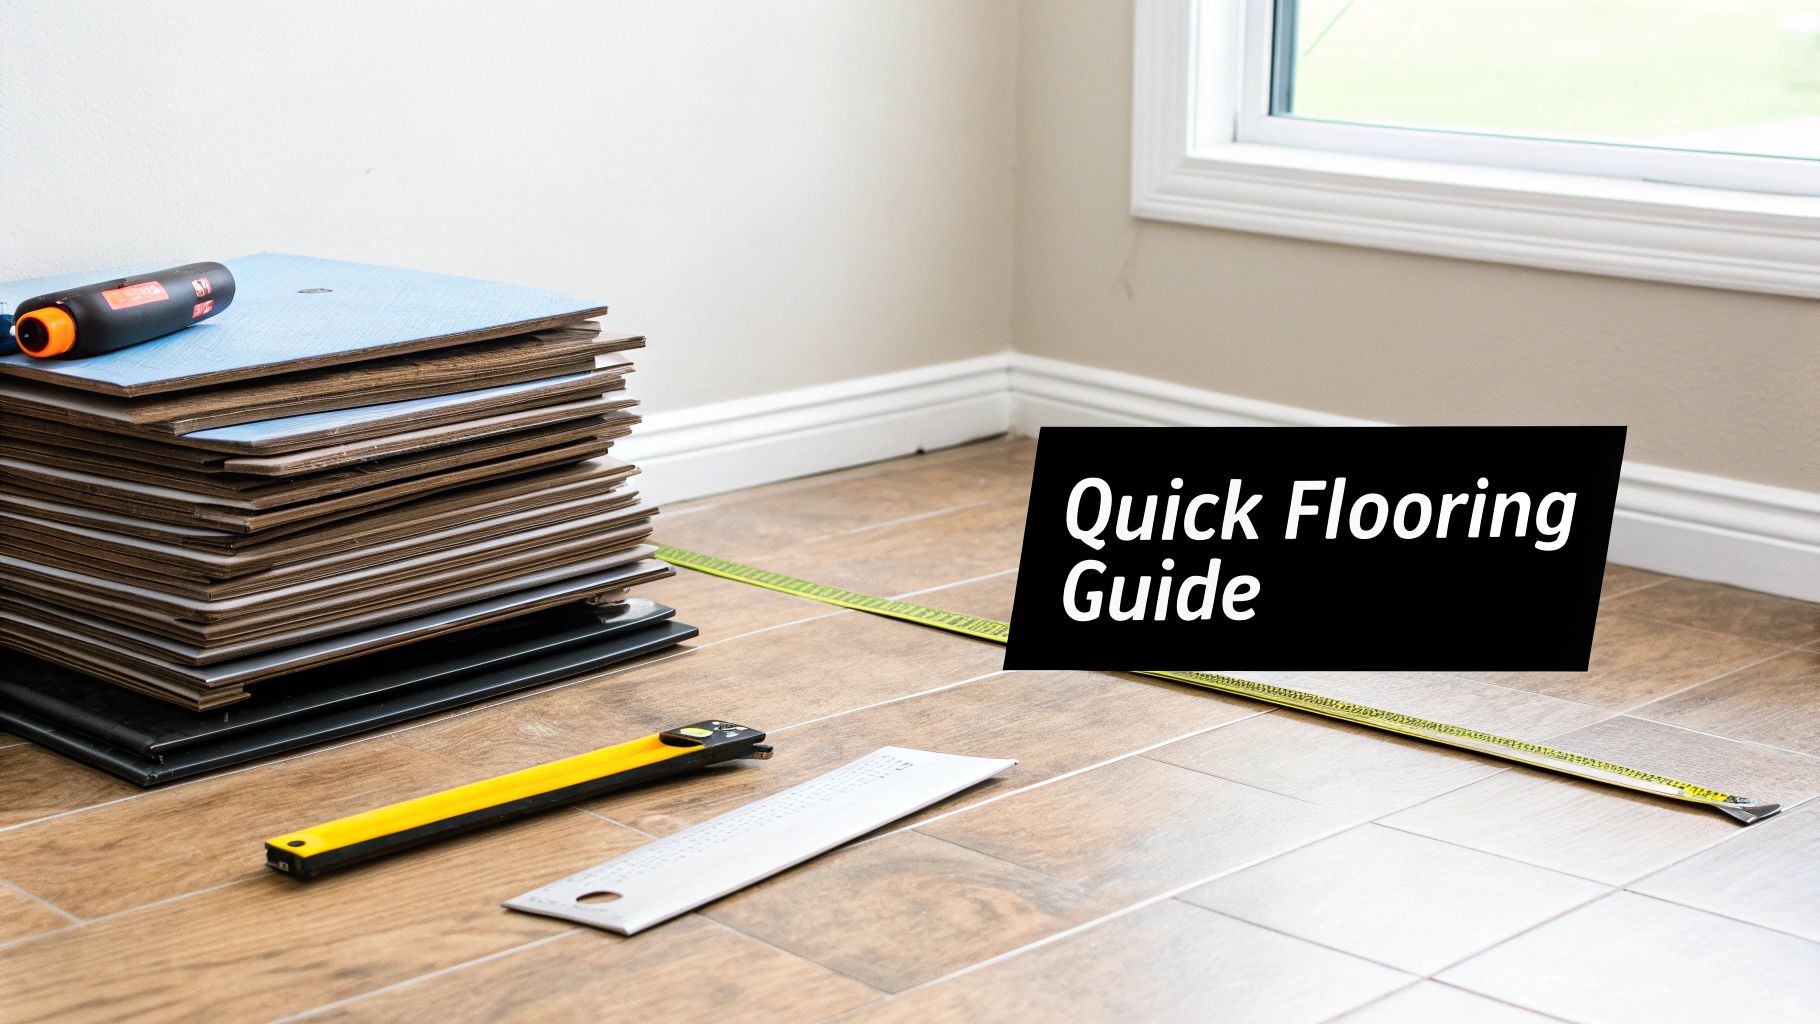
Before you lay that first tile, it's time to assemble your arsenal. Having the right tools on hand prevents frustrating mid-project runs to the hardware store and helps you work cleanly and efficiently.
Gathering your supplies first is a pro move that makes the entire process smoother. Here’s what you should have ready:
Keeping everything organized is just as important. A system for your tools means less time spent searching and more time working.
So, what's the goal here? The short answer is: your subfloor must be perfectly clean, flat, and dry. The adhesive on these tiles is strong, but it can't perform miracles over dirt, dust, or an uneven surface. Any debris left behind will create a weak spot in the bond and might even show up as little bumps under your new floor.
Your prep work will change slightly depending on your subfloor type:
There are some floors you should never install peel-and-stick tiles over. This includes floating floors like laminate, cushioned vinyl, or multiple layers of old flooring. These surfaces have too much movement, which will cause your new tiles to shift and the seams to pop open over time.
Pro Tip: After you think you're done cleaning, run your hand over the subfloor. If your palm comes away dusty, it’s not clean enough. I always do a final pass with a tack cloth or a slightly damp microfiber cloth to pick up those last lingering particles.
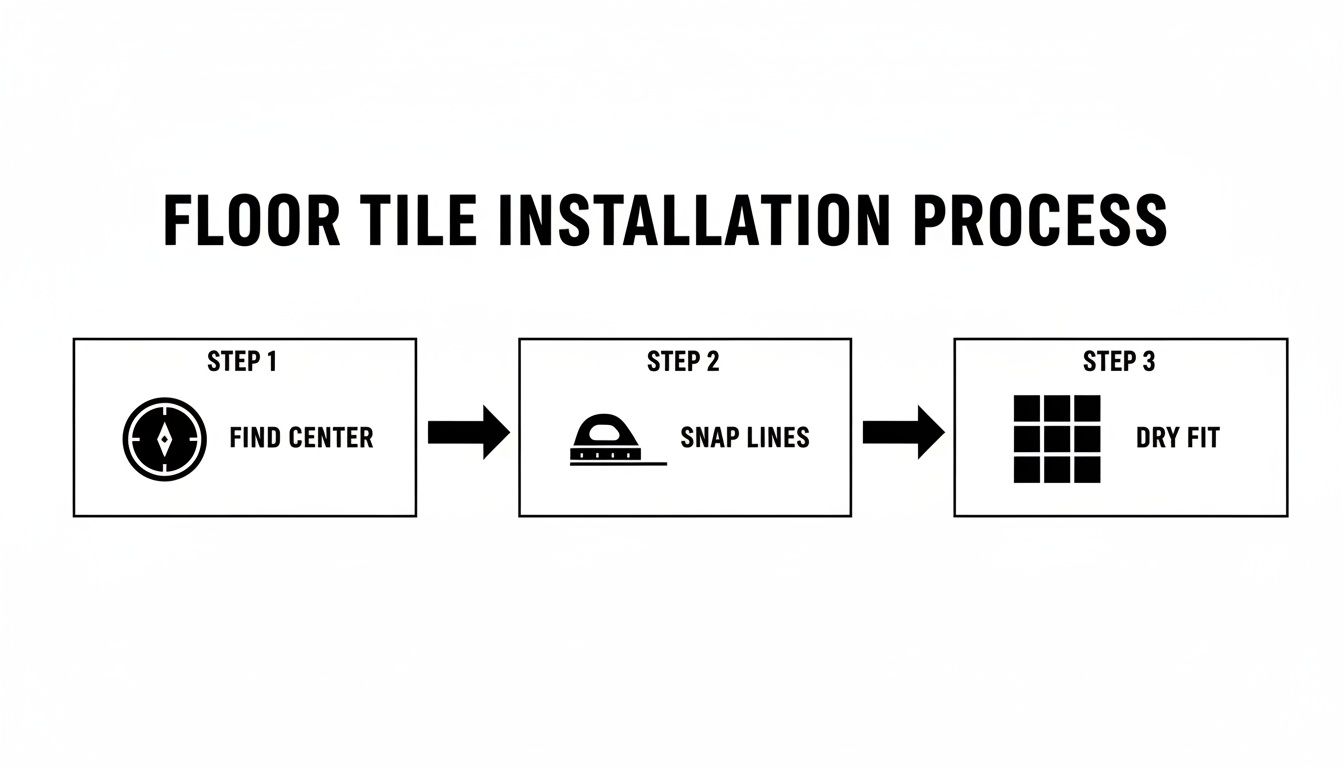
The temptation is strong to start sticking tiles in the nearest corner. But trust me: taking a few minutes to plan your layout is the most important thing you can do to get a professional-looking floor. This is what separates a rushed, DIY-looking job from one that looks like a pro installed it.
A little planning ensures your pattern is balanced and centered, helping you avoid those awkward, skinny slivers of tile along your most visible walls. The whole process of how to install peel and stick flooring hinges on getting this foundational grid right.
To find the perfect starting point, you must find the center of the room. This simple method ensures your layout is symmetrical and balanced.
This technique ensures that any tiles you have to cut along the edges will be a similar, substantial width, creating a more intentional and high-end look.
Before peeling off a single backing paper, you need to do a dry fit. This means laying out your tiles loosely on the floor, without adhesive, to preview the final pattern. It’s your one chance to make decisions before anything becomes permanent.
A dry fit lets you:
A staggered or "running bond" pattern is a fantastic trick for hiding minor imperfections in a subfloor. The offset seams are way less likely to draw your eye to any small dips or bumps.
This preview step builds confidence and removes all the guesswork. It is the secret to getting that flawless, professional finish every DIYer dreams of.
With your prep work complete, it's time for the satisfying part—watching your new floor come to life. This is where your careful planning pays off, transforming an empty, prepped surface into a finished floor.
The secret to a flawless installation lies in starting correctly and working methodically. Your chalk lines are your roadmap—they'll ensure every tile that follows is perfectly straight.
Your entire floor’s alignment hinges on this first tile. Head to the intersection of your chalk lines in the center of the room.
Carefully peel the backing paper off your first tile, trying not to touch the adhesive. Line up two edges of the tile perfectly with your perpendicular chalk lines. Once positioned, gently lower it onto the subfloor and press down firmly from the center outward to create a strong, even bond.
From here, work your way outward, butting the edge of each new tile snugly against the one before it. Avoid stretching or forcing tiles into place, as this can cause them to pop up later.
Sooner or later, you'll run into a door jamb, pipe, or vent. Don't panic. Getting these cuts right is what elevates the look of your project. The goal is to make the tile fit so snugly that it looks like the obstacle was installed after the floor.
For these complex shapes, paper templates are your best friend.
When you get to the edges of the room, the "score and snap" method is the most efficient way to handle straight cuts. Just use a straight edge and a utility knife to score the surface of the tile deeply, then simply bend the tile back along the line—it will snap off cleanly.
Once every tile is laid, there's one final, non-negotiable step. You must roll the entire floor with a J-roller or, even better, a 100-lb flooring roller.
This step is absolutely crucial. It applies even, heavy pressure across every square inch, fully activating the pressure-sensitive adhesive. This process squeezes out any trapped air bubbles and forges the strongest possible bond between the tile and the subfloor.
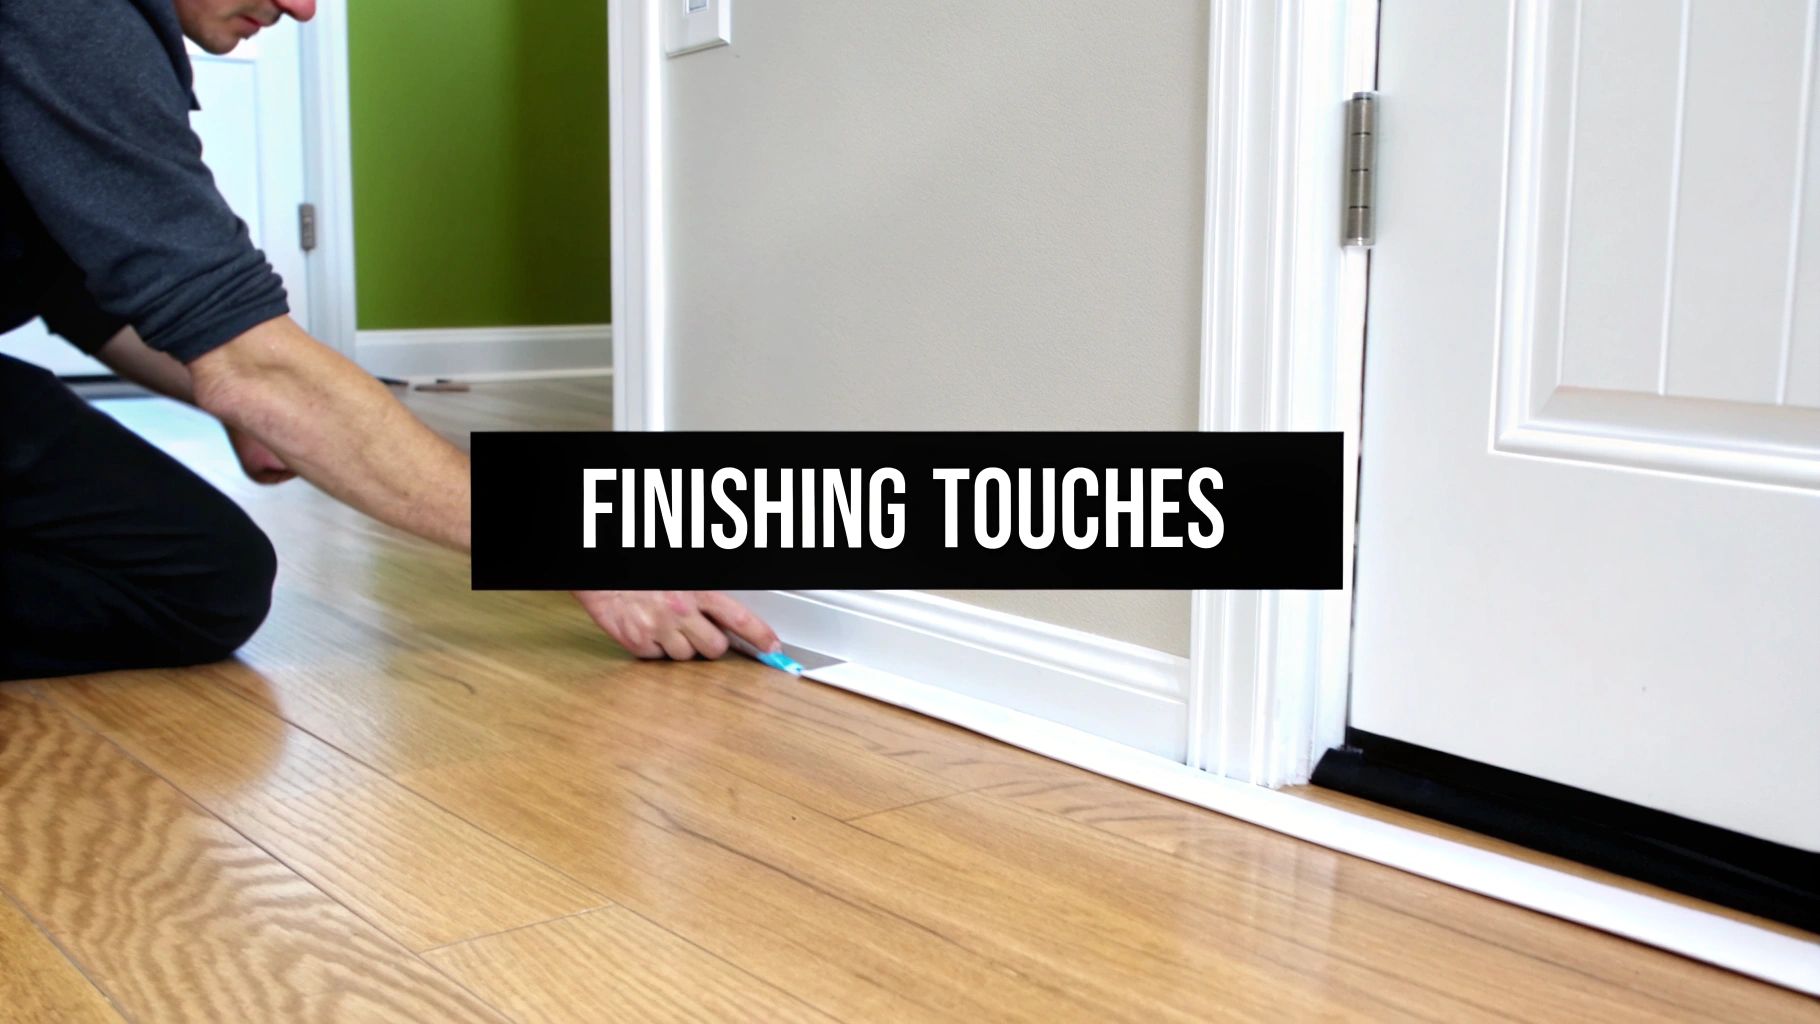
Your floor is down, but we're not quite done yet. These final steps are what take your project from "finished" to looking professionally installed. Now it's time to cover expansion gaps, create seamless transitions, and put a simple care plan in place.
This desire to create a truly finished space is a huge part of home improvement today. The US residential flooring market now makes up over 70% of the total market, largely driven by homeowners choosing to remodel instead of move. You can learn more about residential flooring market trends and see just how big this movement is.
Remember that small 1/8-inch expansion gap you left around the edge of the room? It’s essential for preventing your floor from buckling, and it needs to be covered for a clean look. Baseboards or quarter-round molding are the perfect solution.
For doorways where your new flooring meets a different surface—like carpet or tile—a transition strip is non-negotiable. These strips create a smooth and safe bridge between the two floors.
Expert Tip: When cutting molding, always measure twice and cut once. For professional-looking corners, use a miter saw to get clean, 45-degree angle cuts. It makes a world of difference.
The best part about peel-and-stick flooring is how easy it is to maintain. A little routine care is all it takes to protect its beauty for years.
Taking proper care of your new floor elevates the whole feel of the room. For more inspiration on pulling your space together, take a look at our guide on decorating ideas for small rooms.
Even with a detailed guide, a few questions always pop up. Here are answers to the most common queries about how to install peel and stick flooring.
The short answer is: yes, in many cases. You can lay peel and stick tiles directly over clean, smooth, and level surfaces like existing sheet vinyl or linoleum.
However, if you are working with ceramic tile, you must fill the grout lines with a floor-leveling compound first. Skipping this step will cause the faint outline of the grout lines to "telegraph" through your new floor over time.
Avoid installing peel and stick over these surfaces:
Yes, absolutely. You must leave a small expansion gap of about 1/8 inch around the entire perimeter of the room. Vinyl expands and contracts slightly with changes in temperature and humidity. This gap gives it the necessary room to move without buckling against the walls. The space will be completely covered when you reinstall your baseboards or add quarter-round molding.
For straight cuts, the easiest method is called ‘score and snap.’ Simply place a straight edge on the tile, use a sharp utility knife to score a deep line into the surface, and then bend the tile along that line. It will snap cleanly.
For complex cuts around pipes or door frames, use a contour gauge to trace the shape onto the tile. Then, carefully cut along the line with your utility knife. Knowing these techniques is essential for a smooth installation, which you can learn more about in this guide on how long does it take to install vinyl flooring.
Ready to start your next home project? At Joey'z Shopping, we offer a wide range of home decor solutions to help you create a space you love. Explore our collections today at https://joeyzshopping.com.