
Join the Joey'z Family!

You've unpacked the blinds, held them against the window, and discovered the frame is too shallow for the brackets. Or the trim is uneven, the crank handle sticks out, and an inside mount would leave an irritating strip of uncovered glass. That's exactly when how to install window blinds outside mount becomes the useful skill, not a fallback plan.
An outside mount places the brackets on the wall or surrounding trim, with the headrail sitting in front of the opening. Done properly, it improves coverage, hides awkward framing, and can make a small window look more substantial. The trade-off is that every measurement and fastener choice remains visible, so casual marking and weak anchors tend to show quickly.
Outside mount blinds sit on the wall surface above the window or on flat trim around it. Instead of tucking the headrail inside the jamb, you position it proud of the glass and size the blind to cover both the opening and part of the surrounding wall.
That solves a few stubborn problems:
Outside mounting also helps with privacy and light control because the blind can overlap the opening instead of stopping at the inside edges. Retail measurement guidance commonly recommends adding about 2 to 4 inches on each side for coverage, depending on the product and the level of light control desired. Lowe's measurement guidance explains the overlap approach and the basic sequence of measuring, marking, fastening brackets, and snapping in the headrail.
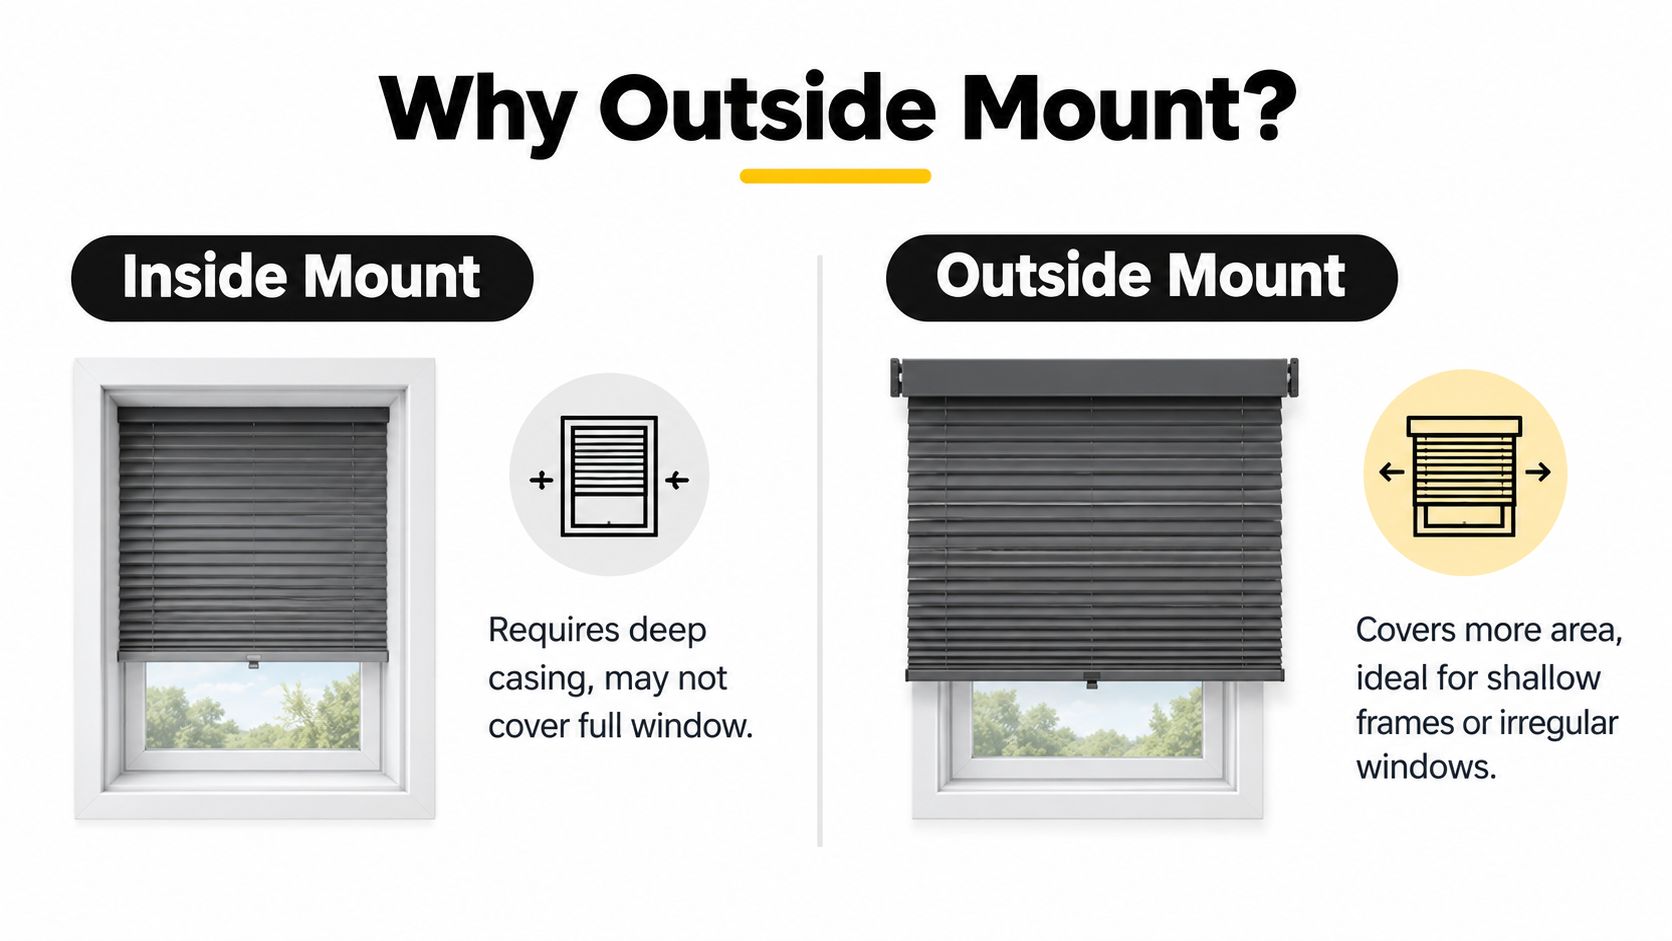
An outside mount projects into the room, so furniture, curtain rods, and window hardware need clearance. It also covers some trim that you might prefer to display. If the wall above the window has little flat space, you may need shims, spacer blocks, or a different treatment.
For homes with children or pets, outside mount is a good opportunity to choose a cordless or motorized blind and position the hardware higher and wider than the frame. Corded window coverings have a serious safety history. Federal regulators identified blind cords as a strangulation hazard in 1981, and reporting on a Pediatrics study documented 16,827 window-blind-related injuries among U.S. children younger than six treated in emergency departments from 1990 to 2015. The same source reported nearly 17,000 injured children, almost 300 deaths, and federal data citing at least 332 fatal strangulations involving window cords during the period discussed. The Industrial Safety and Hygiene News report provides that historical context.
If you're still deciding between the two mounting styles, compare the practical differences in this inside-mount blinds installation guide before ordering.
Measurement decides whether the finished blind looks custom or cobbled together. The short answer is to measure the area you want the blind to cover, not merely the visible glass.
Measure across the opening or trim at the top, middle, and bottom. Use the widest measurement, especially if the frame is old or visibly out of square. A Home Depot measurement guide recommends using the widest point and rounding to the nearest 1/8 inch, which reduces fit errors on uneven openings. Home Depot's blinds measurement guide also describes adding outside coverage for privacy and light control.
Add your intended overlap to both sides. A practical starting point is around 3 inches on each side, while some installations use 4 inches per side for stronger light blockage. The final width you order is the opening width plus both side overlaps.
For example, if you want to cover the trim edge rather than the glass edge, measure from the left coverage point to the right coverage point, then record that total. Don't add overlap twice.
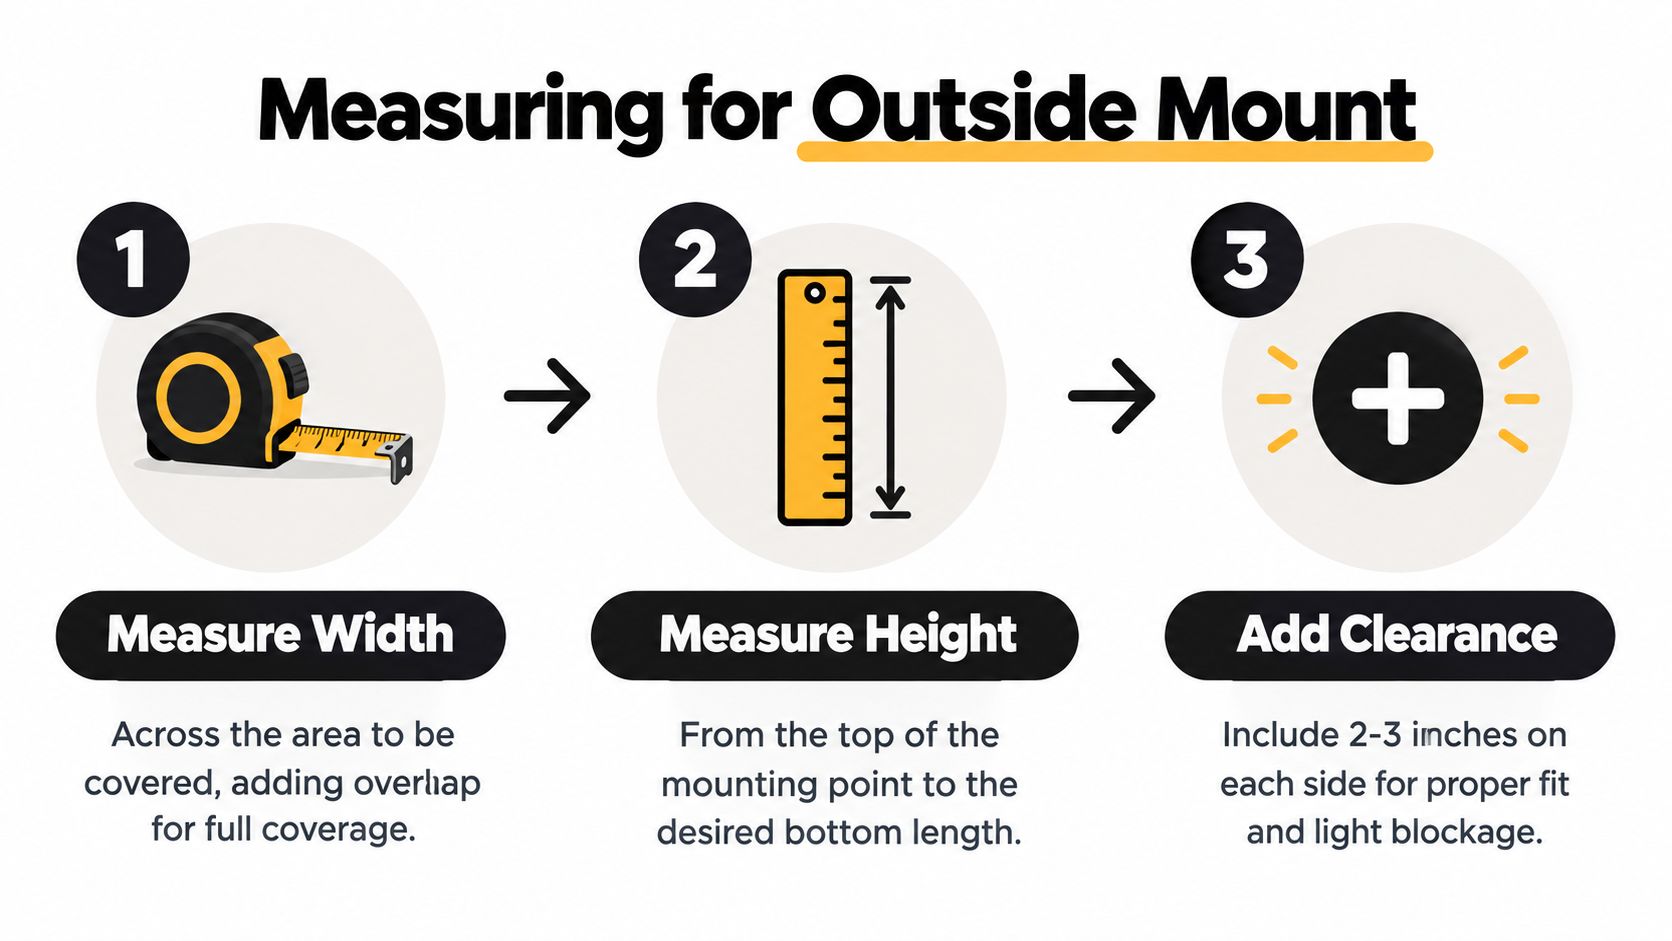
Measure from the point where the headrail will sit down to the sill or desired bottom edge. If you want the blind to cover the sill, include that in the finished height. If the blind should stop above a handle, radiator, or countertop, measure to that deliberate stopping point instead.
Then measure the depth clearance from the wall surface to anything in the blind's path. Check handles, cranks, window locks, trim projections, sensors, and nearby curtain hardware. A spacer block or extension bracket may be necessary when the blind would otherwise strike an obstruction.
You also need a flat mounting plane. Outside-mount brackets generally need about 2 inches of flat surface above the window for bracket and headrail placement, according to the Home Depot guide cited above. Uneven crown molding or a protruding sill can force shimming or make another mounting position more sensible.
Practical rule: Write the final ordered dimensions as width by height. Don't send the opening dimensions to the retailer and expect the factory to interpret your overlap plan.
For a second walkthrough of the measuring process, use this window measurement guide.
A small tool kit prevents a simple Saturday job from becoming a hardware-store relay. Set everything on the floor before opening the blind package:
The fastener depends on what's behind the surface. A screw that holds securely in wood can spin uselessly in hollow drywall, while a plastic anchor is the wrong answer for masonry.
| Wall Surface | Fastener | Drill Bit | Pilot Needed |
|---|---|---|---|
| Drywall or plaster | Plastic anchors or self-drilling drywall anchors | 1/4-inch pilot where required | Yes |
| Wood trim or stud | Number 6 or number 8 wood screws | 3/32-inch bit | Yes, no anchor |
| Brick, concrete, or stone | Sleeve or wedge anchors | Masonry bit matched to anchor diameter | Yes |
For masonry, use a hammer drill and the masonry bit specified for the anchor. For hollow walls, locate framing first, then use an anchor only where a stud isn't available. Manufacturer instructions may specify a different pilot size for the supplied bracket, so follow those instructions when they conflict with a generic tool list.
A manufacturer installation guide specifically calls for pre-drilling mounting holes with a 5/64-inch drill bit before fastening. The Blinds.com installation PDF is a useful example of why the included instructions matter. Joey'z Shopping offers window coverings and related home décor products, so compare the supplied bracket hardware with your wall type before choosing replacement fasteners.
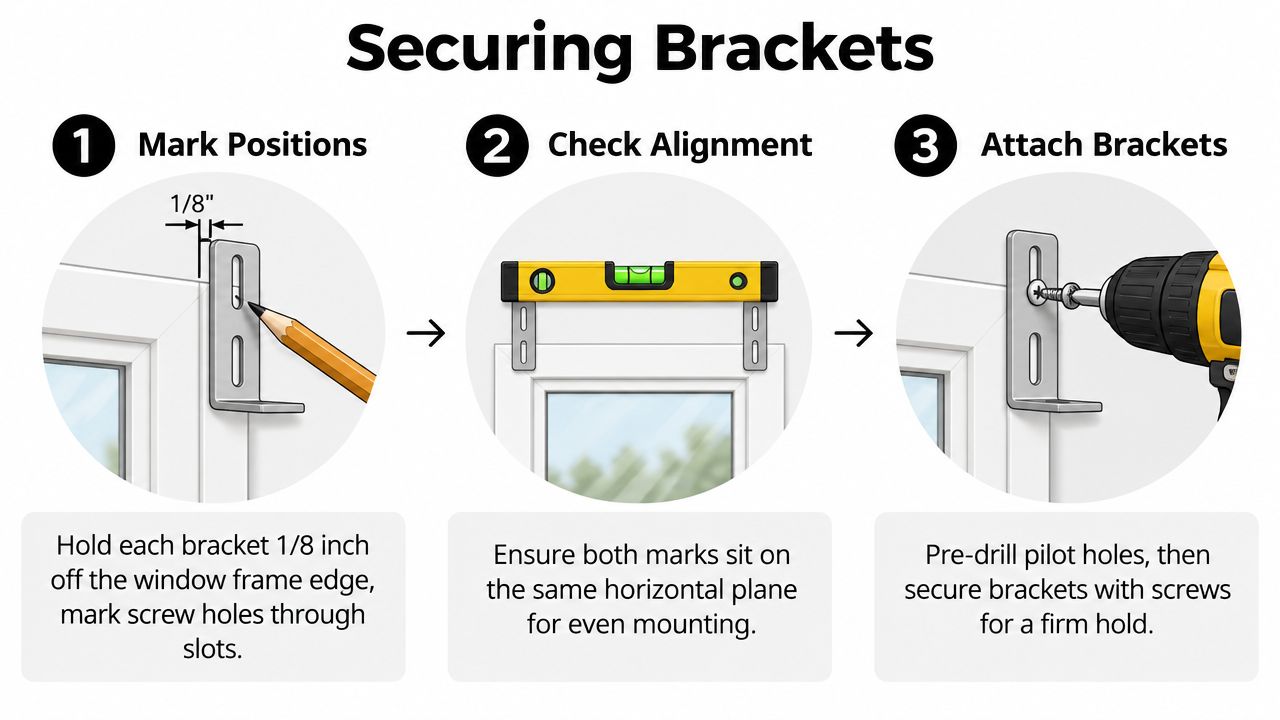
Start with the bracket positions, not the drill. Hold each bracket about 1/8 inch off the window-frame edge when that placement suits the product, then mark through the bracket slots. Span the marks with a 4-foot level and check the actual horizontal line, not just the distance from the ceiling or trim.
If the first bracket is mounted slightly high, the second bracket can make the headrail twist. Fixing that at the pencil-mark stage is much easier than correcting it after the blind is hanging.
Pre-drill every marked hole. Don't punch an anchor into unprepared drywall or drive a screw directly into a hard surface and hope the bracket stays aligned.
Use the bit and fastener appropriate to the substrate:
The fastener matters more than the bracket's appearance. Manufacturers commonly specify two screws per bracket, with at least one screw anchored firmly into framing where possible. Blinds.com's installation guidance also emphasizes pre-drilling, level installation, and even bracket spacing on wider systems.
Fix the first bracket, then place the level across the installed bracket and the second mark. Re-level before drilling the second side. For a headrail wider than 36 inches, add a center support bracket to limit sag. For wider vertical systems, one manufacturer guide specifies additional brackets spaced evenly with no more than 30 inches between adjacent brackets, so follow the product-specific spacing instructions rather than improvising.
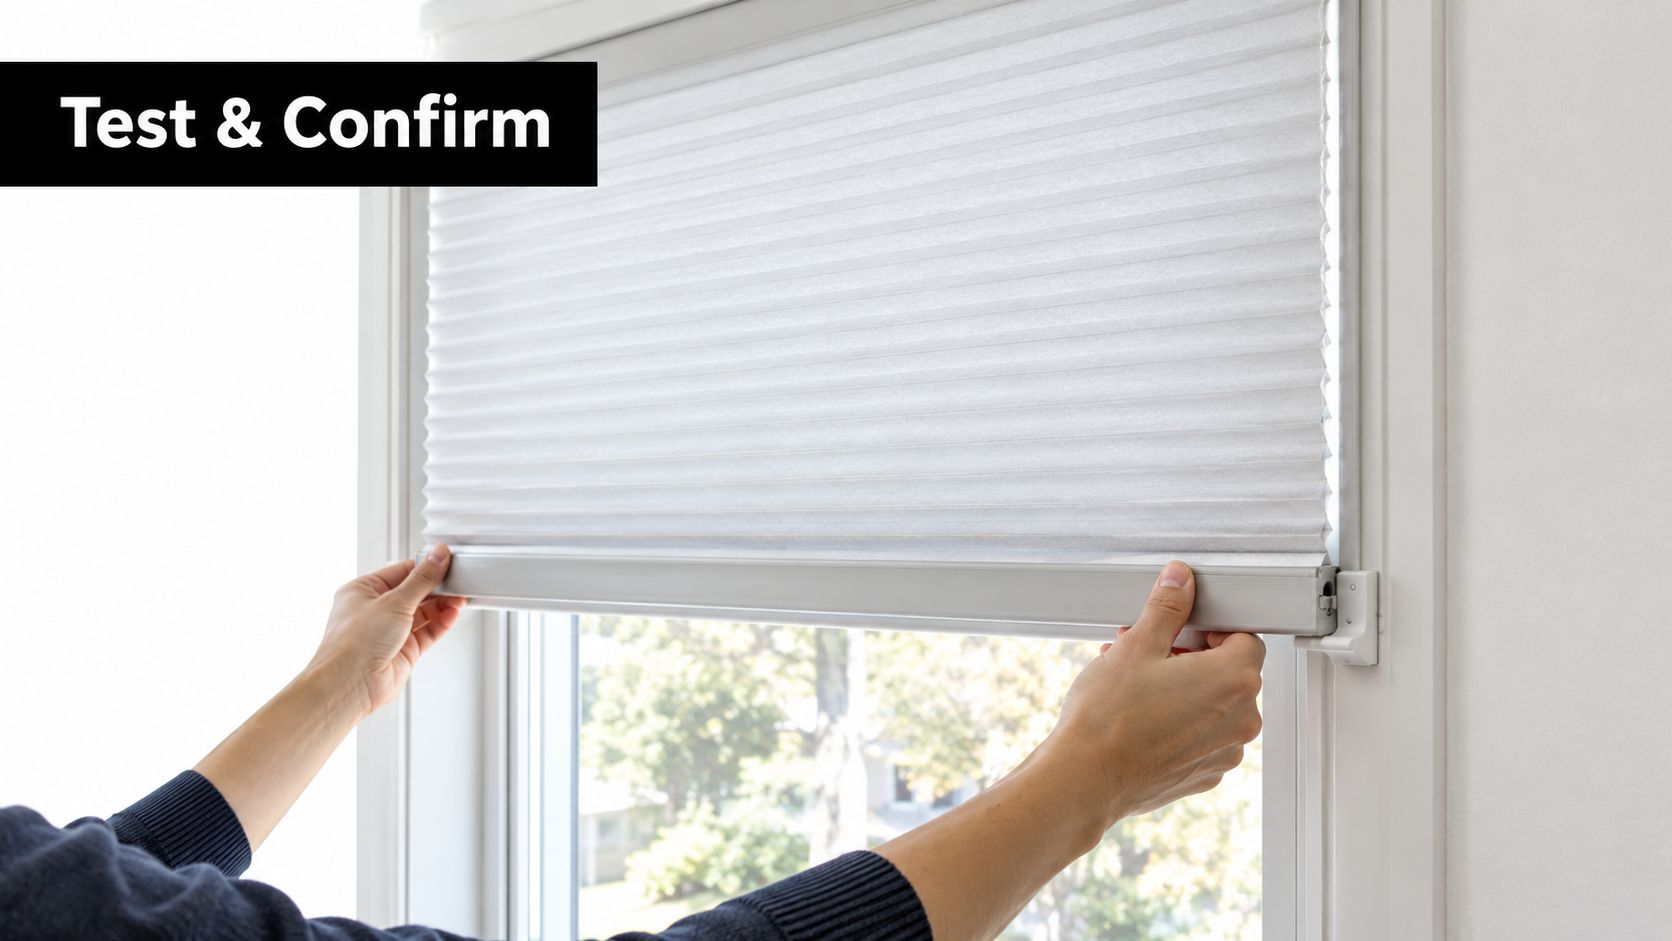
With both brackets secure, angle the headrail slightly. Hook its back lip into the bracket tabs, then rotate the front downward until you hear the retaining click.
Pull gently outward on the headrail to confirm it's locked. If one end clicks and the other doesn't, stop and inspect the bracket level, screw position, and headrail seating. Forcing the front can bend a tab or leave one side unsecured.
Some horizontal blind instructions also specify a small 1/4-inch deduction from measured trim width for end-bracket fit. That detail varies by product, so don't apply it universally. Read the supplied installation sheet before finalizing a tight trim-mounted measurement.
Once the headrail clicks into place, test the blind before attaching decorative pieces. Lower it fully and raise it again three times, watching the bottom rail and listening for scraping. The blind should travel squarely, and no slat, vane, or fabric edge should catch on the headrail or surrounding trim.
For a corded horizontal unit, operate the tilt wand first, then the lift cord. Check that the slats close evenly and that the ladder strings or rungs remain aligned. If the blind feels stiff, don't compensate by pulling harder. Look for a crooked headrail, an obstruction, or a bracket that hasn't fully closed.
Cordless and motorized controls remove loose operating cords from the room. That isn't merely a style upgrade, especially in a nursery, playroom, or home with curious pets. The U.S. Consumer Product Safety Commission identifies the ANSI/WCMA A.100.1 standard as addressing strangulation hazards involving continuous cord loops, inner cords, and cord joiners in window-covering products. The CPSC window-blind cord standards page explains the safety issue and the relevant voluntary standard.
Look for a Window Covering Manufacturers Association Best for Kids certification mark when evaluating products for family rooms. The mark doesn't replace careful installation, but it gives you a product-safety signal before the box reaches the wall.
If cords are unavoidable, install the cord cleat at least 5 feet above the floor and secure the cord after every use. Keep furniture, pet beds, and climbable objects away from the operating side. The control should remain usable by the intended adult without becoming accessible to a child.
Accessibility belongs in this decision too. Continuous-loop beaded chains can be easier for someone with limited grip strength, provided the loop is properly tensioned. Motorized lifts let users with mobility limitations operate the blind without reaching the headrail. For practical operating guidance, see this cordless blinds guide. A broader overview of residential window treatments can help when you're comparing control types across several rooms.
A complaint about an outside-mount blind often points to a planning mistake rather than defective hardware. Diagnose the symptom before reaching for the drill.
If the top corners show too much light, the blind may be too narrow. Re-drilling the brackets won't make the fabric, slats, or roller wider. The practical fix is a wider replacement blind or light-blocking side channels, if the product supports them.
Check whether the gap is symmetrical. A similar gap on both sides suggests insufficient ordered coverage. A gap on one side suggests a shifted bracket, an uneven opening, or a crooked headrail.
A headrail that looks tilted usually traces back to the wall reference line or a bracket installed off level. Place the level across the headrail, identify the low side, and use a properly fitted shim under that bracket rather than immediately remounting everything.
The shim must support the bracket without preventing the screws from seating. If the bracket rocks under pressure, the mounting surface isn't providing a stable plane and needs correction before the blind is operated repeatedly.
A spinning or pulled-out anchor isn't repaired by tightening the same screw. Replace it with a suitable toggle bolt, or relocate the bracket into a stud if the layout allows. If you relocate the bracket by 2 inches, confirm that the new position still gives the headrail balanced support and doesn't interfere with the blind mechanism.
| Problem | Likely Cause | Fastest Fix |
|---|---|---|
| Light gaps at top corners | Ordered width is too narrow | Replace with a wider blind or add compatible side channels |
| Crooked headrail | Reference line or bracket is unlevel | Shim the low-side bracket and recheck level |
| Anchor pulls or spins | Fastener doesn't suit hollow wall | Use a toggle bolt or move into framing |
| Blind binds during travel | Obstruction or uneven support | Check clearance, level, and bracket seating |
Before declaring the hardware faulty, check four things:
Most outside-mount complaints begin with missed overlap or clearance planning, not a failure inside the bracket.
Give the installation a deliberate final inspection while the tools are still nearby. The headrail should sit flush against both brackets, and the level should read true across the entire span, not just at one end.
Press each bracket by hand. It shouldn't wiggle, and every screw should feel snug without crushing drywall or stripping the head. Check that the headrail remains locked after several operating cycles.
Use this final list:
The last check catches mistakes that look minor from a ladder but obvious from across the room. If the rail is straight, the blind operates smoothly, the fasteners hold, and the controls suit the people using the room, the project is finished.
Joey'z Shopping offers curtains, blinds, shades, and valances for homeowners and renters updating window treatments, including options suited to cordless and outside-mount projects. Visit Joey'z Shopping to compare window-covering styles and choose the right fit before you drill.