
Join the Joey'z Family!
Ready to give your windows a fresh new look with custom blinds? Fantastic choice. But before you dive into picking styles and colors, we need to tackle the most critical step: learning how to measure for blinds. Getting this right is the difference between a sleek, professional fit and a frustrating, lopsided mess. I've seen it happen!
This guide will walk you through the process step-by-step, ensuring you get it right the first time. The short answer is: you need a steel tape measure and to decide between an inside or outside mount. Your choice determines the entire measuring technique.
Table of Contents
The very first decision is whether you want an inside mount or an outside mount. This choice changes everything about how you measure, so let's break it down.
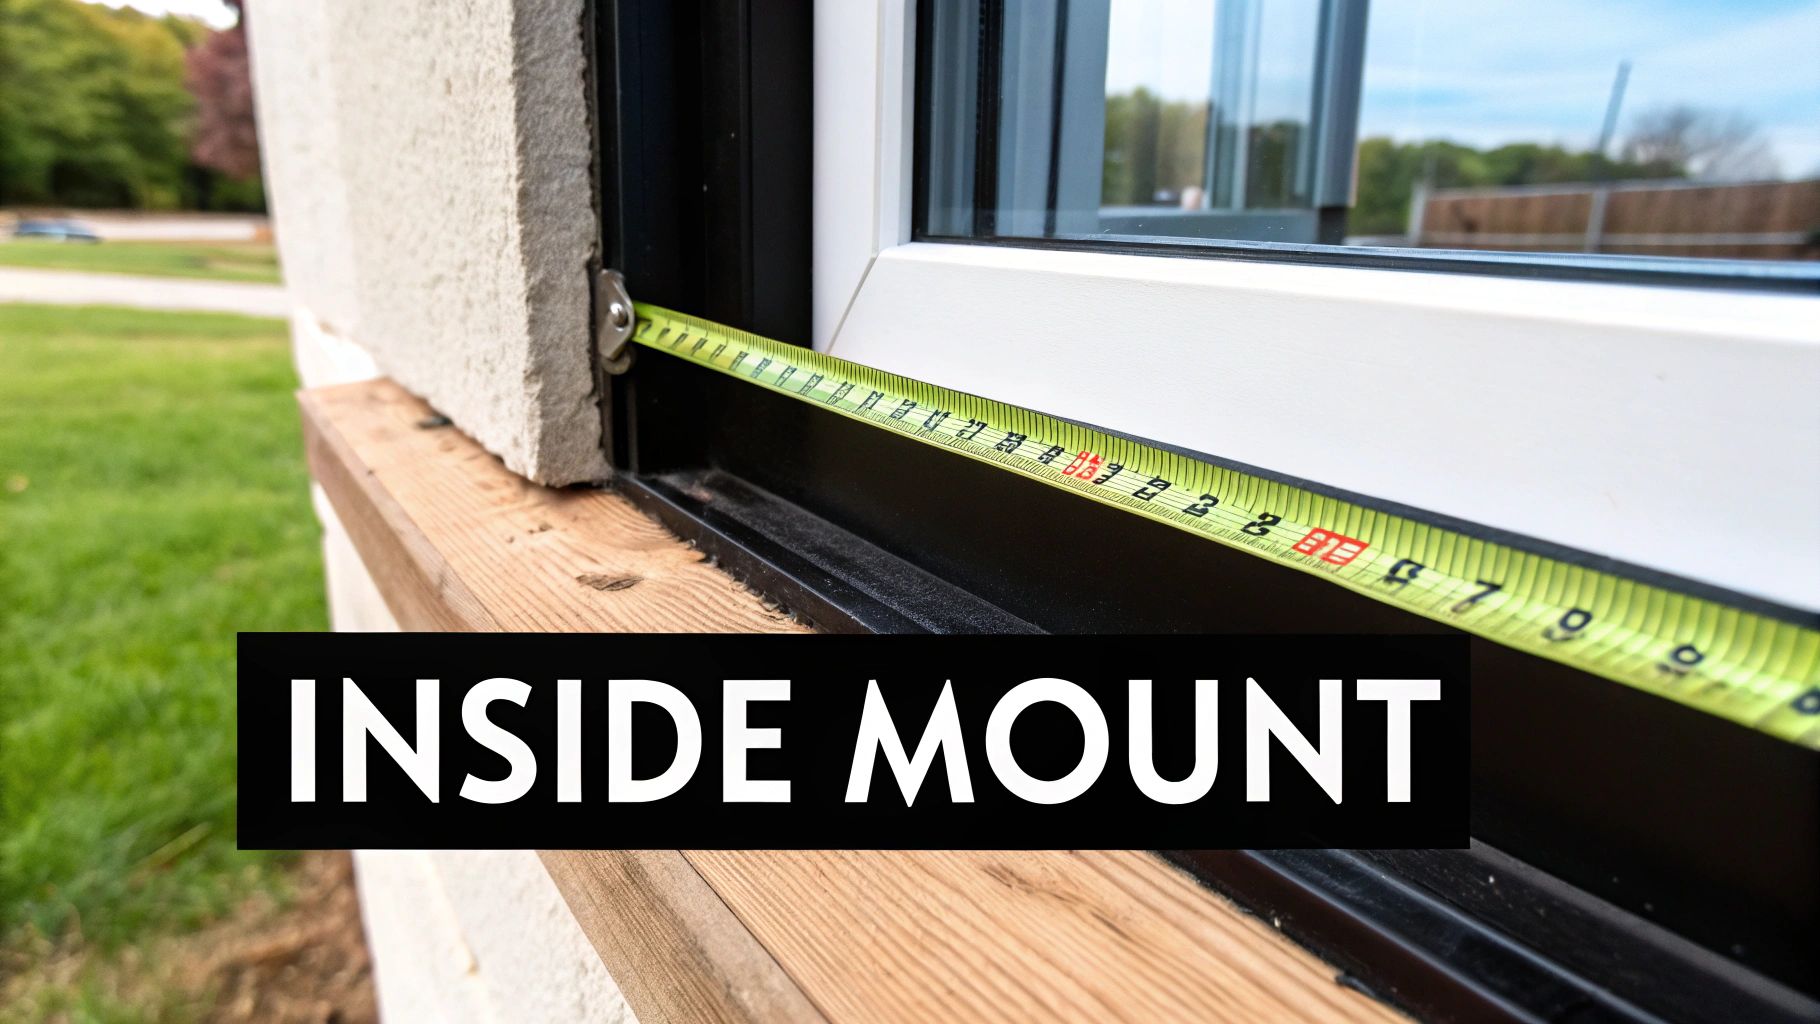
Inside Mount: This is my personal favorite for a clean, minimalist look. The blinds fit neatly inside the window frame, which shows off your window's trim and architecture. It feels custom-built.
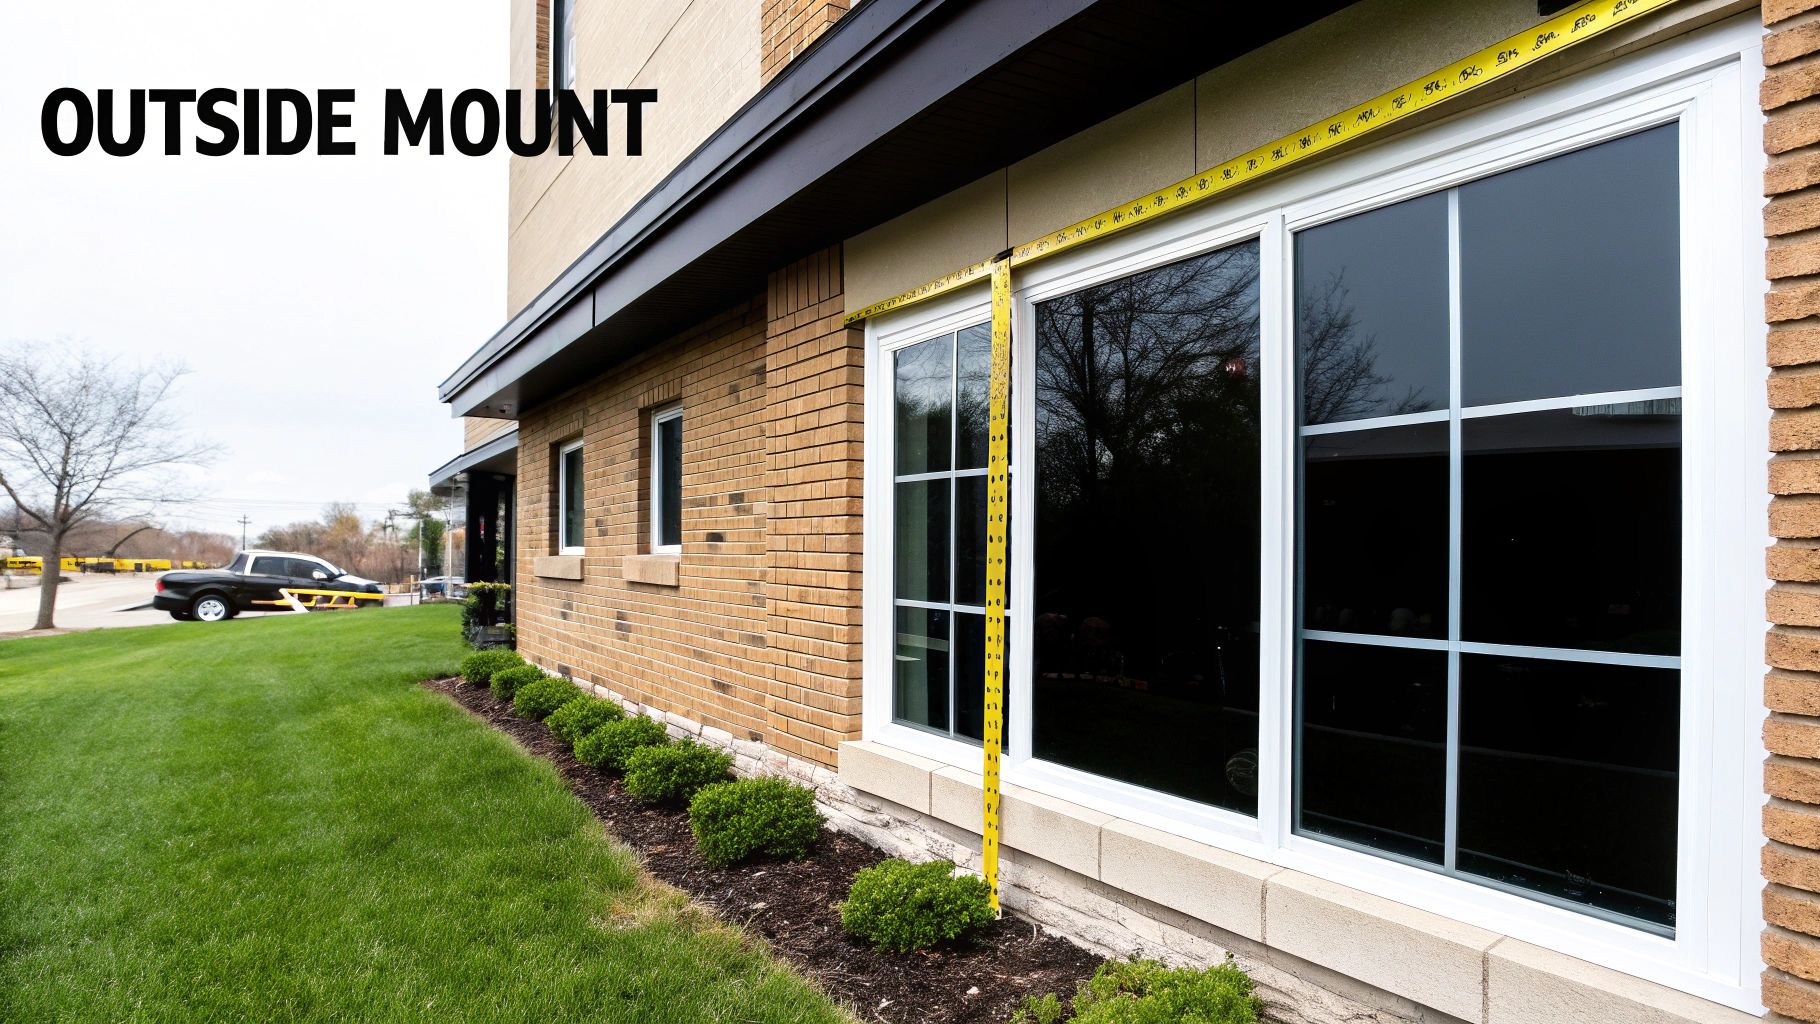
Outside Mount: This style is installed on the wall or trim above and around the window. It's a lifesaver if your window frames aren't perfectly square, and it's also a great way to block out more light and make a window appear larger.
Once you've decided, grab a steel tape measure. Please, don't use a cloth or sewing tape measure—they can stretch and give you inaccurate numbers. We're aiming for precision down to the nearest 1/8 inch.
Pro Tip: Always write down your width measurement first, then the height (W x H). It's an industry standard that saves you from costly mix-ups when you're ready to order.
While measuring for blinds and curtains involves slightly different steps, that core principle of precision is universal. If drapes are also on your mind, you’ll find our guide on how to measure a window for curtains perfectly really helpful.
Feeling a little stuck on which style is right for you? This quick comparison should help you decide.
| Feature | Inside Mount (Fits Inside Frame) | Outside Mount (Covers Frame) |
|---|---|---|
| Best For | Showcasing attractive window trim; creating a clean, built-in look. | Hiding imperfect frames; blocking maximum light; making windows appear larger. |
| Look & Feel | Sleek, minimalist, and tidy. | Dramatic, traditional, and provides more coverage. |
| Light Control | Good, but may have small light gaps on the sides. | Excellent; covers the entire frame to minimize light leakage. |
| Measurement | Requires precise measurements of the inside of the frame. The window must have enough depth. | More forgiving; you measure the area you want to cover around the window. |
Ultimately, the choice comes down to both function and personal taste. Choose the one that best fits your vision for the room.
An inside mount gives you that clean, built-in look, but it leaves absolutely zero room for error. The key is to measure in three places for both width and height to account for any imperfections in the window frame.
Remember the carpenter's rule: measure twice (or three times!), order once.
For Width:
For Height:
Here’s a step people often forget: checking the window depth. Measure from the front edge of the window frame back to the glass. You need to make sure the casing is deep enough to hold the blind’s headrail. If it’s too shallow, the headrail will stick out.
Before you order, make sure you have the right tools. Accuracy starts here.
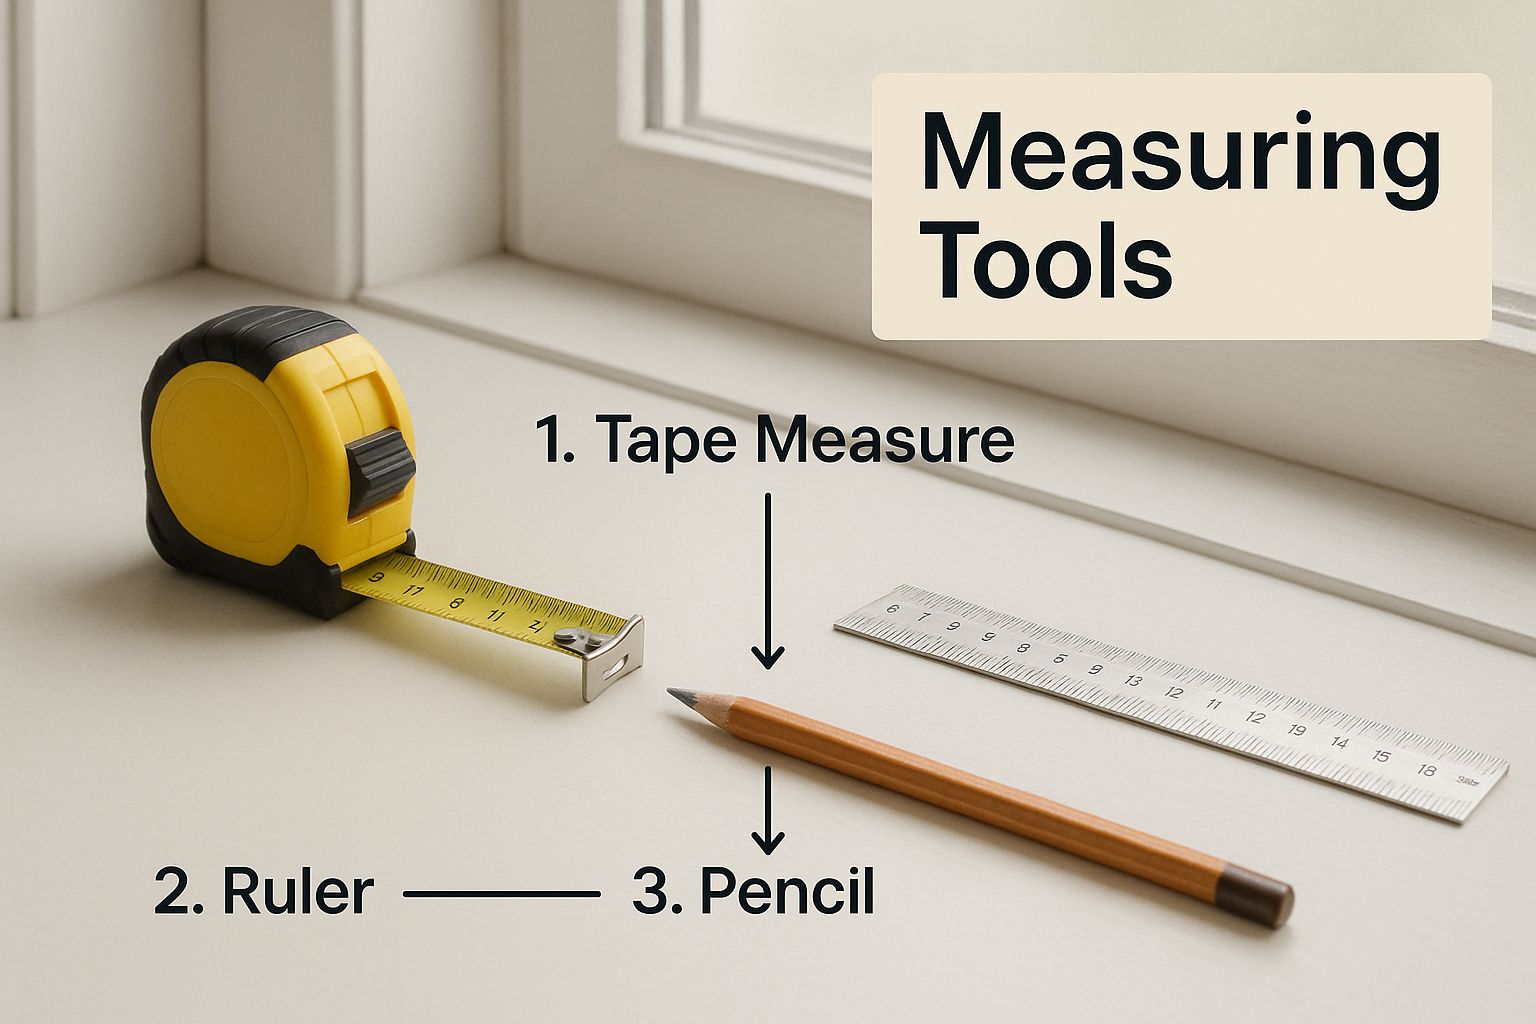
As the image shows, you don't need a lot—but a good steel tape measure and a pencil are non-negotiable for getting this job done right.
A couple of simple habits can save you from common—and costly—mistakes.
This kind of attention to detail is what makes or breaks any window treatment project. For a little more help on picking the perfect style, take a look at our guide on how to choose window treatments that will pull your home's look together.
Sometimes, an inside mount just won't cut it. An outside mount is your secret weapon for tricky windows—it’s perfect when a casing is too shallow, you want to hide imperfect trim, or you're aiming for a complete blackout effect.
With this method, you'll be adding to your measurements to create a generous overlap. This stops light from sneaking in and can make a small window feel much larger.
So, how much extra space do you need? A solid rule of thumb is to add 1.5 to 3 inches to each side of the window frame.
For Width:
For Height:
Expert Tip: Before you lock in the height, think about where the blinds will sit when fully open. Adding a few extra inches above the frame lets the stacked blinds clear the glass entirely, giving you a better view and more natural light.
This technique is much more forgiving and creates a powerful visual statement. It’s the ideal choice in a few situations:
This forgiving approach is perfect for statement pieces like elegant Roman shades or our popular roller shades, which add a touch of modern drama.
Not every window is a perfect rectangle, and that’s okay. Measuring arched windows, bay windows, or French doors is easier than it looks. With a few specific tricks, you'll be able to confidently measure any window.
For French doors, measure the glass area of each door individually. Choose shallow blinds that won't interfere with the door handles to maintain functionality and style.
If you have little ones, ensuring door blinds are safe is a top priority. Our guide on how to childproof windows is packed with essential advice for picking cordless options that give you peace of mind.
Bay windows require you to measure each section individually. For an inside mount, you must factor in the corner angles to ensure the blinds meet neatly without bumping into each other when they operate.
For sliding glass doors, you have two main options:
No matter which option you choose, account for "stacking space"—the room the blinds take up when fully opened. Ensure you have enough wall space so the opened blinds don't block your view.
A pro tip for bay windows: always measure the depth right at the corners. The headrails of adjacent blinds need enough clearance to sit side-by-side without crashing.
The demand for custom solutions has fueled the global window blinds market, which was valued at around USD 11 billion in 2024. This shows a growing trend towards tailored window treatments for unique home designs.
Even seasoned DIY pros can make a simple slip-up. When learning how to measure for blinds, knowing what not to do is just as important as following the right steps.
One frequent error is using the wrong tool. A cloth or vinyl sewing tape measure can stretch or sag, throwing off your numbers. You should always use a rigid steel tape measure to get a true, straight line every time.
Another classic mistake is accidentally swapping the width and height. Get into the habit of writing your measurements in the industry-standard format: Width x Height (W x H). Make this your mantra.
Finally, it's tempting to round your numbers to the nearest whole inch. Please don't! Blinds are cut to precise dimensions, so measure to the nearest 1/8 inch and write down that exact figure.
Measure Twice, Order Once
This isn't just a catchy phrase; it's the golden rule of window treatments. Taking a moment to double-check your numbers can save you from the major headache of returns and reorders.
These habits are especially important for retrofit installations, where new blinds are fitted into existing frames. Retrofits account for over 57% of the global blinds market, highlighting how many homeowners rely on their own measurements. In these cases, an error of more than 1 cm can cause blinds to jam or leave unsightly gaps. You can learn more about these market trends and how they impact homeowners.
Even after following all the steps, a few questions can pop up. Let's tackle the most common ones so you can feel completely confident in your numbers.
No, you should not make any deductions yourself. Your only job is to provide the exact, tightest measurement of the window opening. The manufacturer will make the necessary small deductions—usually between 1/4 to 1/2 inch—to ensure the blinds fit perfectly inside the frame and operate smoothly without scraping the sides.
For an outside mount, a good rule of thumb is to add 1.5 to 3 inches to each side of the window frame's width. This overlap is key for blocking out light and ensuring privacy. For height, plan on adding at least 2 to 3 inches above the frame for the mounting brackets, and let the blind extend a bit below the sill for complete coverage.
A sturdy, steel tape measure is the only tool you should trust for this job. Stay away from cloth measuring tapes or flimsy rulers, as they can sag or stretch, leading to frustrating inaccuracies. A steel tape provides the rigid, straight line needed for a precise reading every time.
Ready to put those measuring skills to the test? At Joey'z Shopping, we have a huge selection of beautiful, high-quality blinds ready to be the perfect finishing touch for any room.
Explore our collection and find the perfect fit for your home at https://joeyzshopping.com.