
Join the Joey'z Family!

Knowing how to install curtain rods is the secret to giving any room a polished, finished look. But here's the truth: a flawless installation starts long before you drill the first hole. Proper prep work is the difference between a wobbly, crooked mess and a secure, professional-looking result you can be proud of.
Think of it as setting the stage for success. A few minutes of planning and gathering the right tools will save you from major headaches later. Let's walk through the steps to get this done right, the first time.
Table of Contents
Before you dive in, let's talk about gear. Having the right tools on hand can transform this task from a frustrating chore into a satisfying DIY win. While some items are obvious, a few unsung heroes can make a world of difference in achieving that perfect, level hang.
Home improvement is booming, and quality furnishings are in high demand. The global market for drapery hardware, including curtain rods, was valued at over USD 13 billion in 2021 and is projected to grow significantly. This trend shows just how many people are focusing on upgrading their homes right now.
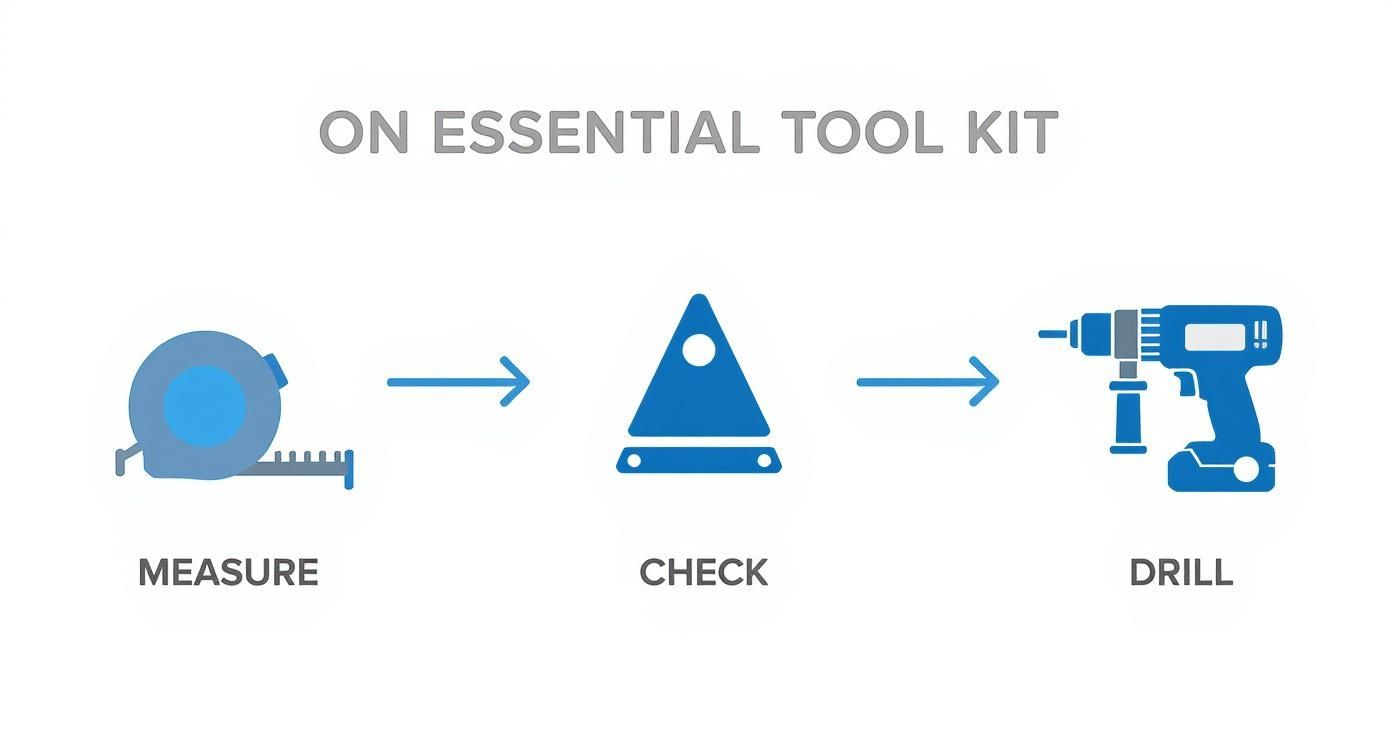
To get this job done right, you'll need more than just a drill and some guesswork. Here's a rundown of the tools that will make your installation go smoothly.
| Tool Category | Essential Items | Why You Need It |
|---|---|---|
| Measuring | Tape Measure, Pencil, 24-inch Level | For getting precise, perfectly horizontal measurements. A crooked rod is the #1 sign of a rushed DIY job. |
| Mounting | Cordless Power Drill, Drill Bit Set | Makes drilling pilot holes for screws and anchors quick and easy, ensuring a secure fit in any wall type. |
| Securing | Wall Anchors, Stud Finder | Anchors provide a strong hold in drywall, while a stud finder helps you locate solid wood framing for max support. |
| Finishing | Painter's Tape | An old pro trick: wrap it around your drill bit to mark depth so you don't drill too deep into the wall. |
Your core toolkit should cover measuring, marking, and mounting. Don't even think about starting without these essentials laid out and ready to go.
Must-Haves:
Smart-to-Haves:
If drilling isn't an option, check out our guide on how to hang curtains without drilling for some clever alternatives.
The secret to curtains that look professionally hung isn't the rod or the fabric—it's the placement. Getting your bracket measurements just right is the single most important step. This is your chance to create illusions of height and space, making any room feel bigger and brighter.
Forget hanging the rod right above the window trim. That’s a rookie mistake. Interior designers swear by a simple but powerful technique: the 'High and Wide' method. This approach tricks the eye into seeing a grander window and taller ceilings, instantly elevating your space.
First, let's go high. Measure 4 to 6 inches above the top of your window frame. This spot is your vertical benchmark. Hanging the rod higher draws the eye upward, creating a sense of height that makes the room feel much more spacious.
Avoid mounting the rod just an inch or two above the frame. I’ve seen it done, and it visually squashes the window, making the ceilings feel lower. Giving the window that extra breathing room is a classic designer move for a reason.
Now for the width. Measure 3 to 6 inches outward from each side of the window frame. This is your horizontal guide for the brackets. Extending the rod beyond the frame allows the curtains to fully clear the glass when they're open.
This technique does two fantastic things:
The goal is to frame the view, not shrink it. By going wider with your rod, you ensure your curtains hang beside the window, not in front of it.
Once you've determined your ideal height and width, make a small, light pencil mark at that spot on one side of the window.
Now, grab your level. Place it on your first mark and extend it across the top of the window to the other side. Adjust it until the bubble is perfectly centered, then make your second mark. Just like that, your two points are perfectly horizontal, guaranteeing your rod won't be crooked.
For extra context on getting measurements just right, our guide on how to measure curtains is a great resource. The principles of accuracy are universal, as shown in this detailed guide on how to measure windows for blinds for a perfect fit.
Now for the moment of truth—making the holes. Drilling into your wall can feel a little nerve-wracking, but the key to a secure installation is knowing what’s behind the paint. The right anchor can mean the difference between beautifully hung drapes and a curtain rod that sags under pressure.

Most modern homes use drywall, but older homes might have harder plaster walls. Each requires a slightly different approach.
Before you think about anchors, the best-case scenario is hitting a wall stud. Studs are the vertical wood beams that frame your house, and drilling into one gives you the strongest possible hold. This is the gold standard when you need to install curtain rods, especially for heavy fabrics.
Use an electronic stud finder by sliding it horizontally across the wall. When it beeps or lights up, you’ve found a stud. If you’re lucky enough to have studs where you need them, you can often skip anchors and drive screws directly into the wood.
What if there's no stud in sight? This is where wall anchors save the day. A word of caution: using only the screw that came with your curtain rod directly in drywall is a recipe for disaster. It will pull out.
Here’s a quick rundown of common anchor types:
Expert Insight: A standard pair of lined, 96-inch blackout panels can easily weigh 10-15 pounds. I always recommend choosing an anchor rated to hold at least twice the weight you plan to hang. Better safe than sorry!
Once you've picked your anchor, match it with the correct drill bit size (it's usually printed on the anchor). Drill a straight, clean pilot hole. If you’re working with plaster, which can chip, place painter's tape over your mark before drilling to prevent cracking.
Gently tap the anchor into the hole until it sits flush with the wall. Now you have a secure point to attach your bracket. These skills are universal for home projects, as seen in this a guide to bathroom exhaust fan installation. For hardware that can handle serious weight, see our guide to the best curtain rods for heavy curtains.
Alright, the brackets are firmly in place, which means you've made it to the best part. This is where all that careful measuring and drilling pays off, and you finally get to see your vision come together. Getting the rod up and the curtains hung instantly transforms the room.
This final step is more about finesse than heavy lifting. It’s no surprise that curtain rods make up a commanding 41% share of the global drapery hardware market, according to a report from Business Research Insights. Homeowners are more focused than ever on getting these finishing touches just right.
First, get the curtains on the rod before putting it up. The method depends on your curtain style.
Insider Tip: If your curtain rings catch on the ridge of a telescoping rod, wrap a small piece of clear tape over the joint. It creates a smooth ramp for the rings to glide right over.
With the curtains threaded on, gently place the rod into the brackets. Most brackets have a small set screw; tighten it just enough to be snug to avoid scratching the rod's finish.
Next, screw on the decorative end caps, or finials. Hand-tighten them until they feel secure. Their job is to look good and keep the curtains from sliding off.
Now, step back and make your final tweaks. Fluff the curtains, arrange the pleats, and ensure both panels are hanging symmetrically. This last bit of fussing is what really finishes the job.
Learning from others' mistakes is the fastest way to get your DIY project right. When it comes to installing curtain rods, a few common blunders can turn a simple job into a headache. Sidestep these frequent pitfalls.
One of the most common errors is buying a rod that’s barely wider than the window. When you extend a telescoping rod to its maximum, it loses structural integrity and will sag in the middle.
As a rule of thumb, your rod should extend at least 3-6 inches beyond the window frame on each side. If your window is 60 inches wide, look for a rod that covers a range like 66-120 inches, not one that maxes out at 72 inches.
Hanging the rod too low (just an inch or two above the frame) visually squashes the window and makes ceilings feel shorter. To create an illusion of height, always mount brackets at least 4-6 inches above the window frame.
A poorly hung curtain is like pants that are too short—it cuts off the room in a jarring way. The goal is to lift the eye upward, making your space feel bigger and more open.
Similarly, placing brackets too close to the window's side trim forces the curtain panels to block the glass even when open, restricting sunlight.
Finally, don't trust the tiny plastic anchors that come in most kits for anything other than the lightest sheer curtains. They will likely pull out of the wall over time.
Always assess your wall type and curtain weight before you install curtain rods.
The short answer is 3 to 6 inches on each side of the window frame.
This is a favorite interior design trick because it works wonders. Extending the rod wider lets you pull the curtains completely clear of the glass when they're open. This "stack back" floods your room with natural light and makes the window feel much larger. For very wide windows or heavy drapes, you can go even wider—up to 10 inches on each side for a grand effect.
Yes, you absolutely can! If you're renting or just want to avoid holes, you have several drill-free options.
The short answer is to use tension rods, heavy-duty adhesive hooks, or no-drill brackets.
Keep in mind that for heavy drapes or curtains you open and close daily, nothing beats the security of a traditional, drilled-in installation with proper wall anchors.
The correct height to hang a curtain rod is 4 to 6 inches above the top of the window frame.
This is another simple designer secret that makes a huge difference. Mounting the rod higher draws the eye upward, creating an illusion of height that makes your ceilings feel taller and the room more open. Avoid the common mistake of mounting the rod right on top of the window trim, as it can make a room feel cramped.
Ready to find the perfect hardware for your project? Joey'z Shopping has a handpicked selection of high-quality curtain rods and all the accessories you'll need to bring your vision to life.
Explore our collection at https://joeyzshopping.com and get started today.