
Join the Joey'z Family!
Getting your drape measurements right is the secret that separates a DIY look from a professionally designed space. The difference between a room that feels "off" and one that looks perfectly polished often comes down to how the curtains hang. The simple truth is, precision in measuring windows for drapes isn't just a detail; it's everything.
This guide will walk you through the exact steps professionals use, ensuring you get it right the first time.
Before grabbing a tape measure, let's talk about why this step is so crucial. It’s about much more than just covering the window glass. When done right, you're creating illusions of height, framing a beautiful view, and adding a touch of luxury to the entire room.
Poorly measured drapes can make a ceiling feel lower and a room seem cramped. On the other hand, drapes measured and hung with intention are a hallmark of thoughtful design. Think of this as your foundational briefing on the core concepts designers rely on for a flawless result.
A few key terms will come up as you plan your project. Getting familiar with them now will make the whole process much smoother.
The window coverings market is booming, valued at about USD 37.59 billion in 2024, which means we're seeing more innovation than ever before. This includes smart, motorized drapes that might need specific allowances for their mechanisms.
Understanding how perfectly fitted drapes contribute to your home's overall feel ties directly into broader decor principles. The way your curtains frame a window is a key element in many of the 10 Interior Decor Trends That Will Transform Your Home.
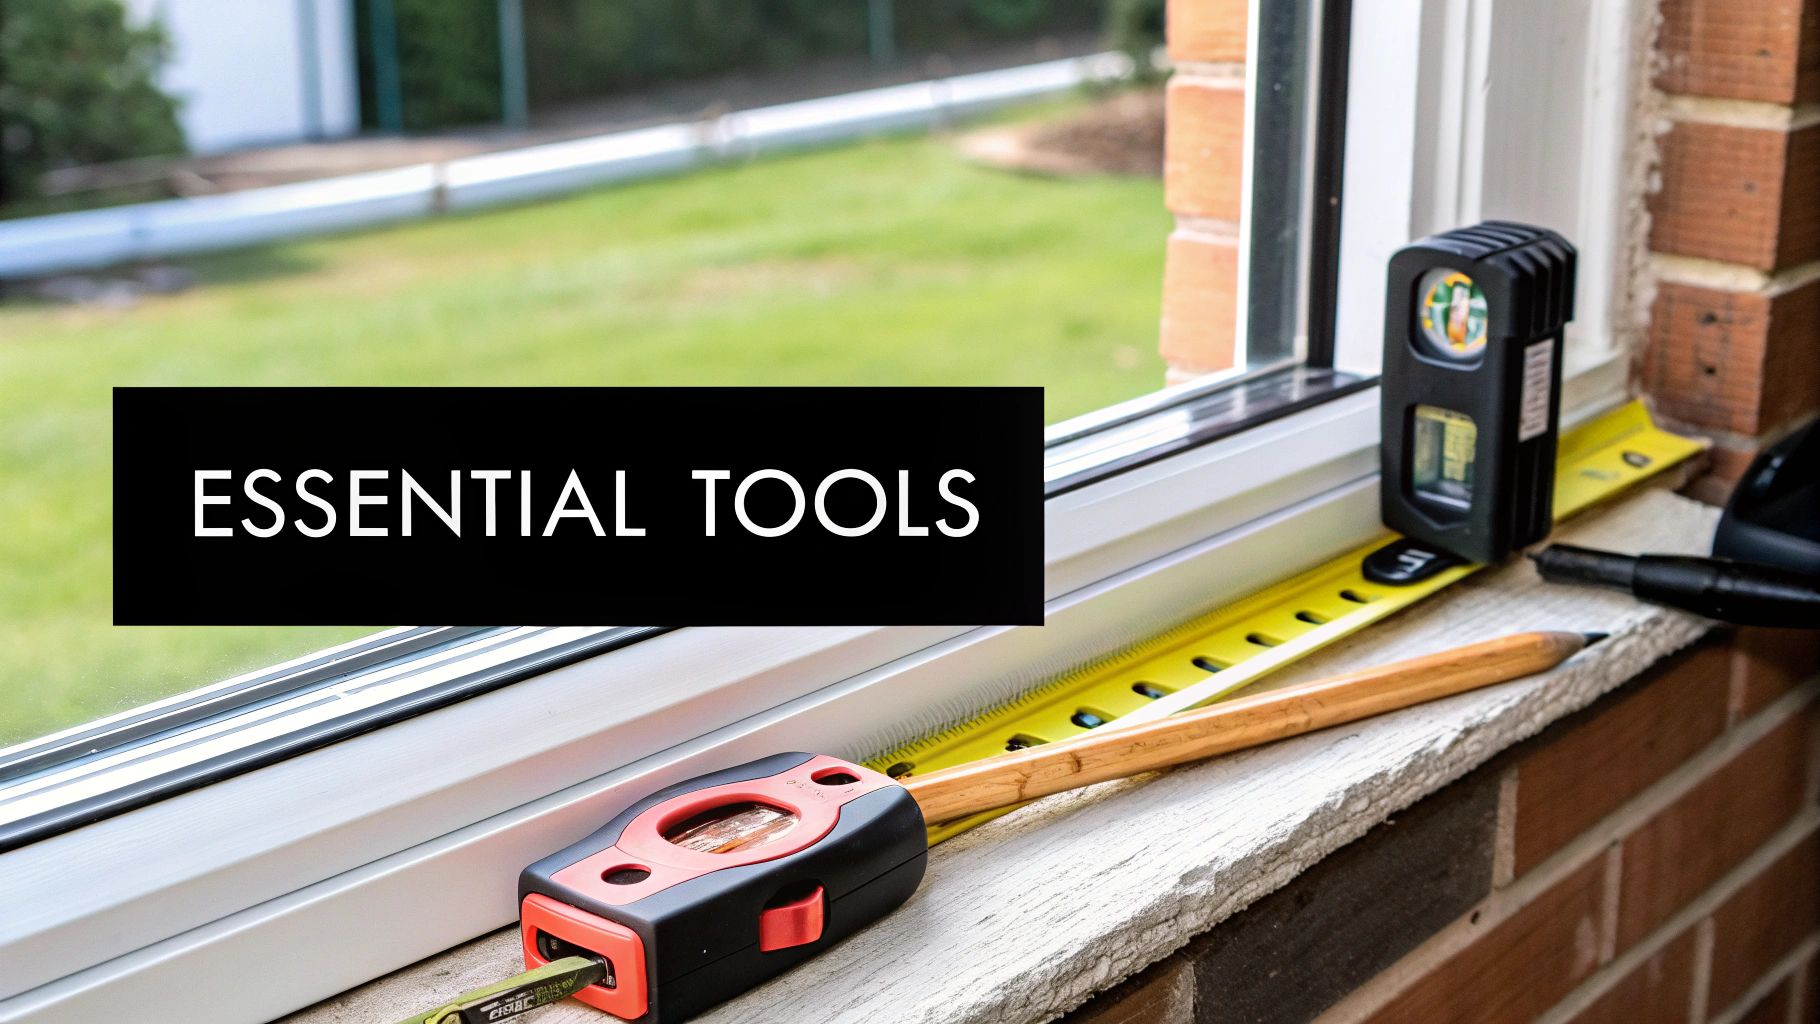
Before you start measuring windows for new drapes, gathering the right gear is the first step to getting it right. Think of it as a pre-flight check; having the correct tools on hand prevents common, costly mistakes. This isn't the time to grab that flimsy tape measure from the junk drawer.
Your most valuable tool is a sturdy, retractable steel tape measure. Unlike a fabric or vinyl one, a steel tape won't stretch or sag, which means your numbers will always be spot-on. A flimsy tape can easily lead to drapes that are too short or don't close properly—a frustrating and totally avoidable error.
Next, you'll need a few other essentials to round out your kit:
For those who want to go the extra mile, adding a specialized glow ruler to your kit can be a huge help for visibility when you're marking fabric later on. Just remember the golden rule that applies to carpentry and window treatments alike: measure twice, cut (or order) once.
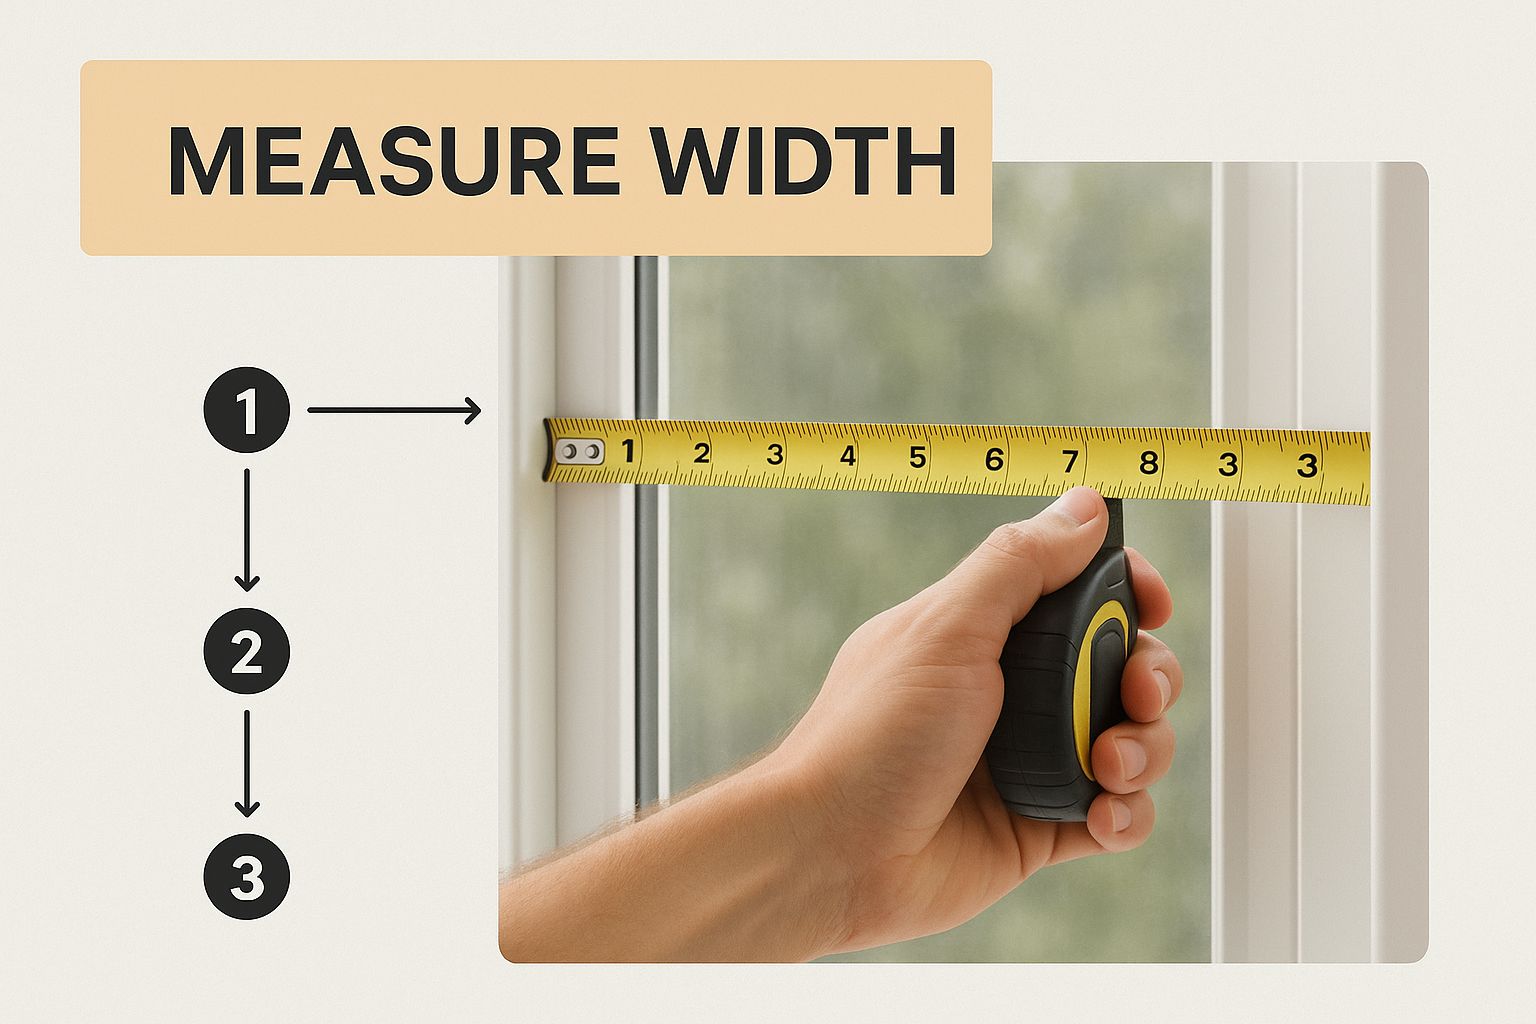
Getting the width right is where the magic really happens with curtains. It’s about so much more than just covering the glass—it’s how you create that grand, intentional look that makes a room feel professionally designed.
Here is the step-by-step process for measuring your window width for that perfect, polished finish.
First things first, grab your steel tape measure. Measure the exact width of your window, going from one side of the frame to the other. Take this measurement at the top, middle, and bottom of the window. If you get slightly different numbers, use the widest one. This is your starting point, but it's definitely not the final number you'll use for your curtain rod.
Here’s the biggest mistake people make: buying a curtain rod that’s the exact same width as their window. A simple designer secret is to extend the curtain rod 3 to 6 inches beyond the frame on each side. This simple trick makes your windows look much larger and lets the maximum amount of natural light pour in when the drapes are open.
That extra space you’re adding is for what we call stackback—the space your curtains will take up when they're pulled completely open. Without it, your curtains end up bunched on the edges of the window, blocking a good chunk of the glass and making the room feel darker and smaller.
Pro Tip: If you're aiming for a really dramatic, high-end look, don't be afraid to go even bigger. Extending the rod up to 10-12 inches on each side can create a truly luxurious feel, especially with heavy drapes or a very large window.
It’s no surprise that the residential sector made up over 55% of global window covering sales in 2023. A huge reason people still prefer to shop in person is to get the measurements right and avoid the hassle of returns. Professionals know that details like rod extension and stackback are what make or break the final look.
This image breaks down how to think about the final measurement—it's not just the window, but the entire visual space you want to create.
As you can see, the final rod width is a combination of the window frame plus those crucial extensions on either side.
The last piece of the puzzle is fullness. This determines how lush and gathered your drapes will look when closed. To figure out your final panel width, you’ll multiply your total rod width (including extensions) by a fullness ratio.
To take all the guesswork out of it, pop your numbers into our handy curtain width calculator for a precise result every time.
Once you've figured out the width, the next big decision is the length. This is where you define the room's character—but it's also where the most common mistakes happen. We’ve all seen those dreaded "high-water" drapes that stop awkwardly short, and we’re here to make sure that never happens to you.
The key to measuring windows for drapes is to always measure from where your curtain rod will be, not from the top of the window frame itself. This single detail separates a polished, professional look from a DIY disaster. Since the rod should be mounted 4-6 inches above the frame, your starting point is higher than you might think.
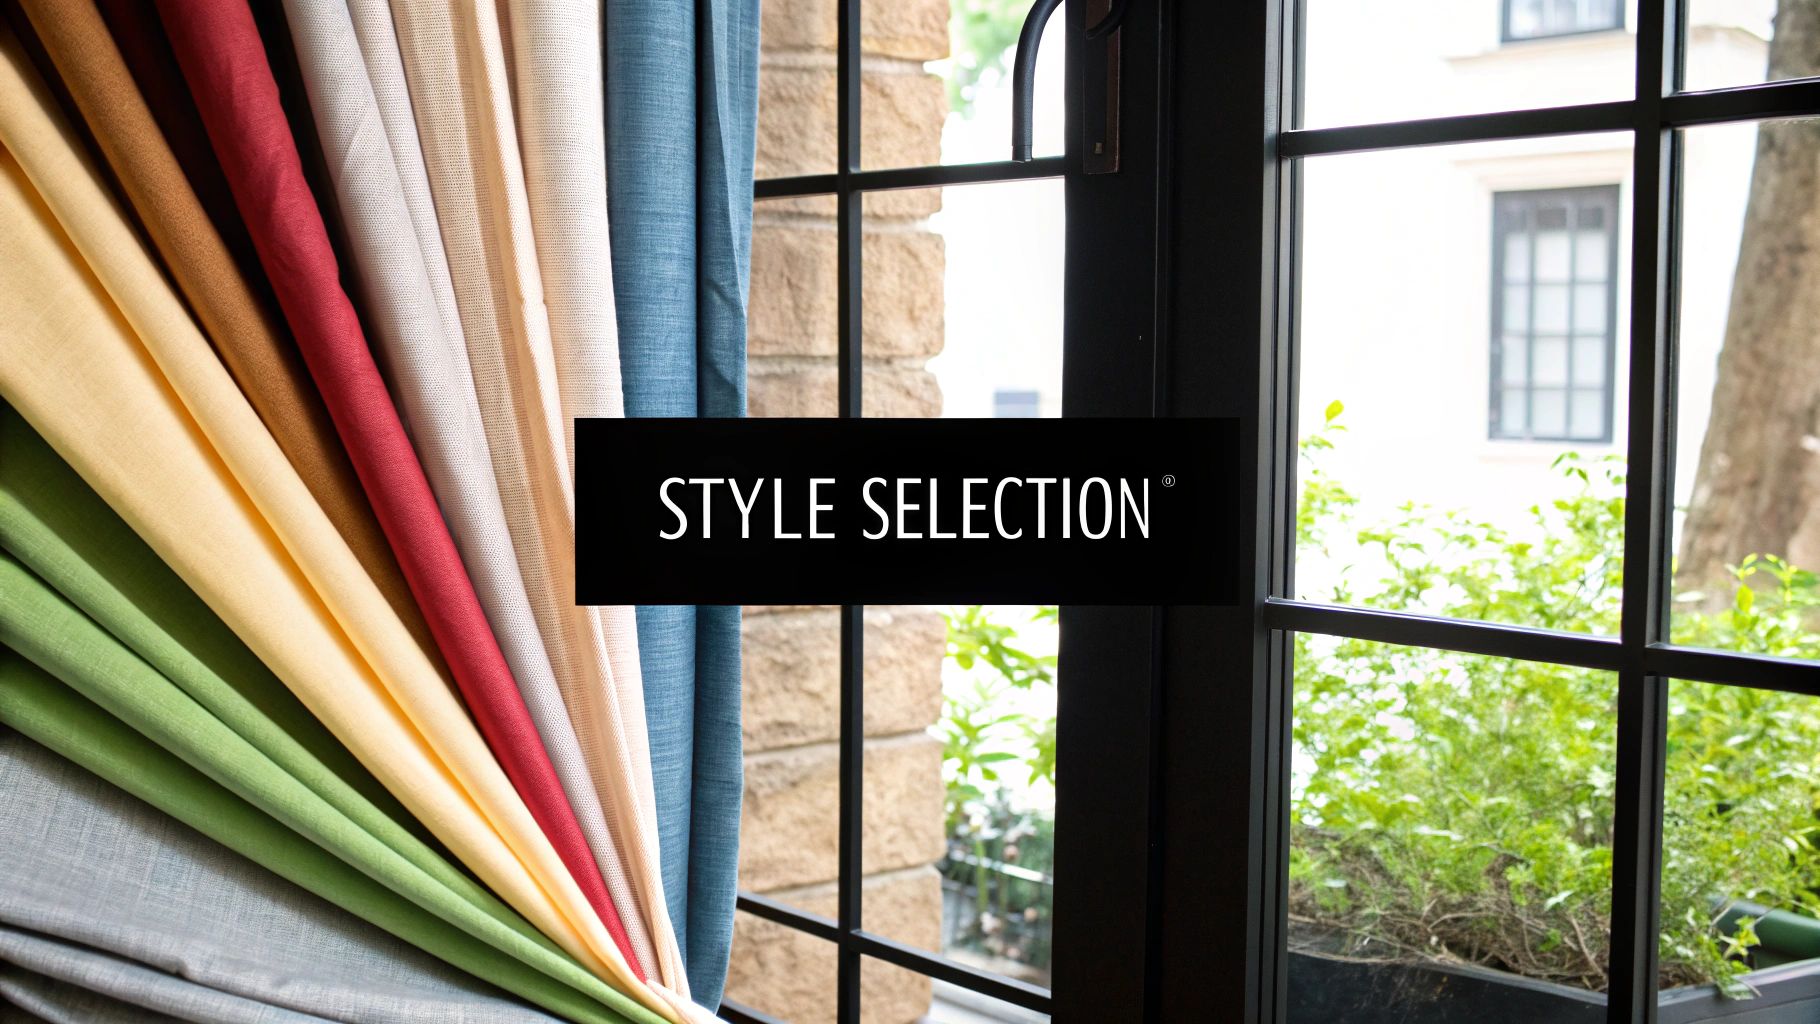
So, how far down should your drapes go? This is a matter of personal style. Each length creates a distinct vibe, from crisp and casual to elegantly dramatic.
Here’s a quick rundown of the most popular looks:
Here's a simple breakdown to help you visualize how each style is measured and where it works best.
| Drape Style | Measurement Pro Tip | Ideal for These Rooms |
|---|---|---|
| Sill Length | Measure from the rod to the top of the windowsill. Keep it precise! | Kitchens, bathrooms, or any window above furniture or a radiator. |
| Apron Length | Measure from the rod to 4 inches below the windowsill. | Casual living rooms, kids' rooms, and home offices. |
| Floor-Kiss Length | Measure from the rod to about 1/2 inch above the floor. | Dining rooms, formal living rooms, and primary bedrooms. |
| Puddle Length | Measure from the rod to the floor, then add 6-10 inches. | Spaces where you want a dramatic, luxurious statement. |
Choosing the right length is all about matching the look to the room's function and your personal taste.
A little tip from the pros: we often take the height measurement in three places (left, middle, and right) to account for any unevenness in floors or window frames. It's a small step that ensures a perfect hang every time.
For a deeper dive into the aesthetics of each style, be sure to check out our complete guide to curtain lengths. It has great visuals that can help you confidently choose the perfect look for your home.
Even the most careful planner can slip up when measuring for drapes. A small oversight can lead to curtains that just look off or don't hang right. Think of this as your friendly guide to sidestepping those common frustrations.
One of the biggest blunders is measuring only the window glass. Your final look depends on the entire area, including the frame and the wall space around it. Always start by measuring the full window frame, then add extra for the curtain rod. This step creates a grander sense of scale and lets in maximum natural light.
Another frequent error is forgetting to factor in the hardware. Your length measurement should always start from where you plan to mount the curtain rod—usually 4-6 inches above the window frame—not from the top of the window itself.
It's the small details that can make or break the final result. Be mindful of these common slip-ups:
Don't let a simple mistake derail your project. Always remember the golden rule: measure twice, order once. This simple habit saves you from the headache of returns and the disappointment of ill-fitting drapes.
Even uniquely shaped windows have their own set of rules. For example, if you're working with a non-standard shape, our guide on how to hang drapes on arched windows provides specialized tips to ensure a perfect fit every time.
Even with a solid plan, measuring for drapes can throw a few curveballs your way. We’ve gathered some of the most common questions to give you direct, no-fluff answers and help you wrap up your project with confidence.
Bay windows look tricky, but the secret is to treat each section as its own individual window.
For the two side windows, measure from the corner where the walls meet out to the outer edge of the window frame. For the center window, measure the full width of its frame, from edge to edge.
You'll need special corner connectors for your curtain rod to get a seamless wrap-around look. It's also smart to measure the bay's angles to ensure the rod connectors fit perfectly. Don't forget to add the standard 3-6 inches for stackback on the far ends of your two side windows!
The standard fullness for most drapes is between 2 to 2.5 times the width of your curtain rod. For a classic, professionally tailored look that works with almost any fabric, aiming for 2x fullness is the perfect sweet spot.
If you’re dreaming of a more luxurious, opulent feel—especially with heavy fabrics like velvet—go for a 3x fullness. That extra fabric creates deep, rich folds that look high-end. For lighter, sheer curtains, a 2.5x to 3x fullness gives them more body so they don't look too thin.
Expert Tip: Don't skimp on fullness. It's the single biggest factor that makes drapes look custom and expensive versus flat and off-the-shelf.
This really boils down to your personal style and how you use the room.
For a clean, contemporary aesthetic, you’ll want your drapes to either "kiss" the floor (barely touching) or float about a half-inch above it. This style is practical—it's easy to clean around and won't be a tripping hazard.
If you love a more romantic or traditional vibe, have your drapes "puddle" on the floor by adding an extra 2-6 inches to your final length measurement. While this looks incredibly elegant, keep in mind that puddling isn't ideal for high-traffic areas or homes with pets and kids, as the fabric gathers dust and fur.
Here’s a designer trick that works every time: always mount your curtain rod 4 to 6 inches above the top of the window frame. This small adjustment draws the eye upward, creating a brilliant illusion of height that makes the entire room feel taller and more spacious.
You can take this effect even further in rooms with lower ceilings. Try mounting the rod as close to the ceiling as you can—just leaving enough room for the finials to fit. It’s a fantastic way to create the perception of a much grander space.
Ready to put those perfect measurements to use? At Joey'z Shopping, we offer a wide variety of high-quality, stylish drapes to complete any room. Find the perfect window treatments to bring your vision to life at https://joeyzshopping.com.