
Join the Joey'z Family!

Let’s be honest: hanging a curtain rod seems like a simple DIY task. That is, until you're staring at a sagging rod or, even worse, a big chunk of drywall ripped clean from the wall. If this sounds familiar, don't worry—it’s not a DIY fail, it’s just physics. Learning how to hang curtain rods in drywall the right way is all about understanding one simple rule: never rely on the drywall alone.
The real secret to a secure, long-lasting installation is using the correct drywall anchor. This small but mighty piece of hardware is what supports the weight of your curtains and rod, preventing the screws from pulling out and destroying your wall. It’s the single most important element for a successful project.
Drywall is essentially gypsum plaster pressed between two thick sheets of paper. While it's great for creating smooth interior walls, it's far too soft and brittle to hold the concentrated weight of a screw that's under constant tension.
This material is the standard in modern construction. In fact, over 70% of homes built in the U.S. have drywall, so it’s the surface most of us are dealing with. Here’s the kicker: studies show that improper installation—meaning no anchors—is the reason up to 30% of curtain rods fail within the first year, especially with heavier drapes.
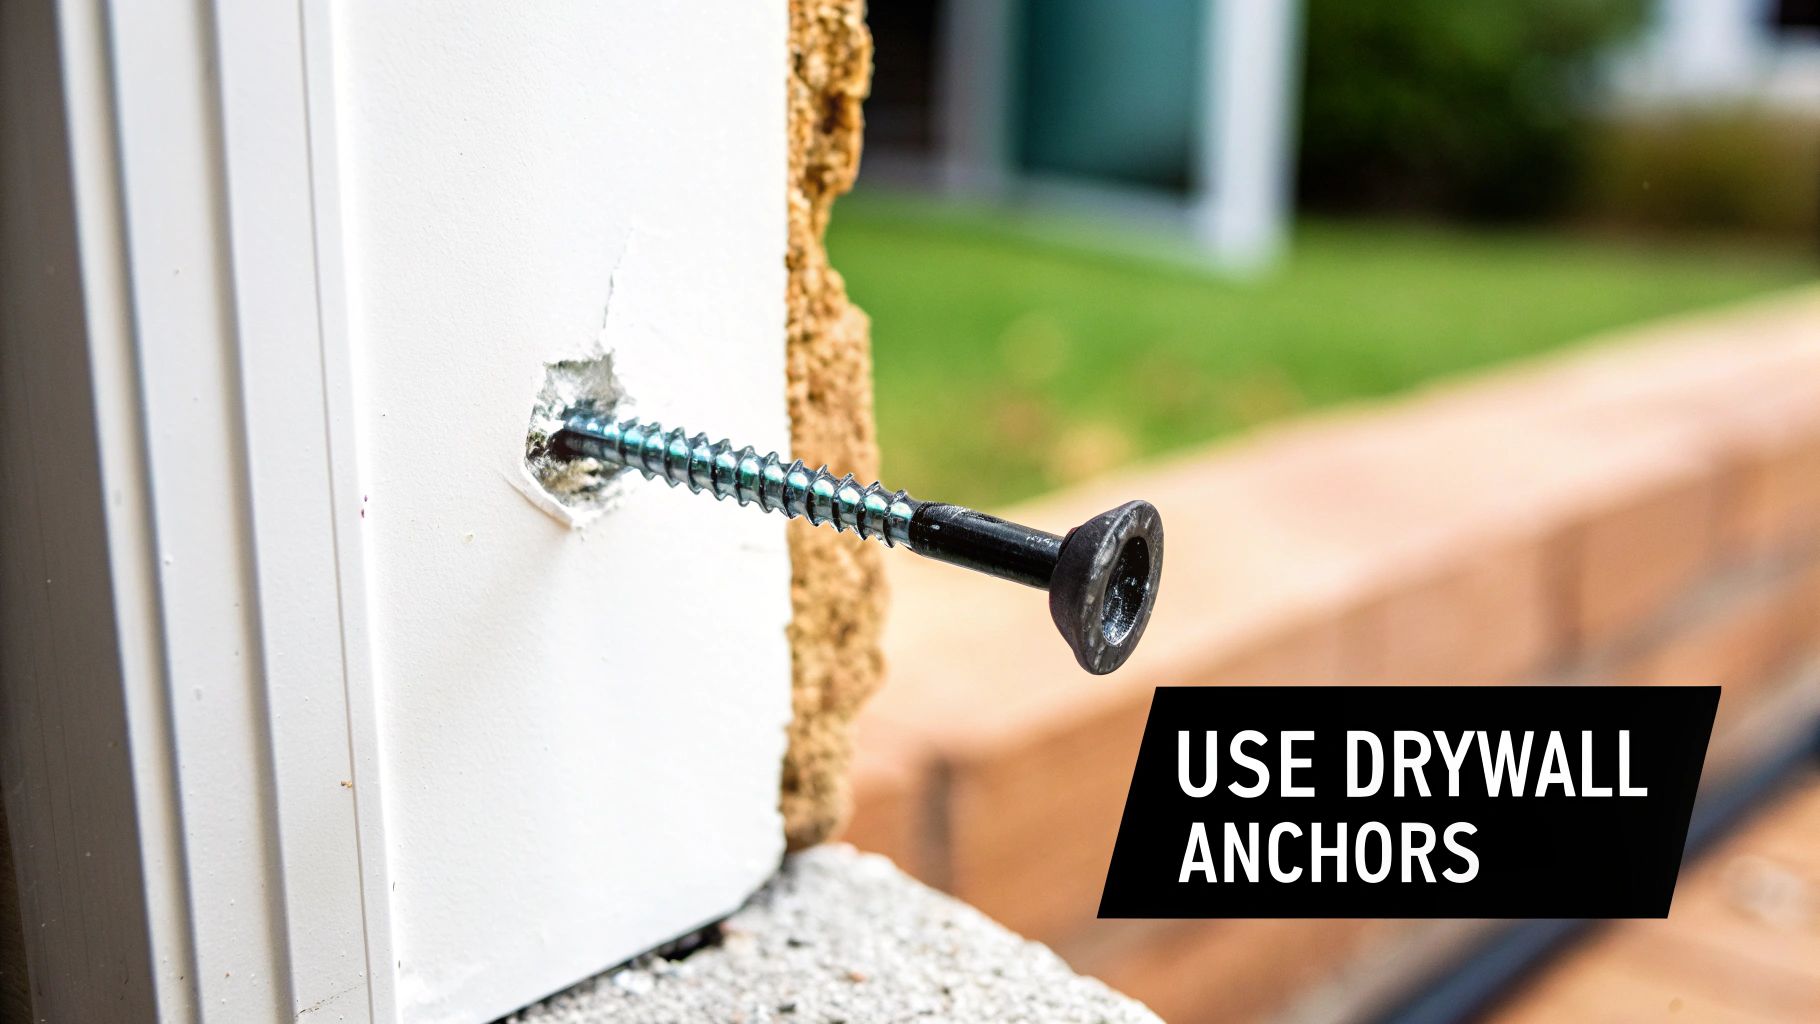
When you drive a screw straight into drywall, it only grips those fragile paper and gypsum layers. Once you add the weight of a curtain rod and curtains—plus the daily tugging from opening and closing them—that weak grip is destined to fail. Fast.
Getting it wrong leads to some predictable (and frustrating) problems:
Insider Tip: Think of a drywall anchor as a reinforcement system. It expands behind the wall, spreading the weight over a much larger surface area so the drywall itself isn't taking all the strain. It's the one thing that makes the difference between a temporary fix and a permanent solution.
While this guide focuses on drilling, sometimes that’s not an option. If you're renting or want to avoid making holes, check out our guide on how to hang curtains without drilling. For a deeper dive into prepping your walls for any project, learning about the best paint primer for walls is a great next step.
The entire success of hanging your curtain rods comes down to one tiny, often-overlooked piece of hardware: the drywall anchor. Think of it as the foundation for your window treatments. If you choose the wrong one, it's like building a house on sand. It might look fine for a day or two, but gravity always wins.
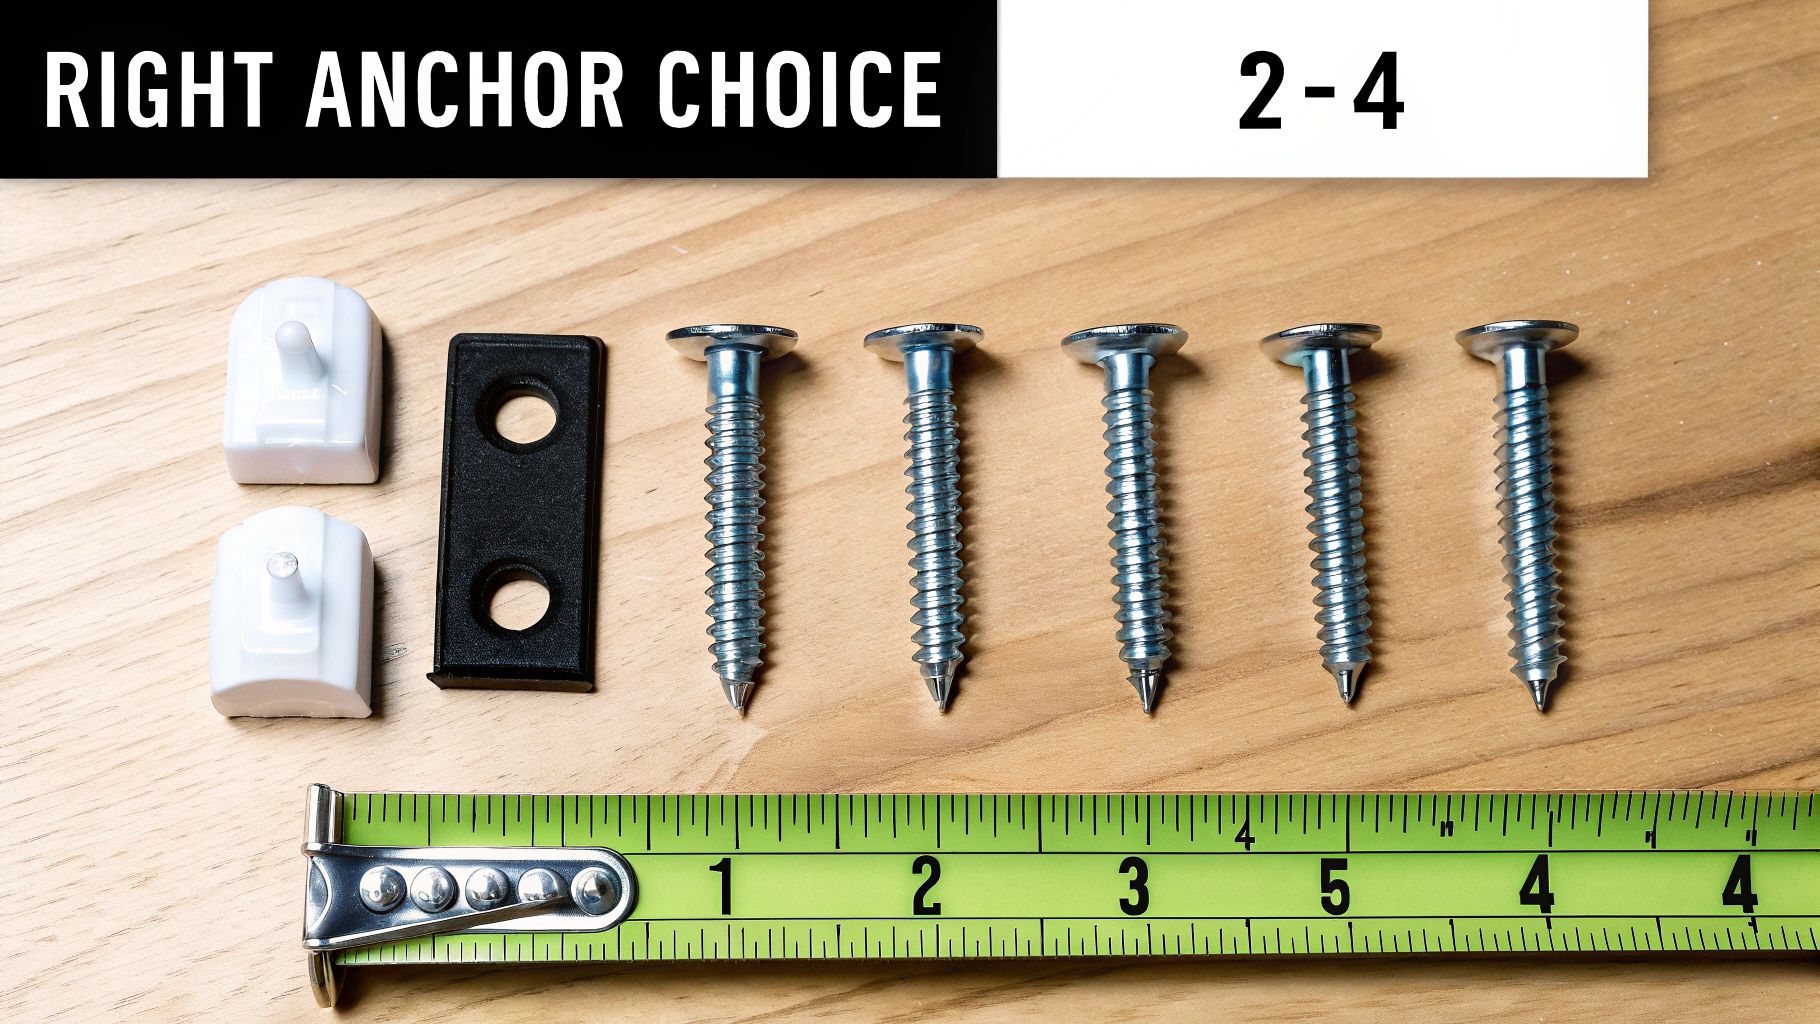
This isn’t about just grabbing any plastic anchor from a junk drawer. It’s about matching the tool to the job. You wouldn't use a thumbtack to hang a heavy mirror, right? The same logic applies here. The weight of your curtains, the type of rod, and even how often you plan to open and close them all play a role in picking the right anchor.
Honestly, anchors are non-negotiable for almost any drywall installation. A recent industry analysis showed that around 85% of curtain rod installations require drywall anchors to be truly stable, especially for curtains weighing more than 10 pounds. When you consider that an average curtain panel weighs between 5 and 15 pounds—and heavy drapes can easily top 20 pounds—you realize you need hardware rated for the task.
Let's demystify the options you’ll find in the hardware store aisle. Each anchor works differently behind the wall to spread the weight and create a solid mounting point.
So, which one should you use? The short answer is: it depends on the weight and fabric of your curtains. A set of breezy sheers has totally different support needs than a pair of thermal, light-blocking drapes.
For Lightweight Curtains (Sheers, Voiles, Linens)
If you're hanging airy curtains that weigh less than 10-15 pounds total, you can usually use a good-quality threaded anchor. They are simple to install and provide more than enough grip for light-duty jobs.
For Medium-Weight Curtains (Cotton, Standard Blackout)
For curtains in the 15-25 pound range, it’s smart to level up to a molly bolt. Their metal construction and clamping action provide a much more secure hold that you can trust. This is the sweet spot for most standard living room or bedroom curtains.
For Heavy-Duty Curtains (Velvet, Thermal, Lined Drapes)
When you get into truly heavy curtains—weighing over 25 pounds—don't take any chances. A toggle bolt is your best friend. The wide brace it creates behind the drywall distributes that heavy load perfectly, making it the strongest option for hollow walls. For a deeper dive, check out our guide on the best curtain rods for heavy curtains.
Expert Takeaway: Always err on the side of caution. If your curtains feel like they're on the border between two weight classes, just go with the stronger anchor. The extra holding power is absolutely worth the peace of mind.
To make it even clearer, here’s a quick breakdown of how these anchors stack up. Think of this as your cheat sheet for your next trip to the hardware store.
| Anchor Type | Typical Weight Capacity (lbs) | Best For | Installation Notes |
|---|---|---|---|
| Expansion Anchors | 10-25 lbs | Very light decor, photo frames | Often unreliable for curtain rods; prone to pulling out over time. |
| Threaded Anchors | 25-75 lbs | Sheer panels, lightweight cotton curtains | Quick and easy to install, no pre-drilling required for most types. |
| Molly Bolts | 25-50 lbs | Standard-weight curtains, blackout panels | Requires a pre-drilled hole; can be removed and reused. |
| Toggle Bolts | 50-100+ lbs | Heavy velvet or thermal drapes, extra-wide rods | Needs a larger hole, but offers maximum holding strength. |
Any good DIY project starts with preparation. Having every tool you need within arm's reach before you start doesn't just save time; it prevents small mistakes that turn into big frustrations, like an uneven rod or a wobbly bracket. Think of this as your pre-flight checklist for a professional-looking result.
Before you even touch a drill, make sure your curtains are the right length for your windows. It’s a surprisingly common oversight that can throw the whole project off. Lay them out and measure them against the window to be certain your placement plan will work.
Each tool plays a specific, important role in making sure your curtain rods are secure, straight, and exactly where you want them.
Pro Tip: Not sure what size drill bit to use? Check the anchor's packaging. It will almost always tell you the exact bit size needed for a perfectly snug fit. Using a bit that's even 1/16th of an inch too big can seriously compromise the anchor's holding power.
A couple of quick checks can save you from a major headache—or a dangerous situation. Your wall isn't just a blank canvas; plumbing and electrical wiring are hiding behind it.
Use your stud finder to check for live AC wires. Many modern stud finders have a built-in feature that alerts you to electrical currents. If it beeps, you must move your bracket location to avoid a serious safety hazard. For a more in-depth look, you can find some great general DIY tips for installing building hardware.
Finally, have your chosen curtain rod and brackets and—most importantly—your selected drywall anchors ready to go.
Alright, you've got your tools ready, so it's time for the main event. This is where we stop planning and start doing. With just a few key techniques, you can make sure your curtain rods are not only secure but also perfectly placed to make your room look its best.
We're going to walk through the real-world steps of hanging curtain rods in drywall. The focus here is on precision—that’s what separates a wobbly, crooked rod from a professional-looking finish.
Accuracy is everything here. Before you drill, decide exactly where your brackets will go. A classic mistake is placing them too close to the window frame, which can make the window feel small and boxed in.
The trick designers use is simple: go wider and higher. Aim to place your brackets about 4 to 6 inches outside the window frame on each side and 4 to 6 inches above it. This creates an optical illusion, making your windows look bigger and your ceilings feel taller. It also means that when your curtains are open, they hang beautifully next to the window instead of blocking precious natural light.
Key Insight: Extending the rod wider than the window frame allows the curtains to stack back against the wall when open. This maximizes daylight and gives a grander, more intentional look to the entire room.
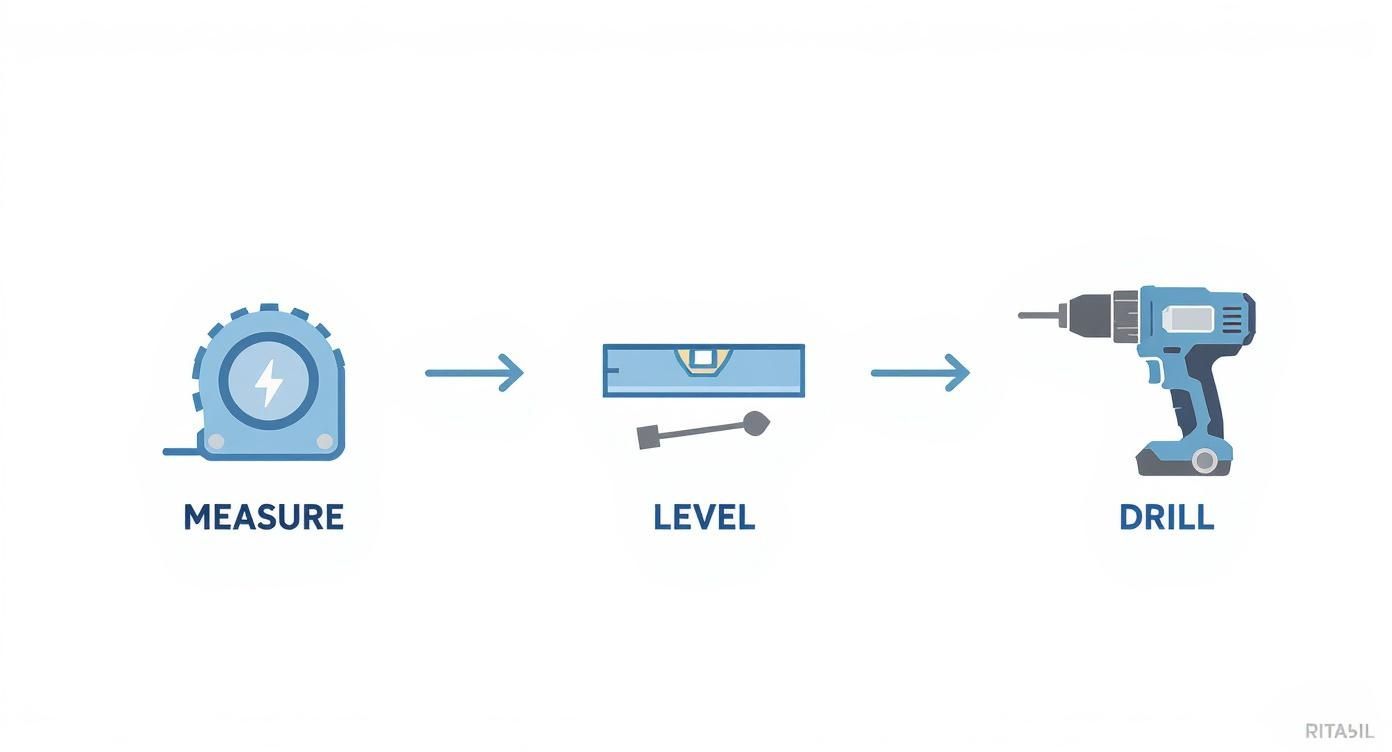
Once you’ve settled on the perfect spot, it's time to mark it up. This is where your level and pencil become your best friends.
Start by marking the spot for your first bracket. Measure your height above the window frame and the distance out from the side, then make a small, clear pencil mark. Now, grab your level. Place it on that first mark and extend a perfectly straight, faint line across the top of the window. This is the only guaranteed way to get a level curtain rod.
With your marks in place, you’re ready to drill. A clean pilot hole is crucial for a snug anchor fit. Double-check the anchor's packaging for the recommended drill bit size—if the hole is too big, the anchor won't grip.
Hold your drill straight, perfectly perpendicular to the wall. Use steady, gentle pressure. If you suddenly hit strong resistance, stop drilling. You might have hit a wall stud, which is great news! If so, you can skip the anchor and drive a wood screw directly into the stud for a superior hold.
If you don't hit a stud, it’s time to install your anchor. Gently tap it into the pilot hole with a hammer until the head is flush with the drywall. Be careful not to hit it too hard, or you could crack the surrounding wall.
With your anchors set, you can finally attach the brackets. Line up the bracket's screw hole with the anchor and use a screwdriver to drive the screw in. If you're using a drill, put it on a low-torque setting to avoid overtightening.
Overtightening is a common mistake. It can strip the inside of the anchor or even crack the drywall. The bracket should feel solid against the wall with zero wobble. For longer rods or heavy curtains, adding a center support bracket is non-negotiable. Our curtain rod size chart is a great resource for figuring out when you need that extra support.
After the brackets are firmly mounted, place your curtain rod. Take a step back and check it one last time with your level to make sure everything looks straight. It’s much easier to make a tiny adjustment now than to take everything down and start over. For more great advice, check out these practical DIY tips for installing building hardware.
Even seasoned DIYers can hit a snag hanging curtain rods. One small slip-up can feel like a disaster, but almost every common mistake is surprisingly simple to avoid and even easier to fix. Think of this section as your troubleshooting guide to help you turn frustration into a perfectly hung curtain rod.
We’ll walk through the most common hiccups, from using the wrong drill bit to accidentally stripping an anchor, and give you clear, actionable ways to get your project back on track.
This is, without a doubt, the mistake people make most often. You grab a drill bit that looks right, drill your hole, and pop in the anchor. But the moment you try to drive the screw, the anchor just spins, refusing to tighten.
The problem is almost always a hole that's a little too big. A drywall anchor needs a perfectly snug fit so it can expand and grab the drywall. If there’s even a tiny bit of wiggle room, it has nothing to grip.
You’re tightening the bracket screw, determined to make it rock-solid. You give it one last powerful turn with your drill and… pop. The screw suddenly loses all tension and spins freely. You’ve just stripped the inside of the anchor by overtightening it.
This happens all the time with plastic anchors. The screw’s metal threads can easily chew through the soft plastic if you apply too much torque.
My Two Cents: When you're driving screws into drywall anchors, switch to a handheld screwdriver for the final few turns, or set your power drill to its lowest torque setting. Tighten until the bracket is just snug against the wall, and then stop. The goal is "firm," not "forced."
The Quick Fix for Stripped Anchors
If you've already stripped an anchor, you don't necessarily have to start over. Carefully back the screw out and try this trick:
You've finally hung the rod, you step back to admire your handiwork, and your heart sinks—it’s crooked. Eyeballing where the brackets go almost never ends well. Your window frames, ceilings, and floors are rarely perfectly level.
A crooked curtain rod can make the whole room feel off-kilter.
Yes, in almost every case, you absolutely need to use anchors in drywall. Drywall is too soft to hold a screw under the weight of a curtain rod and curtains. The anchor expands behind the wall, creating a secure mount that distributes the weight. The only exception is if you are drilling directly into a solid wood stud.
A great rule of thumb is to mount your curtain rod 4 to 6 inches above the top of the window frame. This design trick draws the eye upward, creating an illusion of height that can make the entire room feel bigger and brighter. For rooms with very tall ceilings, you can go even higher for a more dramatic effect.
Stop drilling immediately. You have likely hit either a wooden stud (good news!) or a metal plate protecting plumbing or electrical wires (bad news!). Use a stud finder to identify what you've hit. If it's a stud, you can skip the anchor and use a wood screw. If it is not a stud, it's safest to patch the hole and move your bracket location an inch or two to the side.
The holding power of drywall anchors varies significantly by type. Always check the weight rating on the package before buying.
Ready to find the perfect window treatments to finish the job? Take a look at the beautiful and accessible collection of curtains, rods, and hardware at Joey'z Shopping and bring your vision to life. https://joeyzshopping.com