
Join the Joey'z Family!

Learning how to install Roman shades is one of the most satisfying DIY projects a homeowner can tackle. It’s a simple process that boils down to three key stages: measuring correctly, placing your brackets securely, and hanging the shade. Get these steps right, and you'll have a professional-looking result that elevates your room's style.
This guide provides the experience-backed steps I’ve used for countless installations, ensuring you get it right the first time.
Before you pick up a drill, a little planning goes a long way. The decisions you make now will set the stage for a smooth, frustration-free installation. Think of this as your roadmap to success.
The first and most critical choice is deciding between an inside mount and an outside mount. An inside mount fits snugly within the window frame for a clean, built-in aesthetic. An outside mount is installed on the wall or trim above the window, perfect for maximizing light control or hiding a less-than-perfect window frame. This choice directly impacts how you'll measure.
Understanding the pros and cons of each mounting style is essential for getting the look and function you're after.
The difference in light control between these styles is significant. If you're on the fence, you can explore more about light-filtering vs. blackout options in our detailed guide to match the right mount with the right fabric.
Insider Tip: For outside mounts, I always add at least 2-3 inches to each side of the window measurement. This ensures full coverage and minimizes those pesky slivers of light peeking through the edges.
Feeling stuck? This quick comparison will help you confidently choose the right mounting style for your windows.
| Feature | Inside Mount | Outside Mount |
|---|---|---|
| Look & Feel | Clean, minimalist, built-in appearance | Creates the illusion of a larger window; traditional look |
| Best For | Showing off attractive window trim; deep window sills | Hiding imperfect frames; shallow windows; maximizing darkness |
| Light Control | Good, but may have small light gaps on the sides | Excellent; overlaps frame to block more light |
| Measurement | Requires precise width and depth measurements of the frame | More forgiving; measures the area you want to cover |
| Considerations | Window must have enough depth to accommodate the headrail | Covers trim; requires enough wall space above the window |
Ultimately, the right choice comes down to your specific windows and the look you want. Both can look fantastic when done correctly.
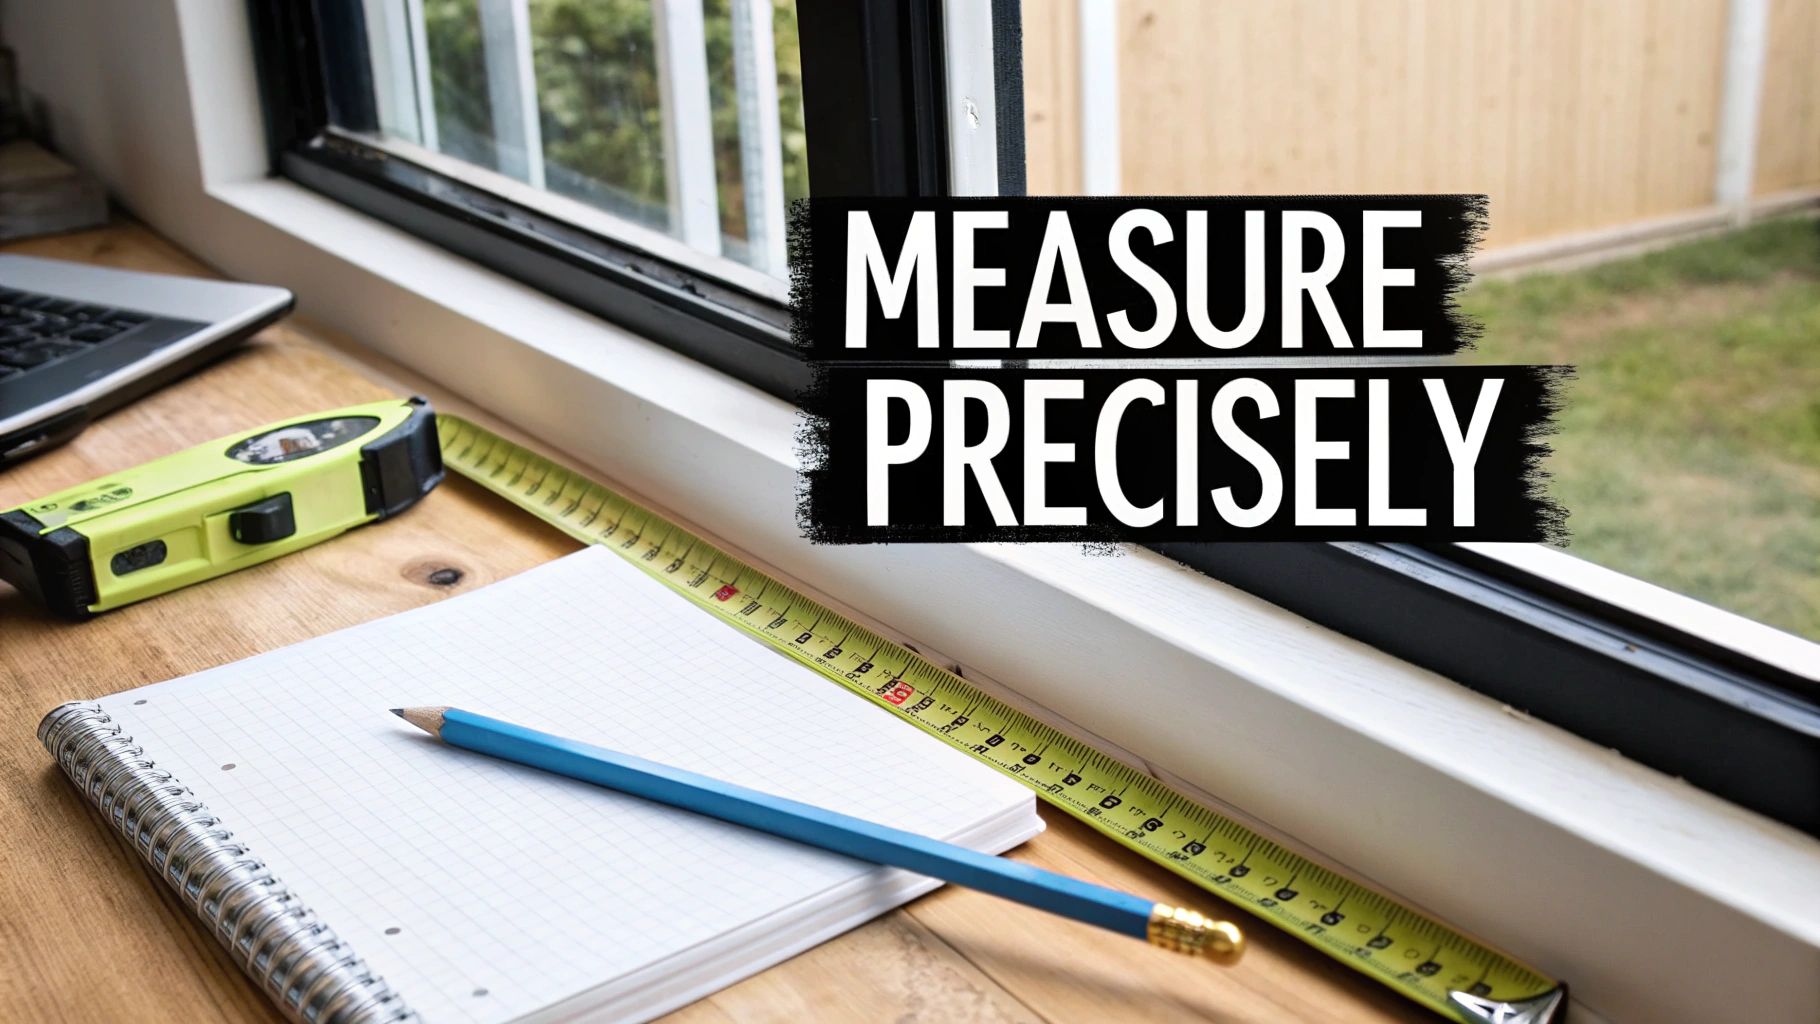
Inaccurate measurements are the number one cause of installation headaches. Grab a quality steel tape measure—not a fabric one, which can stretch—and measure every single window, even if they look identical. They're often not!
For an inside mount:
Measure the width at the top, middle, and bottom of the window frame. Record the narrowest of these three numbers. Then, measure the height at the left, middle, and right, and record the longest measurement.
For an outside mount:
First, decide where the headrail will sit above the frame. Measure the total width you want the shade to cover (including the extra overlap on each side). Then, measure the height from the top of where the headrail will be down to where you want the shade to fall.
With your new shades in hand, the fun begins. Taking a few minutes to unbox and organize everything is a pro move that will make the actual installation a breeze.
First, unbox everything carefully. I recommend laying out a soft blanket or sheet on the floor to protect both your new shades and your flooring from scratches. Gently pull out the headrail, fabric, and all hardware.
Having your tools within arm's reach saves you from trips back to the garage. Your kit will come with basics like brackets and screws, but you’ll need a few essentials.
Before drilling, do a quick inventory check. Spread out the hardware—brackets, screws, cord cleats—and compare it against the parts list in the manufacturer’s instructions. This five-minute check can save you from the massive headache of realizing a piece is missing mid-job.
Pro Tip: I use a small magnetic bowl or an empty egg carton to keep screws and small parts organized. This simple trick stops tiny pieces from rolling away and disappearing.
Setting up your workspace correctly is key. For more tips on hanging hardware, see our guide on how to install curtain rods, which shares universal principles for any window treatment.
With everything organized, you're officially ready to start mounting.
This is where the magic happens. Nailing your bracket placement is the secret to a professional-looking installation. It's the foundation that ensures your shades hang level and operate smoothly.
Using your measurements from the prep stage, transfer those numbers to the window frame or wall with a sharp pencil.
For an inside mount, brackets typically attach to the top of the window casing. Hold a bracket in place near one end and mark where you'll drill. Repeat on the other side, ensuring both are the same distance from the front edge of the frame.
For an outside mount, position your brackets on the wall or trim above the window. Your marks should align with the total width you measured earlier. Use your level to ensure the marks are even—don’t trust the window frame, as they’re notoriously uneven.
The surface you're drilling into dictates your next move. If you're working with solid wood trim, drilling small pilot holes is a non-negotiable step. A pilot hole, slightly smaller than your screw's diameter, prevents the wood from splitting and guarantees a tight grip.
Drywall presents a different challenge. The included screws often aren't enough to hold the weight alone. You’ll need to use drywall anchors for a secure installation that won’t pull out over time. If you're new to this, we have a guide on how to hang curtain rods in drywall that covers anchoring techniques you can apply here.
Insider Tip: Always check for obstructions before you drill. Window cranks, locks, or alarm sensors can interfere with the shade's operation. Hold the shade up to your marks to simulate its movement and ensure it has a clear path.
With pilot holes drilled or anchors in place, attach the brackets with your power drill. Leave the screws a tiny bit loose for micro-adjustments.
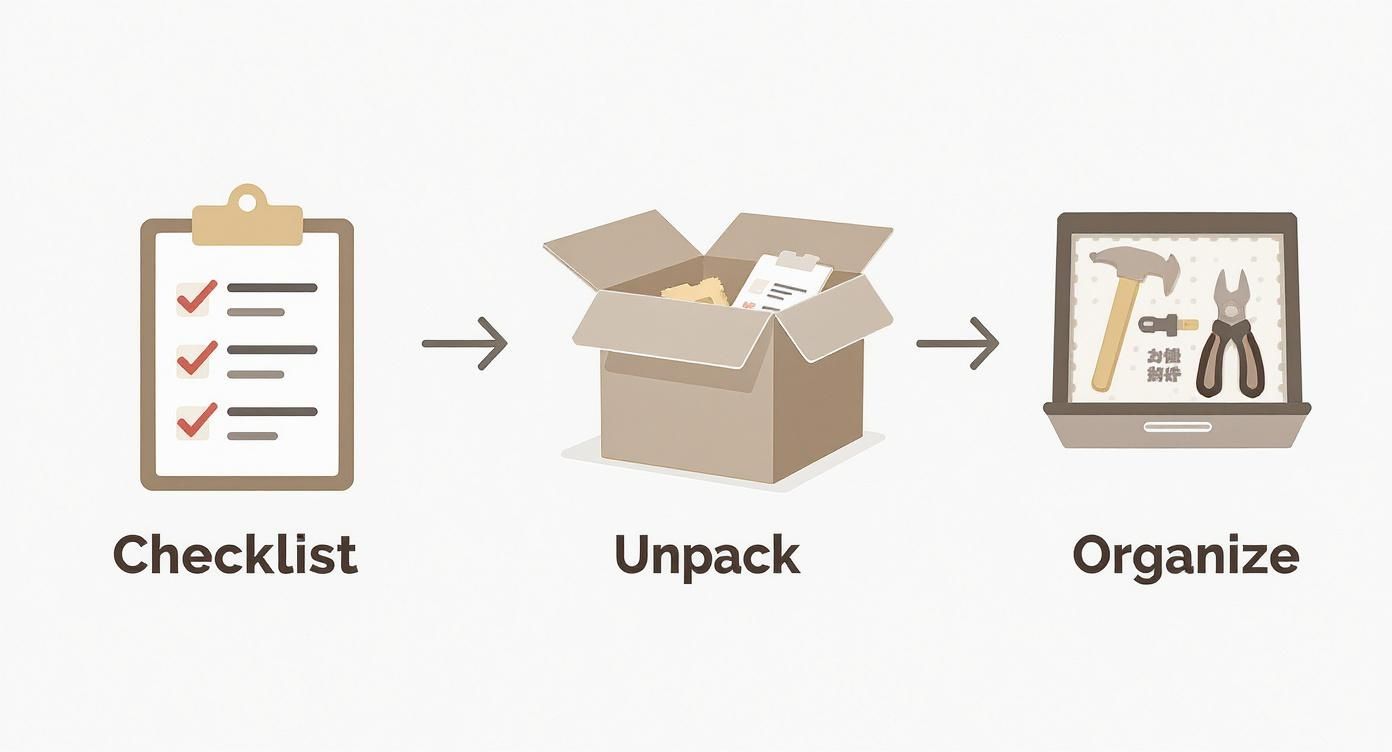
This process of checking, unpacking, and organizing ensures a smooth installation.
Place your level across the tops of the brackets one last time to confirm they are perfectly aligned. If they are, tighten the screws fully. A level installation isn't just about looks; it prevents uneven wear on the cords and lifting mechanism.
With your brackets firmly secured, you're ready for the most satisfying step.
With your brackets firmly in place, you're on the home stretch. This is where your prep work pays off, and that collection of parts starts to look like a beautiful window treatment.
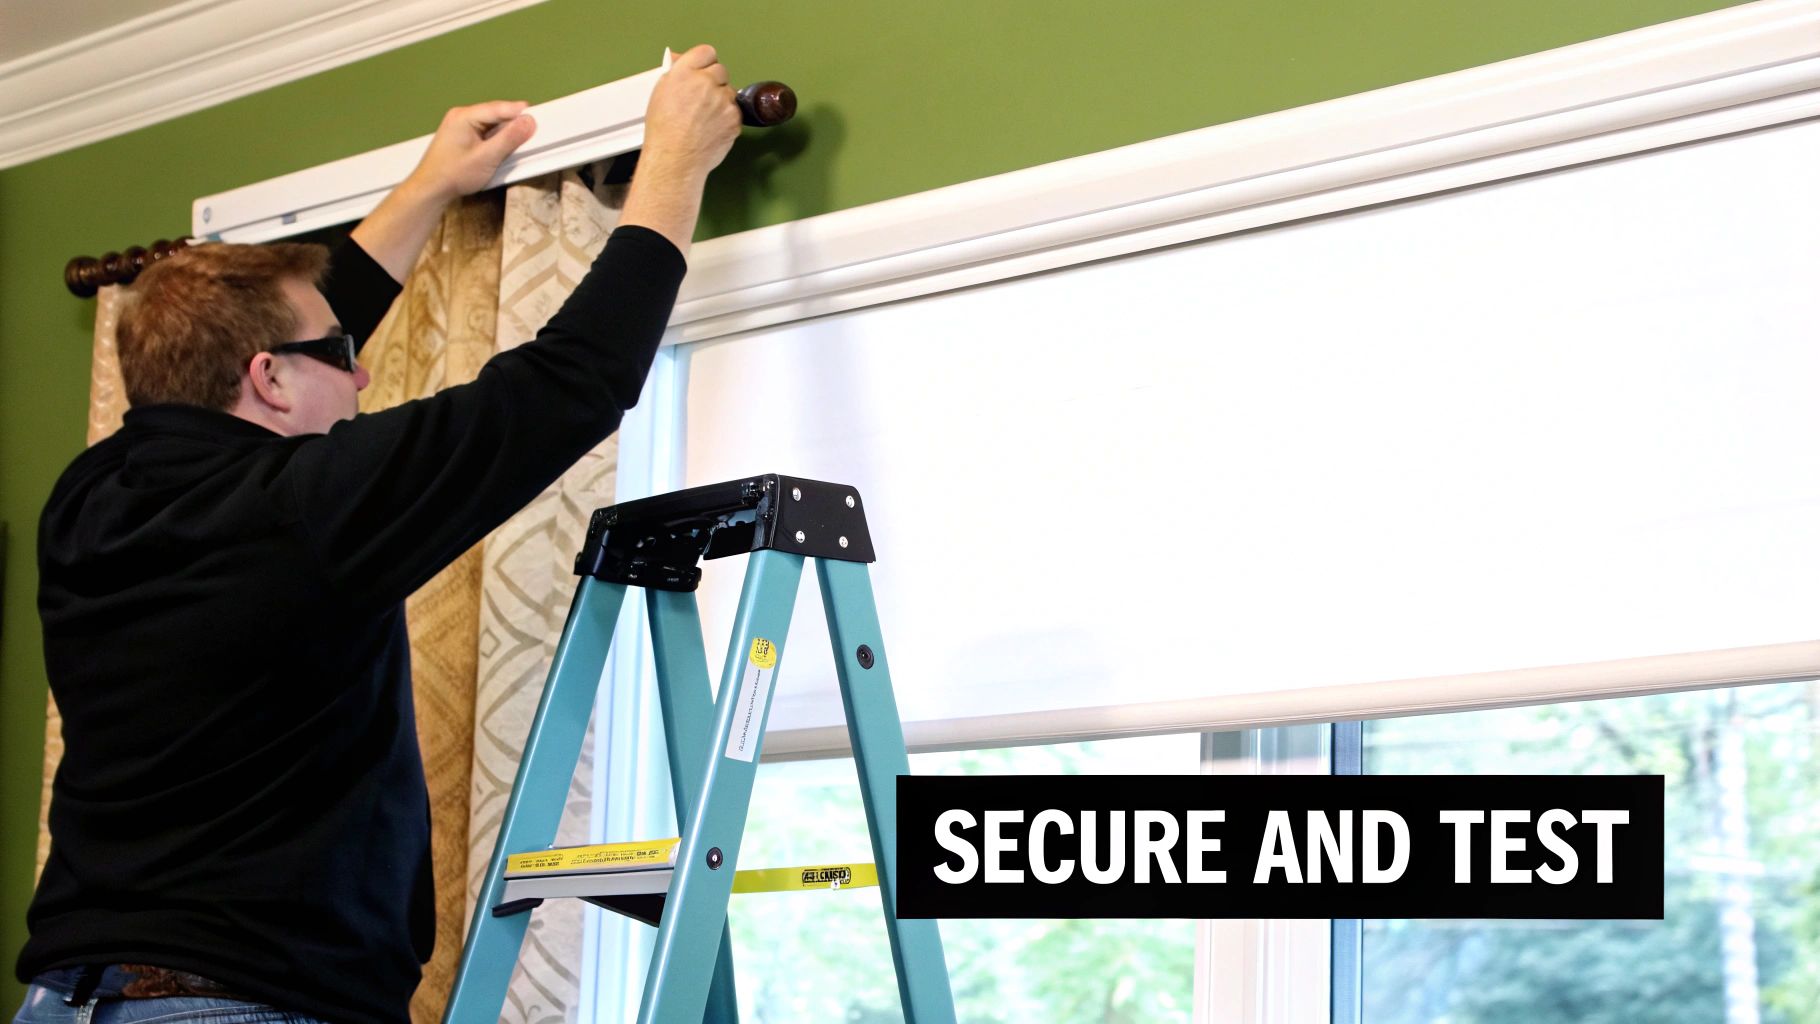
Carefully lift the headrail up to the brackets. For an inside mount, you’ll likely tilt the front of the headrail up, slide it into the brackets, and then push the back edge upward until it locks in with a click. For an outside mount, it's often a simpler motion of pushing the headrail straight back onto the brackets.
The exact mechanism can vary between brands, so a quick glance at the manufacturer's guide is always a good idea. Once you hear that solid click, give the headrail a gentle but firm tug to be sure it's fully seated and secure.
Now for the details that give your installation a polished look. Most Roman shades come with a matching fabric valance to hide the headrail. This piece usually attaches with clips or a hook-and-loop strip. Align the valance with the top of the headrail and press it on firmly.
For any corded shades, installing the safety hardware is a crucial final step, especially with children or pets at home.
These safety features are non-negotiable for creating a safe environment.
With a little guidance, this final stage is surprisingly straightforward. In a global market valued at USD 14.82 billion in 2024, an estimated 70% of Roman shades are installed by homeowners themselves. The average DIY time is just 30 to 45 minutes per window. You can find more insights in this blinds and shades market report.
Alright, the moment of truth. Slowly raise and lower the shade a few times. Does it glide smoothly without catching? When you raise it, does it fold into neat, even stacks?
If your shade is cordless, test the lift mechanism by gently pushing up or pulling down from the bottom rail. For a motorized version, grab the remote and run it through its full range of motion. This final check ensures everything is working perfectly.
https://www.youtube.com/embed/kgtR3Pz4UcM
Even with careful prep, hiccups can happen. Don't sweat it. Most snags are common and have a simple fix. Let’s walk through the most frequent issues homeowners face.
This is the number one issue. A crooked shade is a dead giveaway that your brackets aren't perfectly level.
If the brackets are level, double-check that the headrail is fully and evenly snapped into both brackets. It's easy for one side to feel secure when it’s only partially clicked in.
A shade that fights you is annoying. This is often just a simple obstruction or a kink in the cord mechanism.
A level installation is the secret to a smooth operation. When the headrail isn't level, it puts uneven tension on the lifting system, which is a leading cause of operational snags.
Here are a few more rapid-fire solutions.
Congratulations, your new shades are up! Now, a little routine care is all it takes to keep them looking and functioning perfectly for years.
A light dusting once a week with a feather duster is perfect. You can also use the soft brush attachment on your vacuum to gently go over the fabric. This prevents dust and allergens from working into the fibers.
For small spills or smudges, spot-cleaning is your best bet.
Gently blot the area with a clean, damp cloth and a tiny amount of mild soap. Always test it on a hidden spot first to ensure it doesn't affect the fabric color. Keeping shades clean is also a key part of maintaining good indoor air quality.
Don't forget the mechanisms.
By the way, pat yourself on the back for choosing the DIY route. Professional installation can cost anywhere from $75 to $150 per window. With the global window covering market expected to reach $54.4 billion by 2034, it's clear more homeowners are choosing user-friendly options they can install themselves. Dive deeper into these trends in this detailed market report.
Even straightforward projects can leave you with questions. Let's walk through some common "what-ifs" so you can wrap up your installation feeling like a pro.
The short answer is no. Most Roman shades are designed for DIY installation. If you're comfortable using a drill, a tape measure, and a level, you can realistically have a shade installed in under an hour. The two most critical steps are measuring carefully before ordering and ensuring your mounting brackets are perfectly level and secure.
An inside mount fits snugly inside the window casing for a clean, built-in look that's perfect for showing off beautiful window trim. An outside mount is installed on the wall or trim above the window itself. I almost always recommend an outside mount if you're trying to block more light, hide a less-than-attractive window frame, or if your window casing isn't deep enough for an inside mount headrail.
This is a very common issue, especially in older homes. The trick is to make the shade level, not the window. If you're doing an inside mount, use your level to get the brackets perfectly aligned with each other, ignoring the slanted frame. For an outside mount, simply mount the headrail level above the window opening. The shade will hang straight and create a clean line that cleverly hides the uneven frame.
Keeping them fresh is simple. For day-to-day dust, a quick pass with a feather duster or the soft brush attachment on your vacuum is all it takes. For a small stain, you can spot-clean the fabric with a cloth dampened with water and a touch of mild soap. Just remember to test it on a hidden area first and blot gently—never rub—to lift the stain.
Ready to find the perfect style for your next project? Explore the beautiful and easy-to-install collection of window treatments at Joey'z Shopping and transform your space today. Find your ideal Roman shades at https://joeyzshopping.com.