
Join the Joey'z Family!
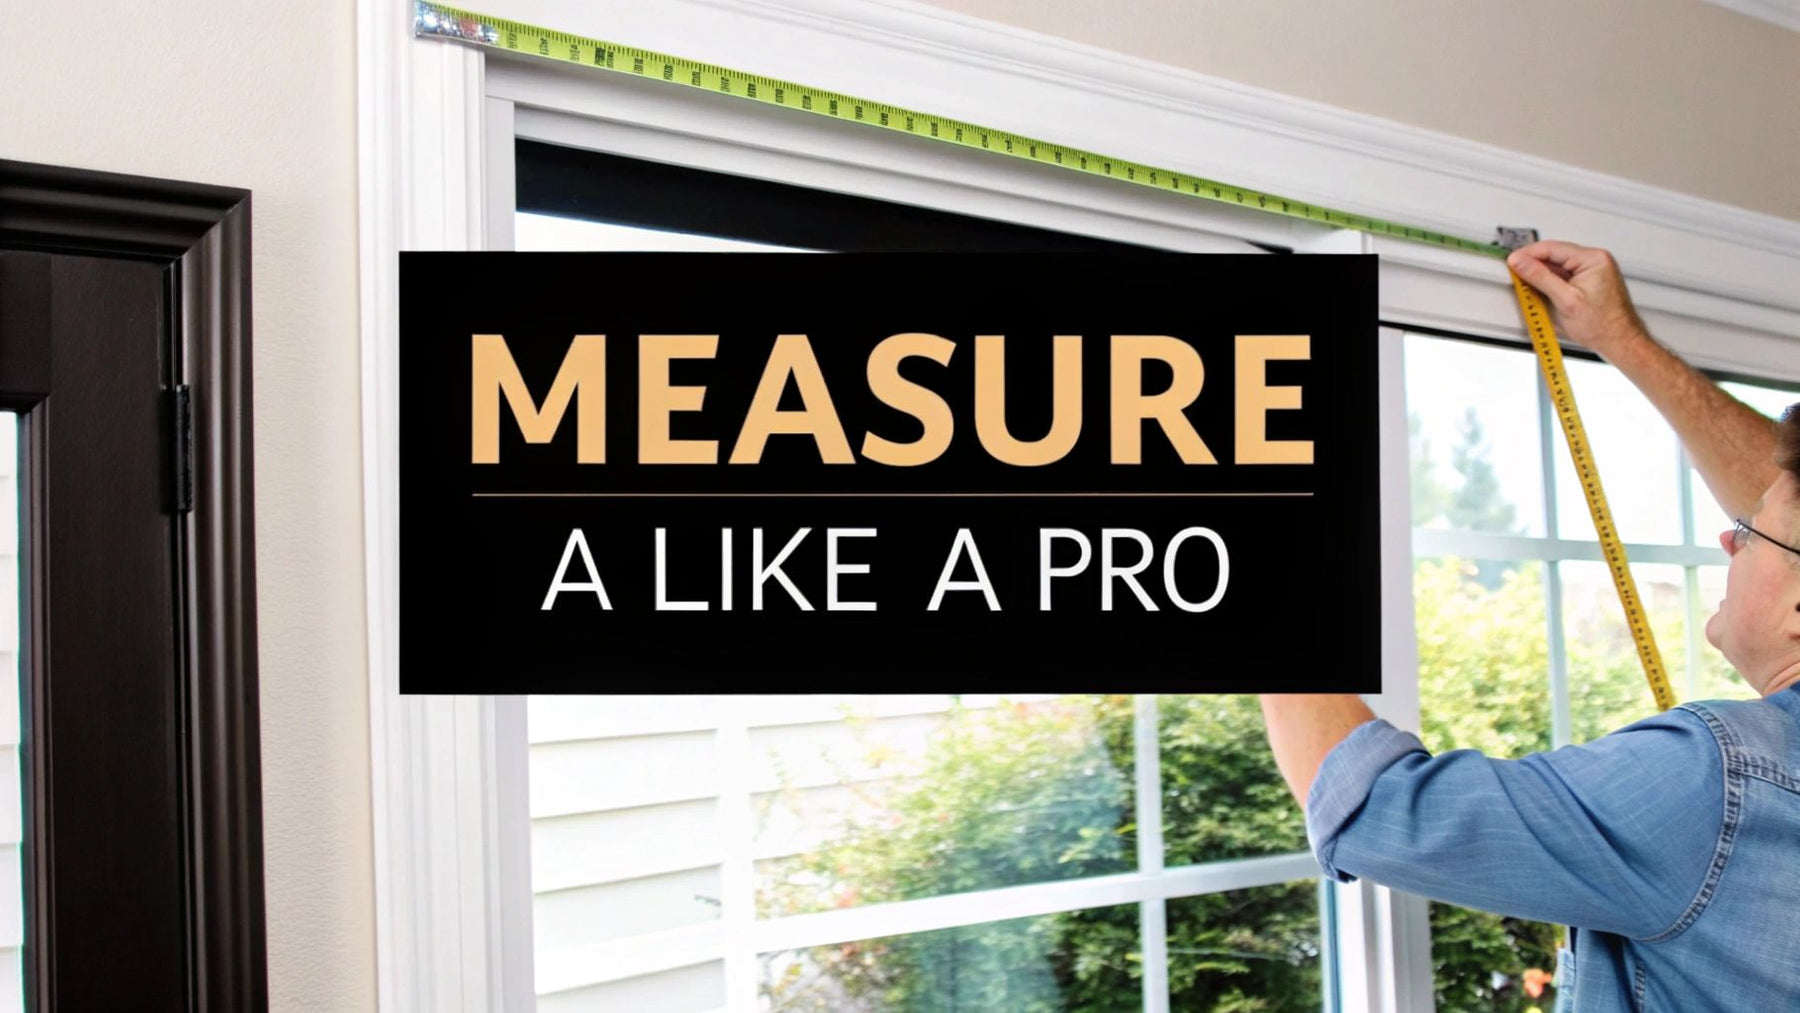
Getting your window measurements right is the single most important step for a professional-looking installation. It’s the difference between a custom fit and a frustrating mess. The short answer is: for an inside mount, measure the width at the top, middle, and bottom, then use the narrowest measurement. For an outside mount, measure the full window frame and add at least three inches to both the width and height for proper coverage.
Before you even touch a tape measure, let's talk about the "why." You’re not just trying to cover a pane of glass. The real goal is to make sure your new blinds operate smoothly, look like they truly belong, and give you the light control and privacy you’re after. Being off by even a tiny fraction of an inch can lead to annoying gaps, blinds that scrape the window frame, or a headrail that just won’t fit.
This all starts with one key decision: are you going for an inside mount or an outside mount? That choice dictates everything that comes next.
Your decision will really come down to a few things:
Choosing between these two styles is the first and most critical move you’ll make. Most people—somewhere around 65-75% of homeowners—lean towards inside mount blinds for that crisp, clean aesthetic. The rest opt for an outside mount, which is a fantastic solution for covering unusual window shapes or simply hiding the existing trim.
Precision is everything here. A mistake as small as 1/8 of an inch can cause big headaches with how the blinds operate. This first decision doesn't just impact the final look; it completely changes how you'll measure. Taking a moment to understand how to choose window treatments is a great first step before you commit.
To make it even clearer, let's break down the core differences at a glance.
Here's a quick comparison to help you decide which mounting style is right for your windows and your design goals.
| Feature | Inside Mount | Outside Mount |
|---|---|---|
| Look & Feel | Clean, minimalist, built-in appearance. | Creates a larger visual frame, can hide trim. |
| Best For | Showcasing attractive window molding. | Hiding imperfect frames or shallow windows. |
| Light Control | Allows for small light gaps at the edges. | Offers maximum light blockage and privacy. |
| Measurement Forgiving | Requires precise measurements. | More forgiving if you're off by a small amount. |
| Installation Space | Needs sufficient window casing depth. | Can be mounted on the wall or trim above the window. |
Ultimately, both options can look fantastic when done right. Your choice just sets the stage for the measurements to come.
Key Takeaway: The choice between an inside mount (sleek, within the frame) and an outside mount (mounted above and outside the frame for coverage) is your foundational first step. Everything else in the measurement process flows from this decision.
An inside mount gives you that clean, custom-fit look everyone loves, but it’s a game of precision. Unlike its more forgiving counterpart, the outside mount, this method demands you get your numbers exactly right. The short version is this: measure the width and height in three different spots inside the window frame. Always use very specific measurements from those readings to guarantee a perfect fit.
Why all the fuss? It’s simple: almost no window frame is perfectly square. Years of a house settling, layers of paint building up, or just quirks from the original construction can create subtle differences.
Those tiny variations are exactly why you have to measure the width at the top, middle, and bottom of the frame. Once you have those three numbers, record the narrowest width. That one number is your golden ticket, ensuring the blind can glide up and down smoothly without scraping the sides.
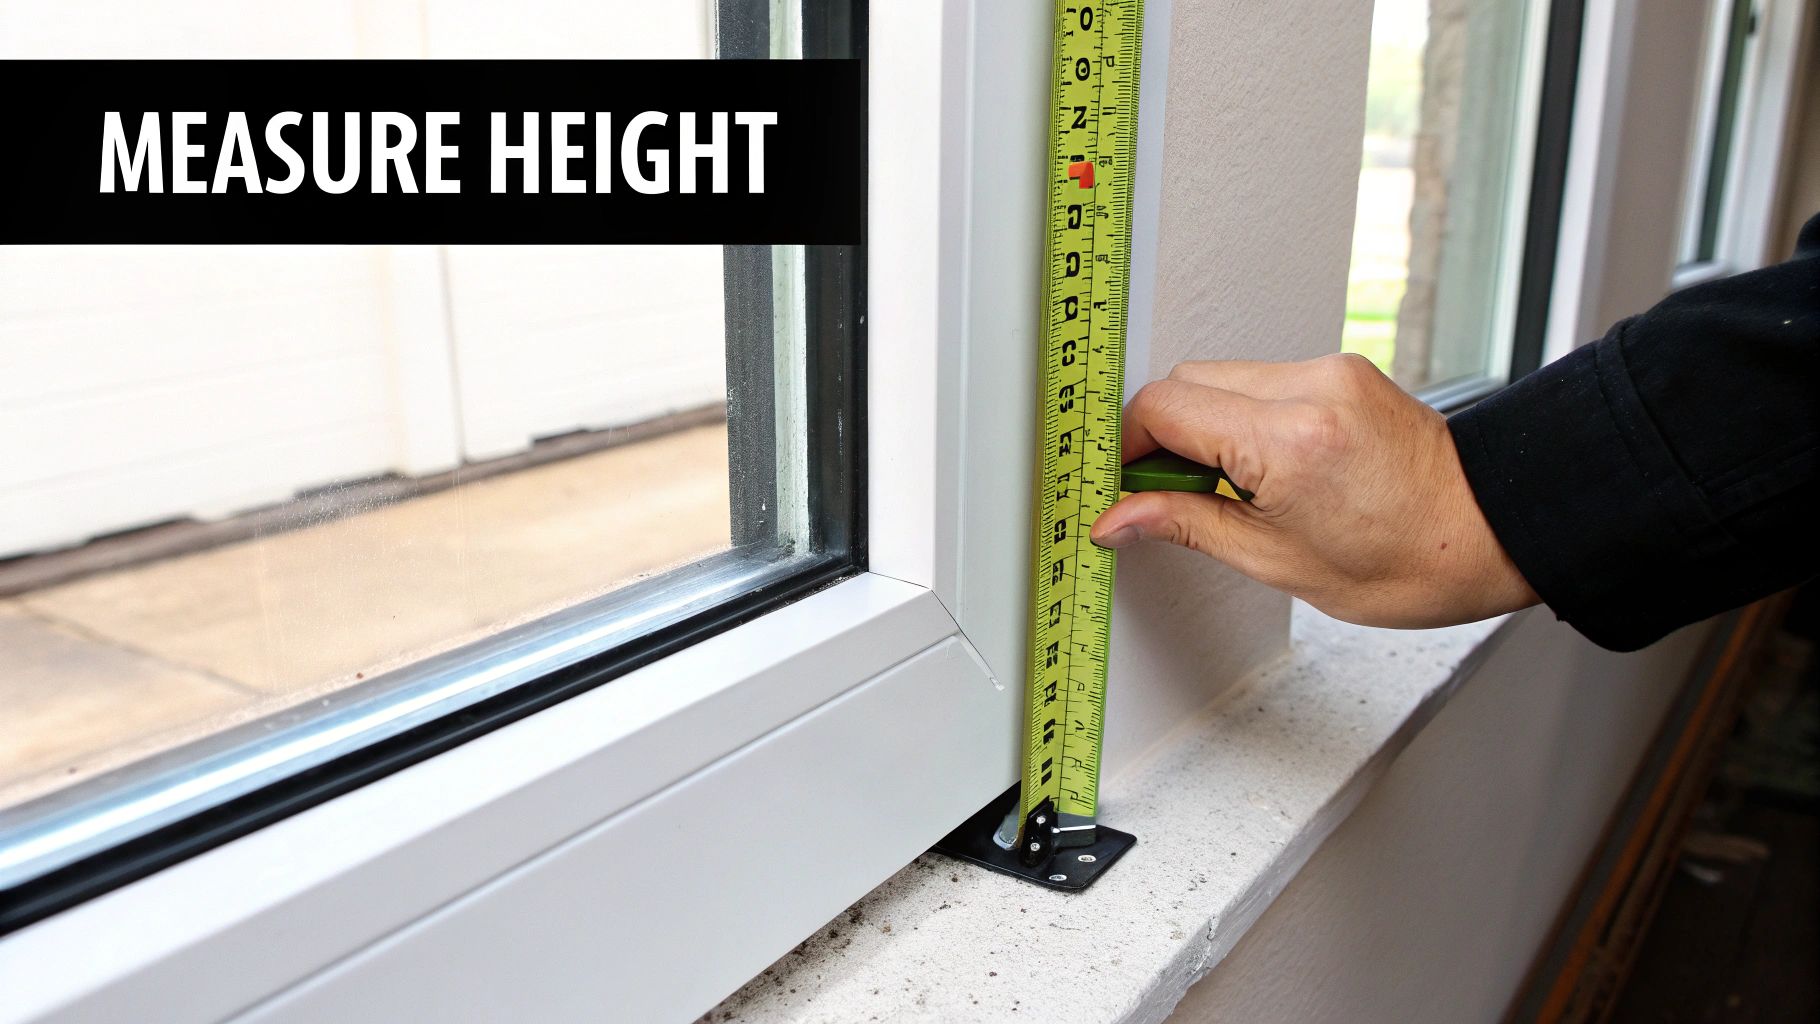
The same logic applies when you're measuring for height. Run your tape measure from the top of the inside frame down to the windowsill on the left, in the center, and on the right. This time, though, you’ll want to record the longest measurement. This makes sure your blind is long enough to cover the entire window, even if one side dips a tiny bit lower than the other.
Depth is the final, and often forgotten, piece of the puzzle. You need to measure from the front edge of your window casing straight back to the glass. This tells you if the blind's headrail will sit flush inside the frame or if it will stick out awkwardly.
Every blind has a "minimum mounting depth" requirement. A sleek roller shade, for instance, needs a lot less space than a beefy set of wood blinds.
This image shows the essential tools you’ll need to get started.
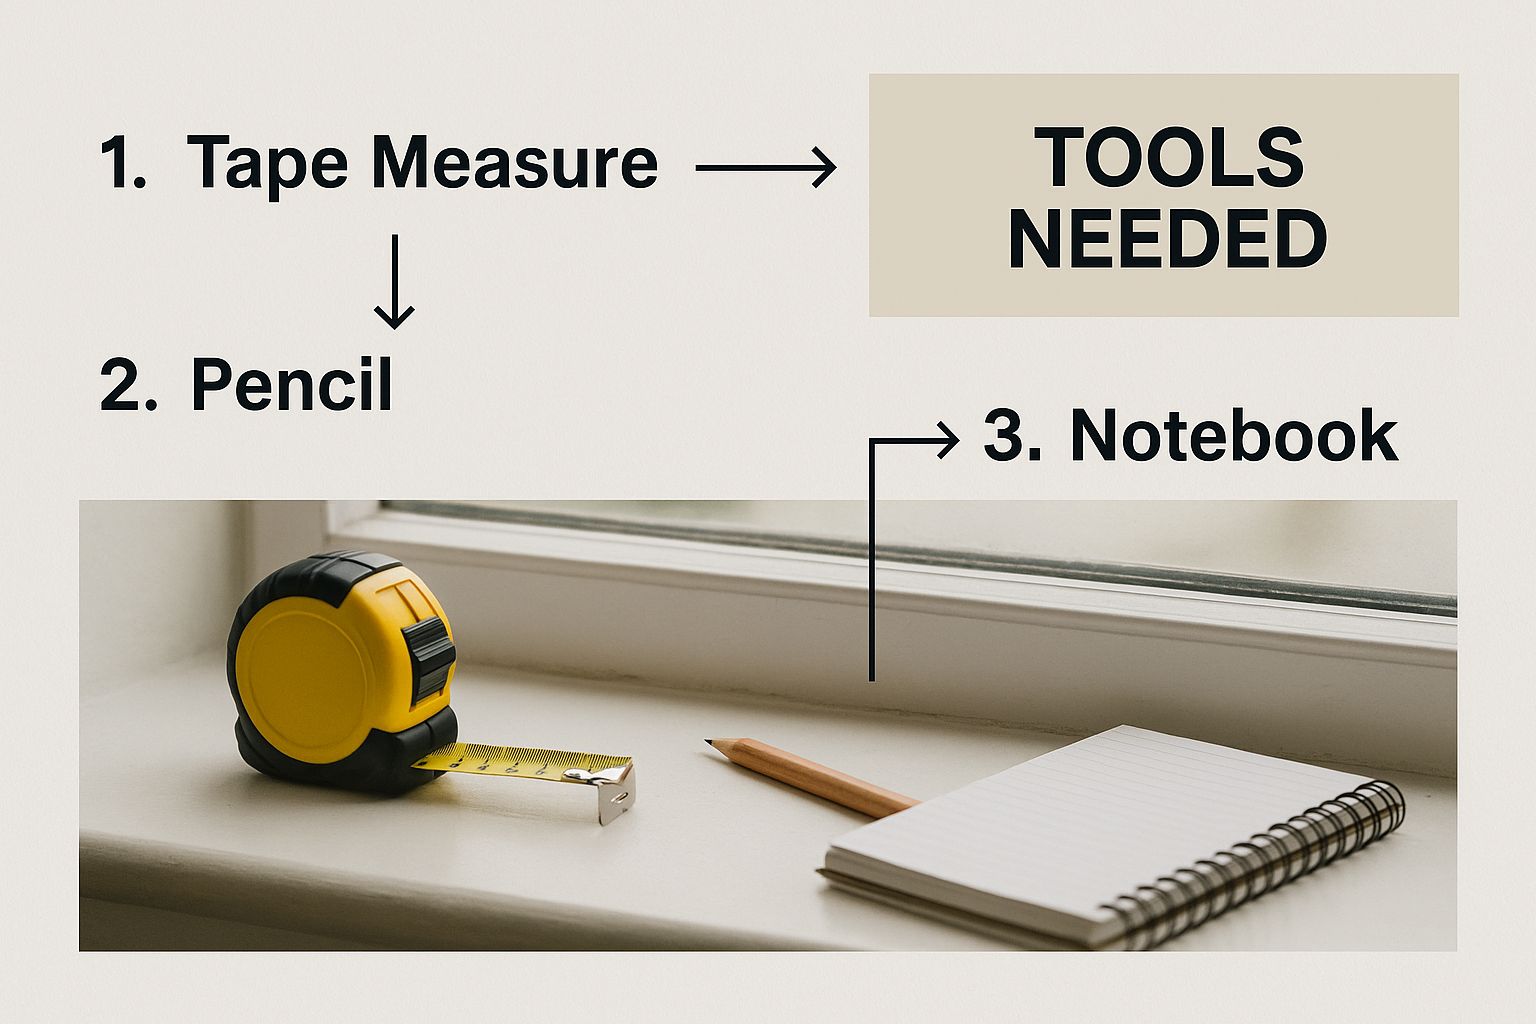
Having a steel tape measure, pencil, and notepad ready before you start just makes the whole process smoother and error-free.
Now for the insider advice that makes all the difference. While you're measuring, keep an eye out for anything inside the frame that might get in the way.
Crucial Tip: Never, ever make your own deductions. Do not subtract anything from your measurements to "help it fit." Just provide the exact, narrowest width to the manufacturer. Their factory knows exactly what to do and will make the precise, minimal deductions (usually about 1/4 to 1/2 inch) needed for a perfect fit and smooth operation.
Getting this right matters more than you might think. Industry analyses show that a staggering 20-25% of returns in the window blinds world come from improper measurements, leading to light gaps or blinds that just don't work right. You can learn more about the window covering market to see why precision is such a big deal. By following these steps, you’re not just measuring—you’re guaranteeing a professional-looking result.
Outside mounts are your secret weapon in the world of window treatments. We’ve seen them used to make a small window feel grander, cleverly conceal less-than-attractive trim, or deliver that near-total darkness perfect for a good night's sleep. Unlike the surgical precision needed for an inside mount, this process is all about addition—specifically, adding a bit of extra width and height to create a beautiful, functional overlap.
This approach is fantastic for shallow window casings that just can't accommodate a blind's headrail, or for those charming older windows that aren't perfectly square. Instead of fitting inside the frame, the blind is mounted on the wall or trim above it, covering the entire opening like a piece of art. The key is knowing exactly how much to add to your measurements to get it just right.
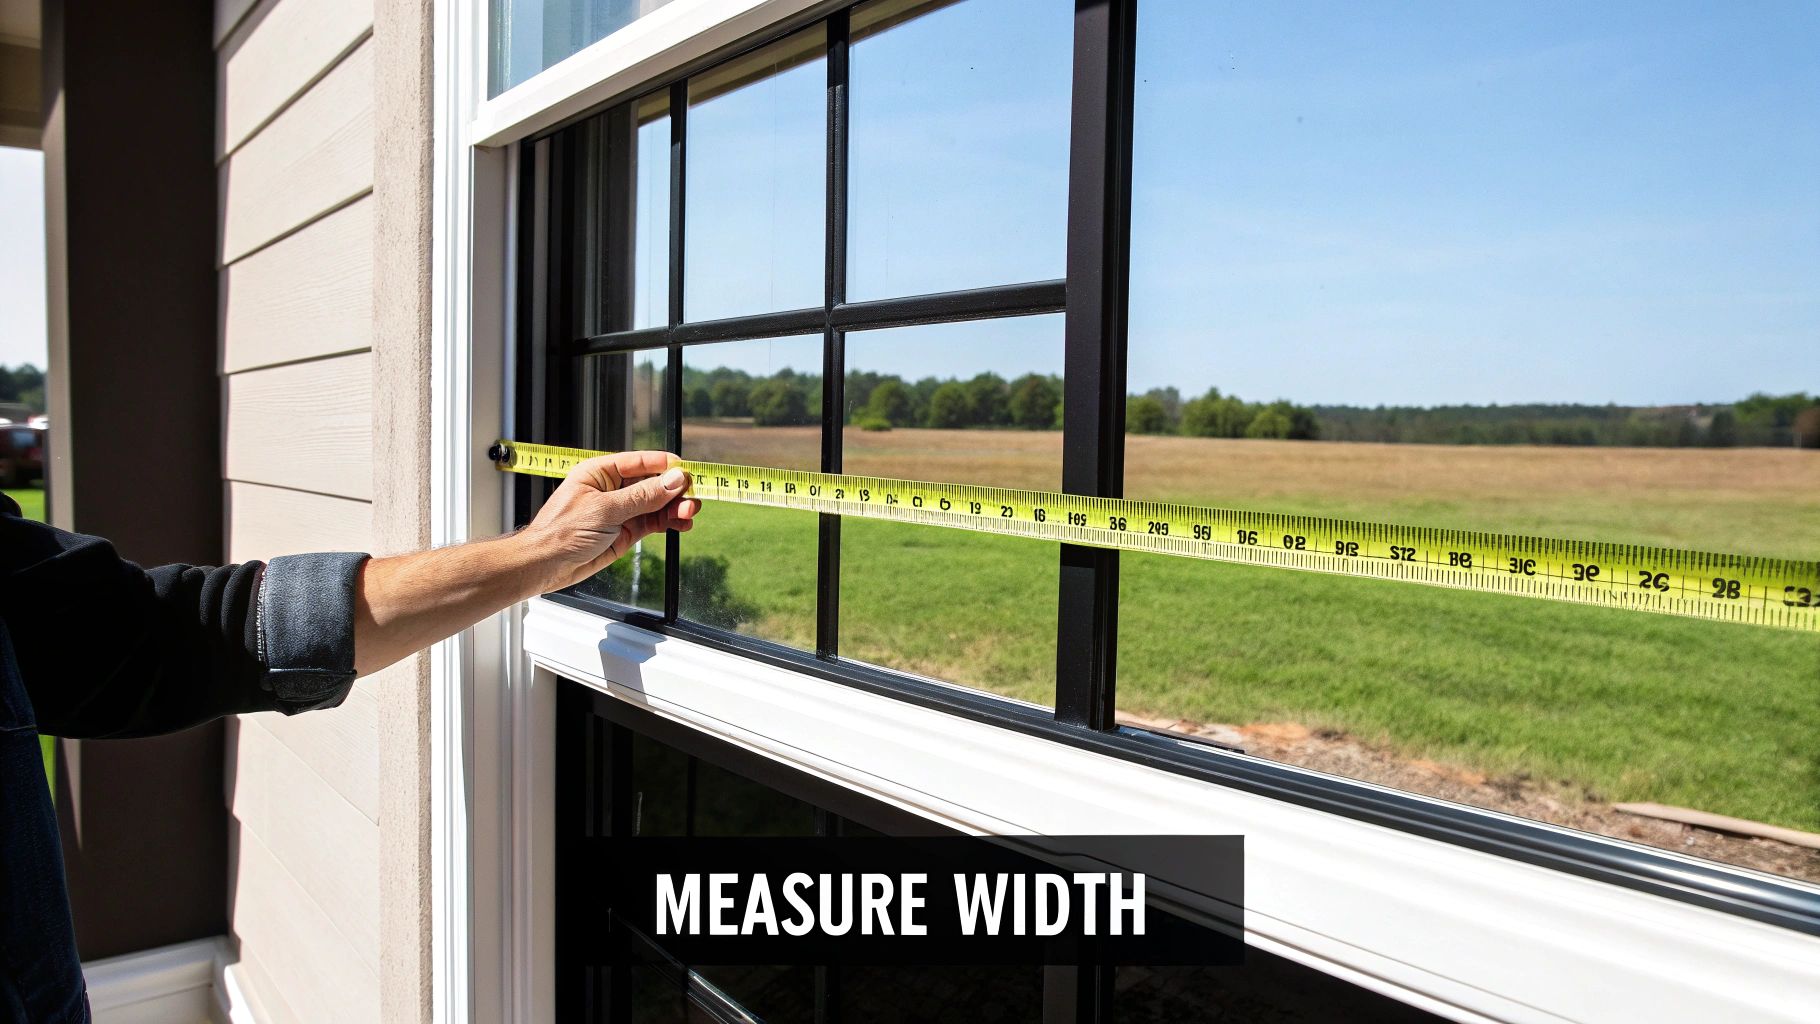
When you're measuring for an outside mount, start by finding the full width of your window, including any trim or casing you want to cover. Once you have that number, the general rule of thumb is to add a total of 3 to 4 inches. This extra bit, what we call "overlap," is absolutely crucial for minimizing the light that seeps in from the sides.
So, if your window frame measures 36 inches wide, you’ll want your finished blind to be at least 39 inches wide. This gives you a 1.5-inch overlap on each side, which is usually more than enough to ensure great privacy and light control. For something like our blackout roller shades, you might even consider adding a touch more for maximum darkness.
Figuring out the height follows a similar logic but gives you a little more creative control. You’ll want to measure from the very bottom of the windowsill (or wherever you want the blinds to end) up to the point where you’ll install the mounting brackets. This spot is typically 3 to 4 inches above the top of the window frame.
This extra height serves a couple of important purposes:
For example, if your window from the sill to the top of the trim is 60 inches high, your final measurement should be around 63 inches. This ensures the blind fully covers the window opening and gives you a sturdy place to mount it.
Insider Tip: Always use your steel tape measure to confirm you have at least 2 inches of flat, solid surface above your window trim for the mounting brackets. Without this stable area, your installation just won't be secure.
Of course, real-world homes often present unique challenges. What if a bookshelf is pushed right up against the window, or a slanted ceiling limits the space you have above it? In these cases, you just have to adjust. If you only have 1 inch of wall space on one side, then that’s your overlap for that side. The goal is always balance and functionality.
Similarly, if you're trying to hide particularly wide or damaged trim, you may need to add more than the standard 3-4 inches to your width. The beauty of an outside mount is its flexibility. You’re in control of the final look, allowing you to create the illusion of a larger, more perfectly placed window, no matter what you’re working with. This is exactly how to measure windows for blinds when you need a little more wiggle room.
Standard rectangular windows are one thing, but what about the architectural gems that make a home unique? Bay windows, graceful arches, and even corner windows can seem intimidating, but they just require a slightly different approach. With a little planning, you can master these tricky shapes and get a flawless fit that highlights their beauty.
The key is to stop seeing a complex window as a single unit. Instead, think of it as a collection of individual sections. A bay window, for example, is really just three separate windows joined together at an angle. This simple shift in perspective makes the whole process feel much more manageable.
A bay window is a classic feature that floods a room with light and adds incredible dimension. To get the measurements right, you have to treat each section as its own project: a center pane and two angled side panes.
Start with the large center window. You'll measure this for an inside mount just like any other standard window. Take three width measurements—top, middle, and bottom—and jot down the narrowest one. Then, do the same for the height, measuring on the left, center, and right, but this time, record the longest dimension.
Now for the angled side windows. The process is the same, but depth is what really matters here. Measure the window depth at its shallowest point, which is usually right where it meets the center window. This is critical because you need to ensure the blind's headrail isn't too deep, which would prevent the blinds from meeting cleanly at the corners.
Expert Tip: To get that perfect, seamless corner, you’ll want to order the two side blinds as standard rectangular blinds. For the large middle blind, ask your manufacturer for "headrail cut-backs." This is a small adjustment where they trim the ends of the headrail at a 45-degree angle, allowing them to butt up perfectly against each other for a professional finish.
Corner windows bring up a similar challenge to bays: how do you get two blinds to meet in a corner without a bulky overlap? The trick is to decide which blind will be the "dominant" one. You'll measure one blind to extend fully into the corner, while the other is measured to butt up snugly against it. This simple strategy avoids a head-on collision of headrails and creates a clean, intentional look.
Arched and other "specialty shape" windows are in a league of their own. For these, precision is everything, and you'll almost always need to create a template.
Here’s a quick breakdown:
For any truly non-standard shape, creating a paper template is your best insurance policy for a perfect fit. Just trace the window's shape onto a large piece of craft paper, cut it out, and mail it to the manufacturer with your measurements. This tactile guide removes any and all guesswork. These same principles of precision apply when measuring for vinyl patio doors, where every millimeter counts.
And if you're thinking of dressing your curved windows with fabric, our guide on how to hang curtains on a curved window offers some fantastic tips.
Sometimes, a quick reference is all you need. Here's a cheat sheet for tackling these unique window shapes.
| Window Type | Key Measurement Tip | Common Mistake to Avoid |
|---|---|---|
| Bay Window | Measure each section individually. Ask for "headrail cut-backs" on the center blind for a clean corner fit. | Forgetting to measure the shallowest depth on the side windows, causing the blinds to collide. |
| Corner Window | Designate one blind as the "dominant" one to run fully into the corner; measure the other to butt up against it. | Measuring both blinds to the corner, resulting in overlapping headrails that won't fit. |
| Arched Window | Create a physical paper template to send to the manufacturer along with your precise height and width measurements. | Relying only on digital photos or measurements, which can miss subtle curves and lead to gaps. |
Having a visual guide like this can be a real lifesaver, helping you avoid common pitfalls and ensuring you get that custom, professional look every time.
We understand that even with the best intentions, tiny measurement mistakes can cause big headaches. Getting your numbers right is the final checkpoint before ordering blinds that fit perfectly. Think of this as your guide to avoiding the common slip-ups that stand between you and a flawless installation.
One of the most frequent errors is simply mixing up width and height. It sounds obvious, but when you're measuring multiple windows, it’s surprisingly easy to transpose those numbers. We recommend always writing "W" and "H" next to each measurement to keep things straight.
Another classic mistake is measuring the old blinds instead of the actual window opening. Your previous treatments could be warped, stretched, or might have been installed incorrectly from the start. The only reliable source of truth is the window frame itself.
To get professional-grade results, your tools and techniques really matter. We've seen how little details add up to make a huge difference in how your blinds will ultimately fit and function.
Here are some pro tips we've learned over the years to guarantee accuracy:
A Note on Modern Tools: Precision has come a long way. By the 2010s, laser measuring devices became popular with professionals, allowing for millimeter accuracy. This level of precision is especially vital for motorized or smart blinds, where exact alignment is necessary for the motors to function correctly. You can discover more insights about the global window blinds market and its technological shifts.
Before you click "order," we suggest running through this final mental checklist. Did you measure each window individually, even if they look identical? Did you triple-check your handwritten notes to ensure every number is legible and correctly labeled?
This last review is the most important step in learning how to measure windows for blinds. Taking an extra minute now saves you from the frustration of receiving a beautiful custom blind that's just a quarter-inch too wide to fit. By avoiding these common pitfalls, you’re setting yourself up for a smooth installation and a perfect, professional-looking result. We’re here to help you create the home you love.
When you’re learning how to measure windows for blinds, a few questions always seem to pop up. It’s completely normal to want that final bit of reassurance before you commit to an order. We get it. Here are some quick, clear answers to the questions we hear the most.
A: The short answer is: never round your measurements. Precision is your best friend here. For the best possible accuracy, always write down the exact number to the nearest 1/8 of an inch. For an inside mount, manufacturers use your exact, narrowest width to make their own small deductions (usually 1/4 to 1/2 inch) for a perfect fit. For an outside mount, they build the blind to the exact dimensions you provide.
A: You don't need a complicated toolkit. The single most important tool is a sturdy steel tape measure because it won’t stretch or sag. You'll also want a pencil and paper (or your phone's notepad) to clearly jot down your numbers. A small step ladder is also a good idea for safety and accuracy on taller windows.
A: This is a critical point: always measure the window opening itself, never the old blinds you plan on replacing. Old blinds may have stretched, shrunk, warped, or been installed incorrectly in the first place. Measuring the actual window frame is the only way to guarantee your new custom blinds will fit your space perfectly. This is also a key step in home safety, which you can learn more about in our guide on how to childproof windows.
A: The core process—measuring width and height for either an inside or outside mount—is essentially the same for most blind types. The main difference comes down to the depth required for an inside mount. A bulky venetian blind with a large headrail needs more window depth to sit flush than a slim roller shade. Always check the product’s specifications for its "minimum mounting depth" before you order.
At Joey'z Shopping, we believe getting the perfect window treatments should be straightforward and satisfying. Explore our wide collection of blinds and shades to find the ideal style for your perfectly measured windows at https://joeyzshopping.com.