
Join the Joey'z Family!

We’ve all been there—that sudden, frustrating snap of a blind slat, instantly creating a crooked gap in your otherwise perfect window view. Don't worry, you don't need to rush out and buy a whole new set of blinds. Learning how to fix broken blind slats is one of the most rewarding and cost-effective DIY skills you can master.
The quickest fix, if you're in a pinch, is a bit of clear tape for a nearly invisible patch-up. But for a repair that truly lasts, replacing the slat entirely is the way to go. It’s a surprisingly straightforward job for most common blind types, and this guide will walk you through every step.
A single broken slat can make a whole room feel messy, but it’s rarely a reason to toss out the entire window treatment. Fixing it yourself is an empowering skill that saves you both time and money. It’s an incredibly common problem, caused by everything from playful pets and kids to simple sun damage over the years.
More and more, homeowners are choosing to tackle this kind of repair on their own. It’s not just about pinching pennies; there’s a real satisfaction in restoring something in your home with your own two hands.
And trust me, this issue is far more common than you might think. Broken slats account for roughly 35% of all blind repair calls worldwide. In fact, according to recent industry analysis, this specific market segment hit a staggering USD 900 million in 2024, which just goes to show how often this happens in homes everywhere.
Our Expert Take: This is one of those home repairs that looks more intimidating than it actually is. With a little patience and the right instructions, you can get a professional-looking result without the professional price tag.
While fixing a blind slat is a very manageable DIY project, it’s always smart to recognize when a job might be better left to a pro. There are some general DIY jobs you should approach with caution, but this isn’t typically one of them. A blind repair is the perfect project to build your home maintenance skills.
Deciding how to tackle your broken slat can feel like the hardest part. This quick comparison should help you figure out which approach is right for your situation.
| Repair Method | Best For | Time Estimate | Cost Estimate | Durability |
|---|---|---|---|---|
| Temporary Tape Fix | Quick, nearly invisible patches for minor cracks. | 5 minutes | Under $5 | Low (temporary) |
| Glue & Splint | Clean breaks on wood or faux wood slats. | 15-20 minutes | Under $10 | Moderate |
| Single Slat Swap | Completely broken or badly damaged individual slats. | 20-30 minutes | $5 - $20 | High (permanent) |
| Full Slat Pack | Multiple broken slats or widespread discoloration. | 45-60 minutes | $20 - $50+ | High (permanent) |
Ultimately, the best method depends on the damage and your goals. A quick tape job is fine for a temporary fix, but if you want it done right, replacing the slat is always the best long-term solution.

Before you jump into fixing that broken blind slat, let's get organized. Having the right tools ready to go turns a frustrating chore into a quick, satisfying win. Think of it as your mission prep—a few minutes of gathering supplies now will save you a headache later.
You probably have most of what you need rattling around in a toolbox or that one junk drawer everyone has. We’re not talking about anything fancy here, just a few simple items.
You can't really start any repair without a few core tools. These are the non-negotiables you'll need for just about any slat fix.
The type of blind you're fixing will determine the right adhesive for a temporary patch. Using the wrong glue can lead to a weak bond or even damage the slat.
Insider Tip: I always keep a small magnetic parts tray nearby. It’s a total lifesaver for keeping track of those tiny rail plugs that seem determined to roll under the nearest piece of furniture and disappear forever.
With your toolkit ready, you're all set to tackle that broken slat and get your window looking sharp again.
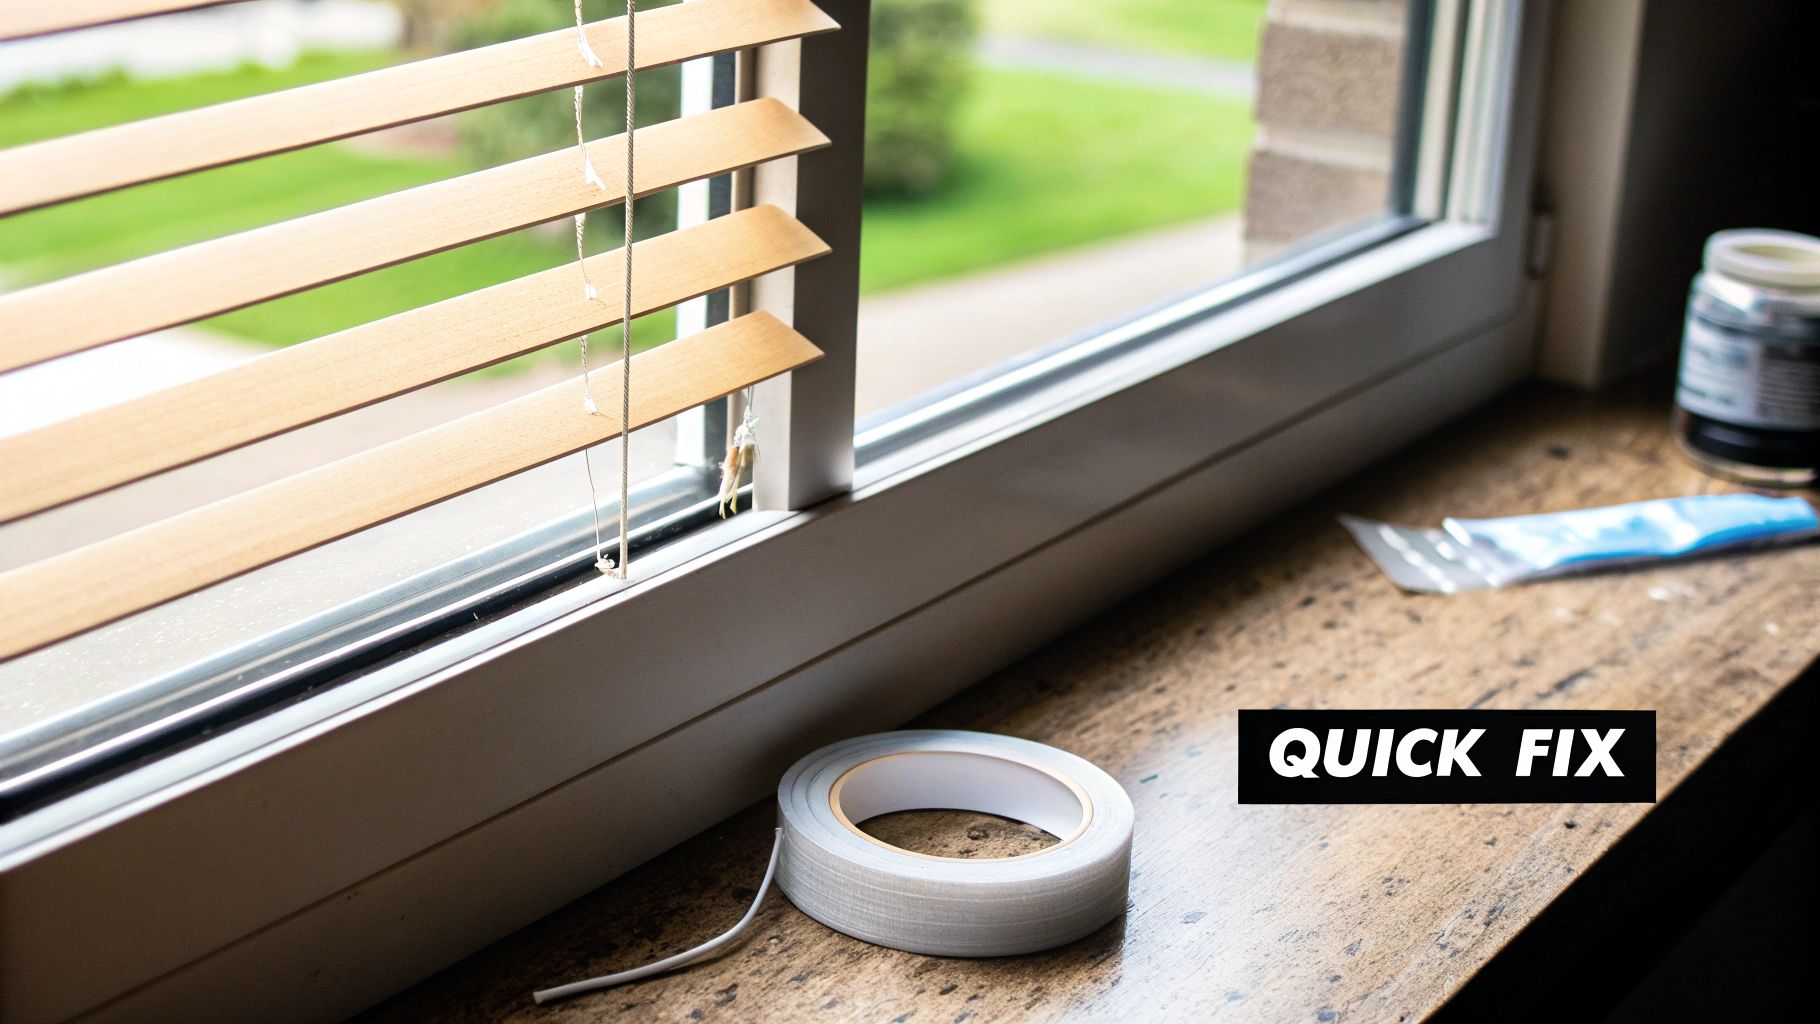
A snapped blind slat has a way of drawing your eye right to it. Whether you've got guests on the way or you're just waiting for a replacement part to arrive, a quick patch can be a real lifesaver. These temporary solutions are surprisingly effective and can keep your window looking sharp without much fuss.
These methods are perfect if you're renting or for anyone needing an immediate fix for a clean break. The secret is all in the prep work.
The simplest, fastest way to tackle a broken blind slat is with the classic clear tape trick. It might sound too basic, but for minor cracks or clean breaks on lightweight vinyl or aluminum slats, it’s a game-changer.
For a more robust temporary fix, especially on heavier wood or faux wood slats, the glue-and-splint technique is your best bet. Think of it like putting a tiny cast on the break—it provides reinforcement that can easily last for months.
First, grab a strong adhesive like superglue or wood glue. You’ll also need something small and flat to act as a splint—a piece of a wooden coffee stirrer or a popsicle stick works wonderfully.
Apply a thin, even layer of glue to one of the broken edges. Press the two pieces together firmly and wipe away any excess glue that squeezes out. Hold them tight for about 30-60 seconds to create an initial bond.
Pro Tip: For the splint, run a line of glue along your reinforcing piece (like that coffee stirrer) and press it firmly across the break on the back of the slat. This little trick helps distribute the tension and prevents the slat from snapping again at the same weak point.
To let the glue cure completely, you can place a heavy book on the slat or use small clamps if you have them. This method gives you a much stronger hold than tape alone and keeps the slat fully functional.
When a quick patch just won't cut it, replacing the entire slat is the best way to get your blinds looking and working like new. It might sound intimidating, but it's much more straightforward than you'd think. The process is pretty much the same whether you have wood, faux wood, or aluminum blinds.
This visual guide shows a simple three-step process for a quick slat patch.
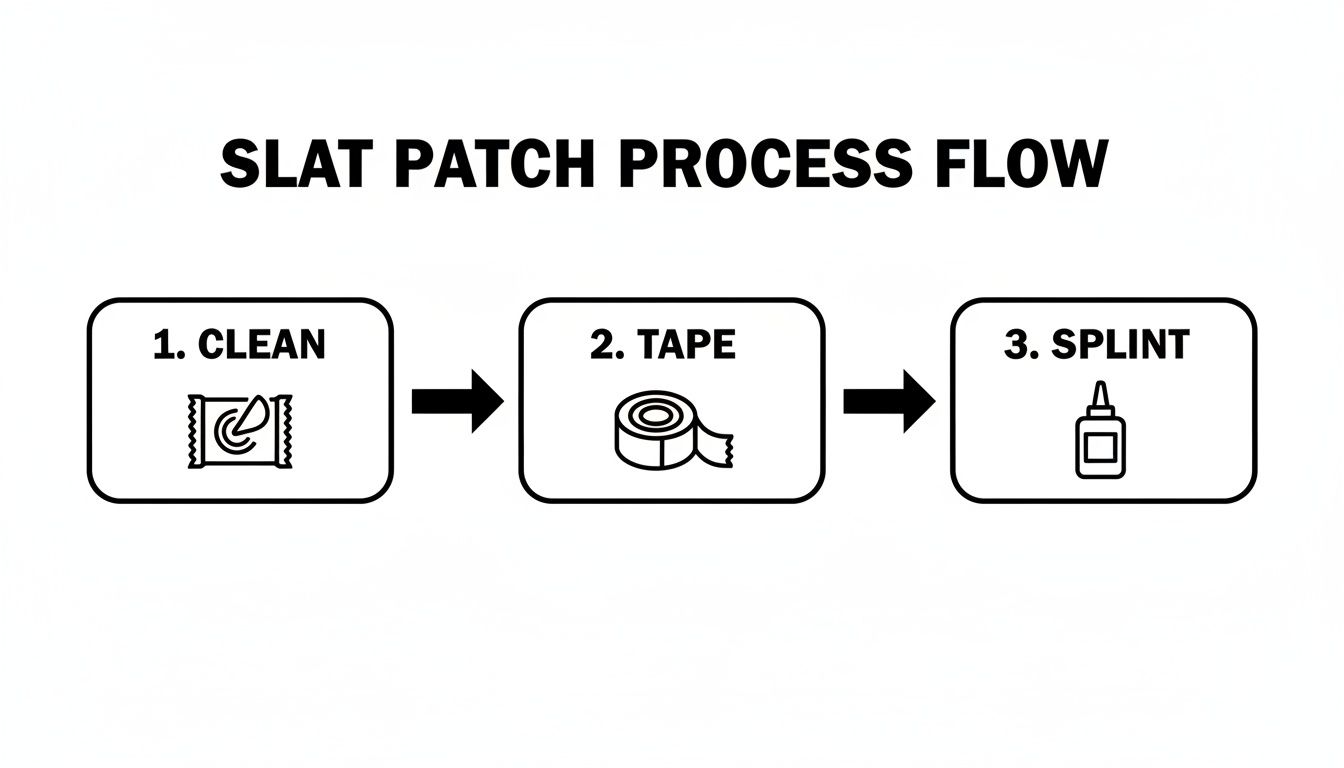
As the infographic shows, a good temporary fix always starts with a clean surface, followed by securely applying tape or adding a reinforcing splint.
First, fully lower your blinds and tilt the slats so they're completely open and horizontal. This gives you a clear shot at the ladder strings (the vertical cords holding each slat) and the main lift cords that run through them.
Next, you'll need to free the bottom rail of the blinds. Flip it over and look for the small plastic or metal plugs covering the holes.
With the bottom rail out of the way, you can start sliding out all the slats that sit below the broken one.
Gently pull each slat out from between the ladder strings. Stack them in the exact order you remove them—this makes reassembly a breeze.
When you get to the damaged slat, slide it out and set it aside. Now, grab your new replacement slat and carefully guide it back into the same spot. Check to make sure it's facing the right direction to match the others. Getting the size right is absolutely critical here. If you're not sure, our guide on how to measure for blinds can help.
Insider Tip: If you're working with wood blinds, be extra gentle to avoid chipping the edges during removal. For aluminum blinds, the ends can be stubborn; a pair of needle-nose pliers can help you guide them out without bending the metal.
Finally, it’s time to put everything back together. Work your way back down, reinstalling the slats you removed in their original order. Thread the lift cords back through the bottom rail, tie secure knots, and pop the plugs back in.
Give the blinds a test run by raising, lowering, and tilting them to make sure everything moves smoothly. And just like that, your repair is done!
Vertical blinds offer a clean, modern look, but the individual vanes can certainly take a beating. A broken vertical blind vane is one of the easiest fixes you can do yourself, since there are no lift cords to wrestle with.
The most common problem is a crack right at the little hole at the top of the vane where it clips into the headrail. All that swinging and pulling eventually causes it to give out. The good news is, you've got a couple of solid options.
If the top of the vane is just cracked, you don't even need to replace it. There are clever products made just for this situation.
Insider Tip: When using a vane saver, make sure the surface is clean and dry first. A quick wipe with rubbing alcohol helps the adhesive get a rock-solid grip that will last a whole lot longer.
For a vane that's totally snapped or faded, swapping it out is the best long-term move. This process is refreshingly simple.
If you need the right replacement, finding one is simple with our selection of custom vertical blinds and parts.
Over the years, I've heard just about every question you can imagine when it comes to fixing broken blind slats. Here are the most common ones with quick, straightforward answers.
The short answer is no. When it comes to DIY repairs, some materials are more forgiving than others. Wood slats are the most forgiving; a clean break can often be glued for a strong fix.
This boils down to the overall condition of your blinds. If you have one broken slat on blinds that are otherwise in great shape (less than five years old, no other issues), then a single slat replacement is a smart move.
However, if you're seeing multiple broken slats, the color is fading, or the lift cords look frayed, you’re much better off replacing the entire unit. Fixing one slat on a deteriorating blind is just a temporary solution; another is bound to break soon.
Rule of Thumb: If your repair cost (factoring in your time and parts) starts creeping up to 30-40% of what new blinds would cost, it’s time to invest in a full replacement.
Finding a perfect match can be the hardest part of the job. Your first stop should always be the original manufacturer’s website, as many sell replacement parts directly. You can also check big-box home improvement stores, but getting an exact color match for older blinds is often a long shot.
Keeping your blinds clean can help you get a better color match when you're shopping. For some easy maintenance tips, check out our guide on how to clean Venetian blinds.
And if you're renting, it's worth knowing who's responsible for the fix. You can learn more about landlord responsibilities for repairs to see where you stand.
At Joey'z Shopping, we believe a beautiful home should be accessible to everyone. If your blinds are beyond repair, explore our wide selection of high-quality, affordable window treatments to find the perfect new look for your space. Shop our full collection today!