
Join the Joey'z Family!

Article last updated: [Current Month] [Current Year]
Table of Contents
Yes, you can absolutely motorize your own shades. A motorized shades DIY project is one of the most satisfying smart home upgrades you can tackle yourself. This isn't a week-long, complicated affair. Most DIY kits let you retrofit your existing shades in just a few hours per window, saving you a small fortune in professional installation fees.
This guide is your complete roadmap. We'll bust the myth that motorizing shades is only for pros and walk you through every step, proving this is an empowering weekend upgrade that adds real, lasting value to your home.
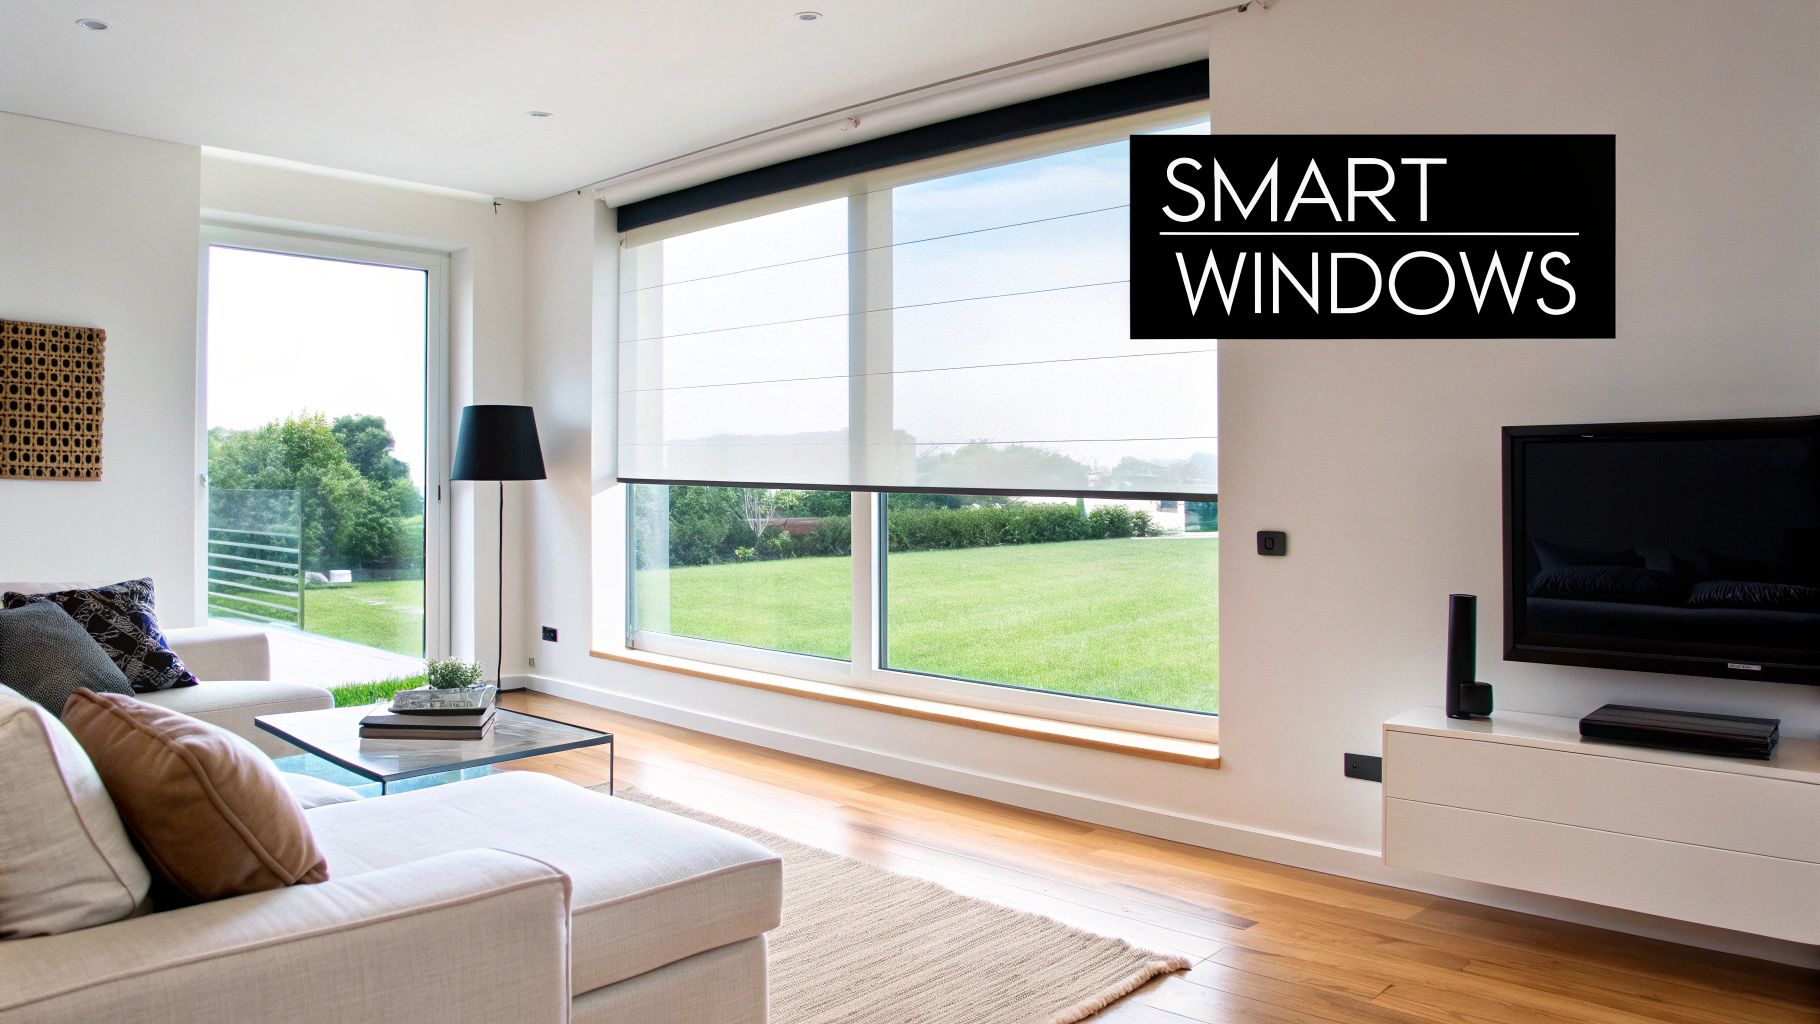
Giving your windows a touch of automation isn't just a cool party trick—it's a seriously practical upgrade that boosts your home's comfort, safety, and efficiency. The idea of shades that greet the sunrise or close with a voice command used to feel like something reserved for luxury homes. Not anymore.
This isn't just a niche trend. The global market for motorized blinds is growing rapidly, signaling a huge consumer shift toward smarter home tech. As more of us get tired of manual pulls and tangled cords, the demand for user-friendly DIY solutions keeps climbing. You can dig into the market trends yourself to see just how popular this upgrade has become.
So, what’s actually in it for you? Once you automate your window treatments, you start to notice tangible benefits every single day.
A successful motorized shades DIY project is 90% planning and only 10% doing. Jumping in without a solid plan is a fast track to frustration, extra trips to the hardware store, and a result that just doesn't look right. Think of this as your pre-flight checklist for a smooth, headache-free installation.
The absolute first thing you need to do—before you even think about motors or remotes—is get your measurements right. I can't stress this enough. An error of just a quarter-inch can be the difference between a clean, professional fit and a sloppy, light-leaking mess.
First, you need to decide if you want an inside mount or an outside mount. An inside mount fits the shade neatly within the window frame, while an outside mount covers the frame completely. Each style needs its own specific measurement technique.
For an inside mount, measure the width at the top, middle, and bottom of the frame, and always use the smallest of those three numbers.
For an outside mount, you'll measure the total area you want to cover. A good rule of thumb is to add a few inches on each side for better light blockage and privacy. To ensure perfection, check out our complete guide on how to measure for blinds to sidestep common mistakes.
Next up, take a hard look at your existing window treatments. Not all shades are good candidates for a DIY motorization project. The goal is to retrofit what you already have—it’s a huge cost-saver.
The best candidates for a retrofit are almost always:
On the other hand, some types just aren't a good fit. Heavy wooden blinds or complex vertical blinds usually need specialized, high-torque motors that are beyond the scope of a typical weekend project. If your current shades are damaged or have a janky mechanism, it's best to start fresh.
Once you've confirmed your shades are good to go, it's time to look at motor kits. This is where the real "brains" of your motorized shades DIY project comes in.
You'll generally run into two main types of retrofit kits:
Your choice boils down to aesthetics, budget, and the kind of shade you're working with.
Pro Tip: Before you click "buy" on any kit, double-check its weight limit. A motor that's too weak for your heavy blackout shade will struggle, make noise, and burn out quickly. Always match the motor's power to your shade's size and material.
Thinking about power sources is also a key part of this planning stage. Interestingly, a lot of the same logic applies to other DIY projects. For example, this DIY guide to installing RV solar panels also shows how crucial it is to match your power source to your specific needs. You'll need to decide between battery, plug-in, or solar power, and each has its own requirements.
The heart of a DIY motorized shade project isn't the fabric—it's the motor that does the heavy lifting and the power source that keeps it going. Getting this combination right is the difference between a system you'll love for years and one that feels like a constant chore.
With the automated blinds market projected to hit $2.85 billion by 2035, it's clear people are ditching expensive installers for the satisfaction of doing it themselves.
First things first: how will your motor get its juice? There isn't a single "best" answer here. The right choice depends on your window's location, how often you'll use the shade, and your desired aesthetic.
Let's walk through the main options.
A clear comparison of the three main power options for DIY motorized shades, helping you choose the best fit for your home and budget.
| Feature | Battery-Powered | Plug-In | Solar-Powered |
|---|---|---|---|
| Installation | Easiest; no wiring needed. | Simple, but requires an outlet nearby. | Moderate; requires mounting a small solar panel. |
| Aesthetics | Cleanest look with no visible cords. | Cord management is necessary. | Minimal wiring, very clean look. |
| Maintenance | Requires recharging every 6-12 months. | Virtually none; set it and forget it. | Almost none; the sun does the work. |
| Best For | Windows without nearby outlets; renters. | Hard-to-reach windows; high-traffic shades. | Sun-facing windows; eco-conscious homes. |
Each power source has its place. Battery power is perfect for a clean, wire-free look, while plug-in motors are the workhorses you can count on. Solar offers a fantastic, eco-friendly hybrid of the two.
Insider Tip: Don't feel locked into one choice. I often use battery motors for easily accessible bedroom windows but go with a plug-in or solar option for that high skylight that would otherwise require a ladder for every battery change.
Once you've settled on a power source, it's time to pick the motor. You need to match its strength and features to the specific shade you're automating. The weight and size of your window treatment are the two biggest factors.
A motor that’s too weak will strain to lift the shade, making it noisy and slow, and it's guaranteed to burn out prematurely. If you're new to this, learning about calculating motor torque is a great way to ensure you make the right call. The type of shade you have also matters. If you're not sure what you have, our guide covering the different types of shades can help you figure it out.
| Motor Type | Best For | Key Feature |
|---|---|---|
| Internal Tube Motor | Roller Shades, Cellular Shades | Invisible installation; the motor slides inside the shade's existing tube. |
| External Chain Puller | Existing Shades with Bead Chains | Extremely easy to install; attaches to the wall and pulls the cord. |
| Retrofit Cord Lifter | Roman Shades, Heavier Blinds | Designed to handle the lift cords for heavier or folding shades. |
Ultimately, picking the right motor is about balancing practical needs with personal preference. For a sleek living room, an internal tube motor is a no-brainer. But for a quick upgrade in a guest room, an external chain puller might be all you need.
Alright, you’ve done the planning and have your motor kit ready. Now for the best part of any motorized shades DIY project—the actual installation. Think of it less like heavy construction and more like assembling cool, high-tech furniture.
Before you pick up a drill, get all your tools together. Having everything within arm's reach makes the whole process smoother.
You probably have most of this in your toolbox. Laying it all out first will save you from mid-project runs to the hardware store.
A Quick Sanity Check: Before you take your old shade down, snap a quick "before" picture. It's a simple trick, but it can be a real lifesaver if you need to remember how the original brackets were set up.
Carefully remove your existing shade from its brackets. Most are held in by simple clips or latches. Lay it on a clean, flat surface like a large table.
Now, get the shade ready for its new motor. If you're using an internal tube motor, you'll need to pop off the end cap from the side of the shade where the motor will go. This reveals the hollow tube where your new motor will live, completely out of sight.
The exact steps here will differ based on your kit. For an internal tube motor, gently slide the motor into the hollow tube of your roller shade. You want it to fit snugly, so push it in all the way according to the manufacturer's directions.
If you went with an external chain motor, your job is even easier. Mount the device on the wall or window frame right next to the existing bead chain. The motor physically grabs and turns the chain for you. Use the paper template from your kit to get the placement perfect.
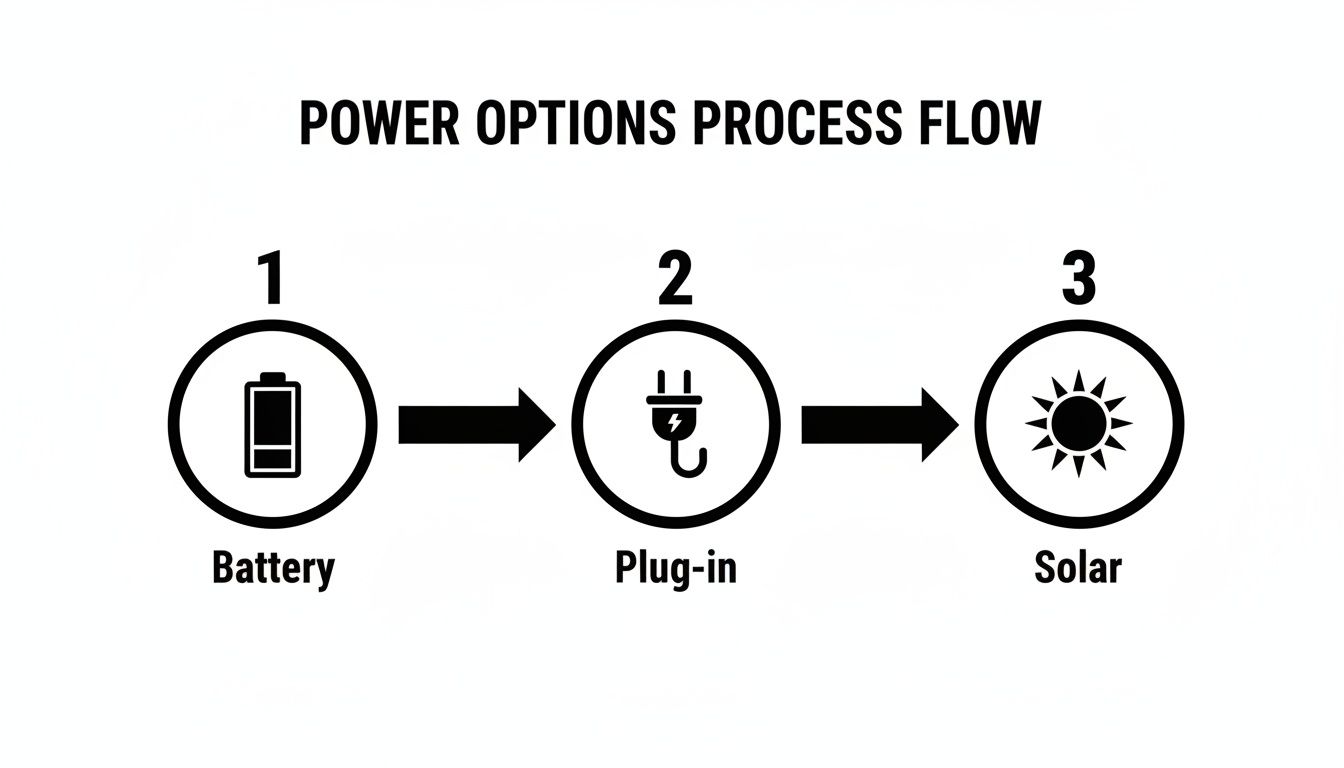
This diagram helps visualize how each power choice—battery, plug-in, or solar—leads to a slightly different setup, giving you a clear picture of the project.
With the motor in place, it’s time to get the shade back up on the window. Carefully lift it back into its brackets and lock it in.
Now for the step that separates a good DIY job from a great one: managing the wires. If you have a plug-in or solar-powered motor, you'll have a cord to deal with. The key is to make it as invisible as possible.
You're in the home stretch! The very last thing is programming the motor. This involves two main tasks: pairing your remote and setting the shade’s travel limits.
Pairing the remote is usually dead simple. You'll press a small button on the motor until it beeps or flashes, then press a button on the remote to create the connection.
Next, you have to set the upper and lower travel limits. This tells the motor exactly where to stop when the shade is fully up and fully down. If you skip this, the motor could damage the shade or burn out. Every kit is different, but it usually involves using the remote to move the shade to your ideal top position, pressing a button sequence to save it, and then doing the same for the bottom position.
And that's it! Your motorized shades DIY project is officially done.
You did it. The shades are installed. But the real fun begins when you connect them to your smart home. This is where you unlock true automation—voice commands, schedules, and scenes that make your home work for you.

This step bridges the gap between a motorized treatment and a genuinely smart one. It’s also why residential demand is driving the window treatment market, which held over 55% of the $14.82 billion global market in 2024. Homeowners want the convenience and savings smart integration provides. You can learn more about these powerful market trends in home decor to see just how popular these upgrades have become.
Before connecting anything, you need to know what "language" your motor speaks. Most DIY motors communicate using one of three technologies.
Key Takeaway: If your motor kit is Wi-Fi based, you likely won't need extra hardware. If it uses Zigbee or Z-Wave, you'll need a compatible smart hub to bridge the connection.
Once you know your motor’s protocol, connecting it to your voice assistant is usually straightforward. The process typically involves adding a "skill" or "service" inside your smart home app.
For Amazon Alexa:
For Google Home:
Simply telling your shades to open is just the beginning. The real power comes from building automated routines.
For instance, create a "Good Morning" routine that slowly opens the bedroom shades at 7 AM, turns on the lights, and starts your playlist. Or, if you have extra-large windows, get inspiration from our window treatment ideas for big windows and set up a "Movie Night" scene that closes the shades and dims the lights with a single command.
Even the most carefully planned DIY project can hit a snag. But before you get frustrated, take a deep breath. Most of the time, the fix is surprisingly simple.
The good news? It’s rarely a problem with the motor itself. More often, it’s a quick programming glitch or a lost connection.
This is the most common headache, but luckily, it's the easiest to solve. Run through this quick checklist first.
Pro Tip: If you can control your shade with its physical remote but not your smart home app, the problem isn't the shade motor. The issue lies with your Wi-Fi or smart hub. Try rebooting your router and hub.
If the motor is running but something isn't right, the issue usually points back to the initial setup and programming.
A shade that looks tilted or rolls up crooked is almost always because it isn't sitting perfectly level in its mounting brackets. Grab a spirit level and check your work. A tiny adjustment can make a world of difference.
If your shade stops too high or doesn't come down far enough, you just need to reprogram its upper and lower travel limits. This is a straightforward process using a sequence of buttons on the remote. Your installation manual is your best friend here.
Getting started on a new project always comes with questions. Here are the answers to some of the most common things people ask when motorizing their own shades.
The short answer is you can expect to spend between $70 and $250 per window for a typical DIY motorized shades project. The final number really comes down to the motor kit you pick and your power source. Even at the higher end, you're looking at serious savings compared to professional installation, which can easily add an extra $300 to $500 (or more!) per window.
Yes, for many types of window treatments, you absolutely can. Roller shades, cellular shades, and Roman shades are usually the best candidates for this kind of upgrade, and there are plenty of retrofit kits designed just for them. However, it's not a universal solution. Heavy wooden blinds or older, worn-out shades might not be compatible. The key is to always check the weight and size limits of the motor kit before you buy.
No, for the vast majority of DIY projects, you do not need an electrician. This is a huge relief for many homeowners. Most modern kits are designed for safety and simplicity, using battery power, solar panels, or low-voltage plug-in adapters that are perfectly safe for anyone to install. The only time you'd need a pro is for complex hardwired systems, which are beyond the scope of a standard DIY project.
Ready to start your smart home journey? The perfect window treatments are waiting for you at Joey'z Shopping. Explore our collection today and find the ideal foundation for your next DIY project. Visit us at https://joeyzshopping.com.