
Join the Joey'z Family!

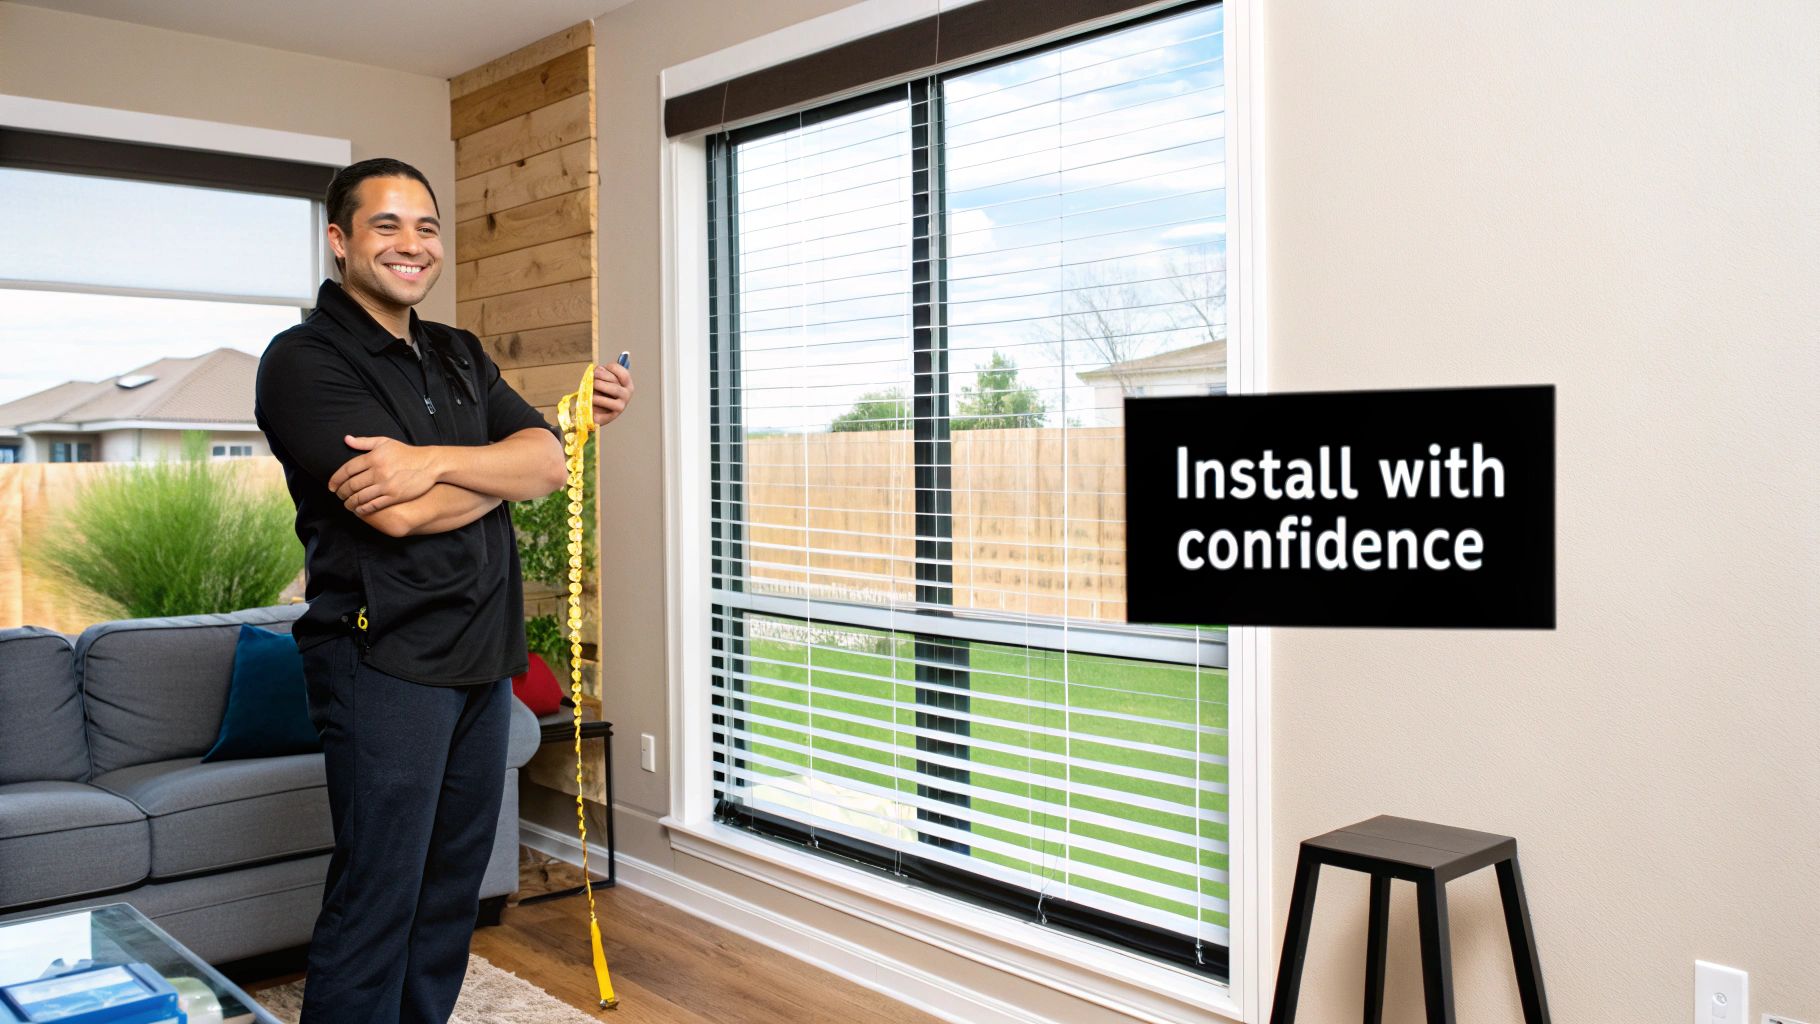
Thinking about hanging your own vertical blinds but feeling a bit hesitant? You're not alone. The good news is that a vertical window blinds installation is one of those surprisingly satisfying DIY projects that can completely transform a room, and you can absolutely do it yourself.
This guide will walk you through every step, ensuring you get a professional-looking result without the professional price tag. Let's get those windows looking their best.
[TOC]
Taking on your own vertical window blinds installation is about more than just saving money; it’s about the incredible feeling of accomplishment when you step back and see what you've created. Unlike complex renovations, this is a project most of us can tackle in an afternoon with just a few basic tools. It puts you in total control of the final look, ensuring your new blinds fit your vision perfectly.
And let's be clear: these aren't your grandma's clunky office blinds. Modern vertical blinds have shed that old reputation. Today's options are sleek, come in a wide variety of materials, and offer fantastic light control, making them ideal for large windows and sliding patio doors.
Homeowners are catching on to how affordable and easy-to-install these window treatments are. The global vertical blinds market, valued at US$ 3,997 million in 2025, is projected to climb to US$ 4,862 million by 2031. It’s a clear sign people are loving this practical and stylish option.
Before we grab the drill, let's think about how your new blinds will fit into your overall style. Taking a moment to consider some expert interior design principles can help you pick the perfect set to make your room feel bigger, brighter, and more pulled-together.
So, why are so many people choosing to install vertical blinds themselves? It boils down to a few key benefits:
Let’s be honest: a flawless vertical blind installation is all about the prep work. This is the stage everyone wants to rush, and it's also the number one reason DIY projects go sideways. Getting this right from the start is the secret to a smooth, frustration-free afternoon.
Success boils down to having the right tools ready to go so you’re not scrambling mid-project. You probably have most of these in your toolbox already.
You don't need a professional workshop to get this done. Gathering a few basic items will set you up for a pro-level result.
Here’s what you’ll want on hand:
Measuring is, without a doubt, the most critical step. It’s where that classic advice, "measure twice, cut once," really hits home. For blinds, it's "measure three times, order once."
First, you need to decide between an inside mount (blinds fit neatly inside the window casing) and an outside mount (blinds are installed on the wall above the frame). An inside mount offers a clean, built-in look, while an outside mount can make a window feel larger and block more light.
For a detailed walkthrough, check out our complete guide on how to measure for blinds. It covers every detail to ensure a perfect fit.
Pro Tip: When measuring for an outside mount, a great rule of thumb is to add at least three to four inches of width on each side and to the top. This extra coverage makes a massive difference in light control and privacy and creates a visual trick that makes your window seem much grander.
Still on the fence? Here’s a quick breakdown to help you decide which mounting style is right for your space.
Inside Mount:
Outside Mount:
This is where your prep work pays off. With measurements double-checked and tools at the ready, you’re about to see your new window treatment take shape. It's the most satisfying part of the process.
First up are the mounting brackets. These are the unsung heroes that hold everything together, so getting them right is non-negotiable for long-term stability and smooth operation. A common mistake is uneven spacing, which eventually leads to a sagging headrail—a frustrating issue that’s completely avoidable.
The trick is to space the brackets evenly, following the instructions included with your blinds. A good rule of thumb is to place one bracket a few inches from each end of the headrail, then distribute any others equally in between. This provides balanced support and prevents that annoying droop.
Here’s a look at the simple prep that gets you to this point.
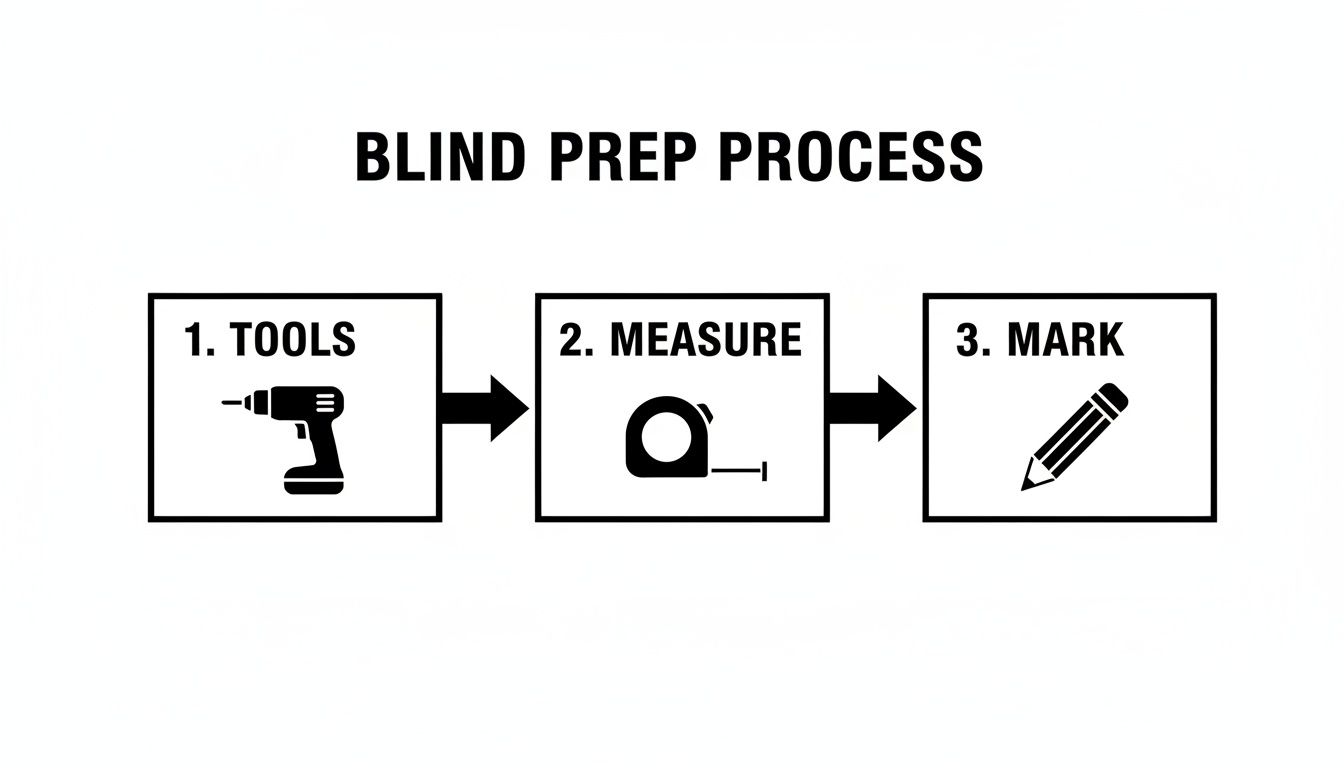
This shows how a successful installation is built on three straightforward actions: having your tools, measuring correctly, and marking your spots.
Once your pilot holes are drilled and anchors are in (if needed), screw the brackets in firmly. Give them a little tug to make sure they feel solid. Now for the fun part: snapping the headrail into the brackets. Just line it up and push firmly until you hear a solid "click." That sound is your confirmation that it’s locked in and ready for the vanes.
With the headrail securely mounted, it's time to hang the vanes (or slats). This is the step that turns a simple track into a beautiful set of blinds. Each vane has a small hole at the top designed to hook onto a carrier clip on the headrail.
The process is simple, but attention to detail will give you that polished look.
Here’s a little tip from experience: use the control wand or chain to open the blinds slightly before you start hanging the vanes. This separates the carrier clips, giving you more room to work and a better view.
After all the vanes are attached, step back and admire your handiwork. You've just finished the core part of the vertical window blinds installation. Now, let's install the controls and safety features.
The two most common ways to operate your blinds are with a modern wand or a classic cord-and-chain system. Each offers a different feel and comes with its own safety considerations.
If you've chosen a sleek wand control, installation couldn't be simpler. The wand usually just clips onto the lead carrier (the first vane that moves). It’s a clean, all-in-one solution that glides the blinds across the track and tilts the vanes with a quick twist.
For a traditional cord-and-chain mechanism, there are a couple more steps. You'll have a bead chain to tilt the vanes and a separate cord to pull them open and closed. The most crucial part is installing the cord tensioner correctly. This device anchors the cord loop snugly to the window frame or wall, keeping it taut.
Properly installing this tensioner isn't just a friendly suggestion—it's a non-negotiable safety step. It stops the cord from forming a dangerous loop, which is a primary hazard with any corded blinds.
Let's be direct: choosing a cordless option like a wand control is the single best decision you can make for child and pet safety. According to the U.S. Consumer Product Safety Commission, corded window coverings are one of the "top five hidden hazards in American homes." This led to a new federal safety standard in 2022 requiring most window coverings to be cordless.
Cordless designs completely remove the risk of entanglement, giving you total peace of mind. For a more complete approach, we put together a comprehensive guide on how to childproof windows in every room of your home. It’s a must-read for any parent or pet owner.
Even the most carefully planned vertical window blinds installation can hit a snag. Don't worry, it happens. The good news is that most common issues are surprisingly simple to fix on your own.
Once your blinds are hanging perfectly, a bit of upkeep will keep them working smoothly and looking great for years. Think of it as simple, consistent care to protect your investment.
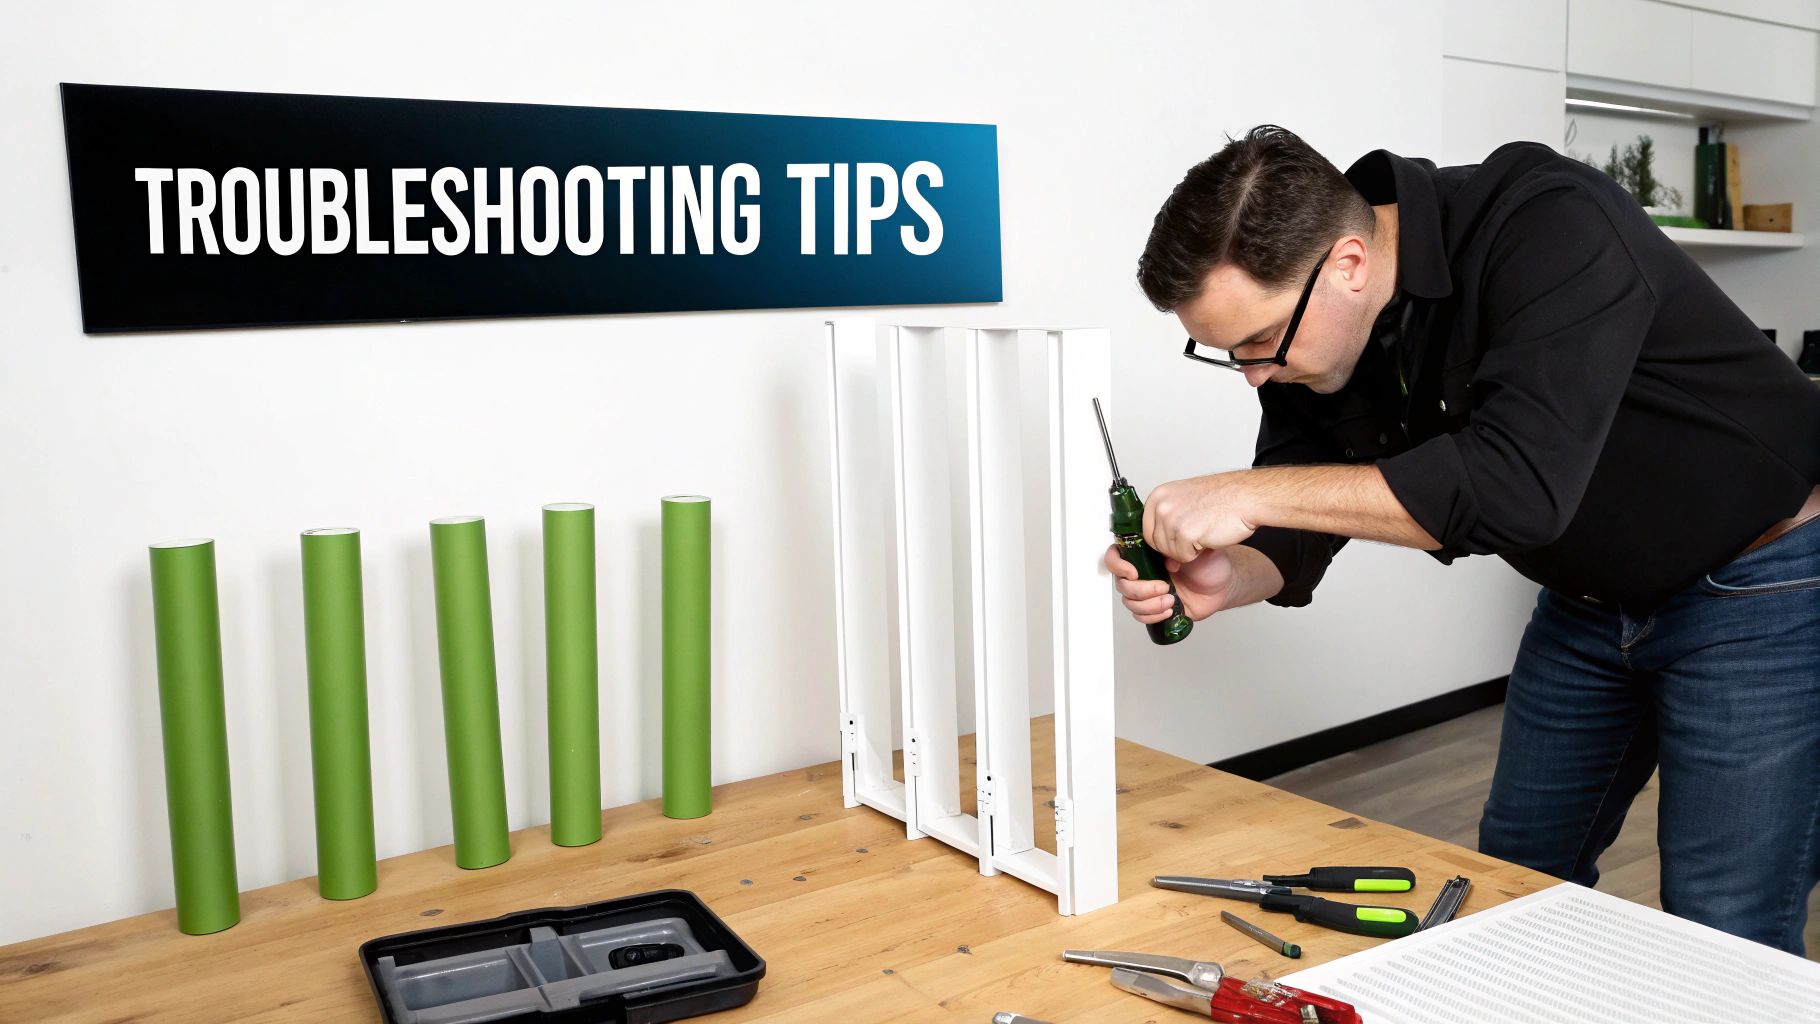
Sometimes, things just don't line up on the first go. Before you get frustrated, let's walk through quick fixes for the most frequent post-installation problems.
Here’s a pro tip: stay away from oily lubricants like WD-40 for sticky mechanisms. They attract dust and can gum up the track. A quick spritz of dry silicone lubricant is a much better option for keeping everything gliding smoothly.
Keeping your vertical blinds looking fantastic is all about simple, regular care. Different materials need slightly different handling, but it's all straightforward. If you want to get really organized, setting up a preventive maintenance schedule template can be a game-changer.
Here’s how to care for the most common types:
Occasionally, a slat might get damaged. No need to replace the entire set! Learning how to fix broken blind slats is an easy skill that can save you money and keep your windows looking flawless.
The short answer is yes. A vertical window blinds installation is one of the most DIY-friendly window projects. Modern kits come with all necessary hardware and clear instructions. The entire job breaks down into three main parts: measuring, installing a few mounting brackets, and hanging the headrail and vanes. With a drill, tape measure, and level, you can install blinds on a standard patio door in under an hour.
This is a key decision affecting both the look and function of your blinds. An inside mount fits the blinds neatly inside the window frame, creating a clean, built-in look that showcases your window molding. An outside mount involves installing the blinds on the wall or trim above the window, covering the frame. This method can hide imperfect frames, block more light, and make your window appear larger. For an inside mount, you typically need at least 2-3 inches of flat depth inside the frame.
Shortening vanes is a simple fix. For materials like PVC or vinyl, sharp heavy-duty scissors or a special vane cutter will give you a clean edge. To get it right, hang one vane to determine the perfect length and mark it. Then, take it down and use it as a template to mark all the others. This ensures every vane is uniform. Always trim from the bottom, never the top where the clip hole is.
Yes, there are several no-drill solutions for renters. Since landlords typically prohibit drilling new holes, these damage-free options are ideal. Look for no-drill brackets that clamp onto the top of the window frame. For inside mounts, a heavy-duty tension rod can sometimes support a lightweight headrail. While less common for the weight of vertical blinds, strong adhesive hooks might work for very small windows with lightweight blinds.
At Joey'z Shopping, we believe everyone can achieve a professional-looking finish with the right guidance. Explore our full collection of stylish and affordable vertical blinds to find the perfect match for your home. Visit https://joeyzshopping.com to get started on your next DIY project.