
Join the Joey'z Family!

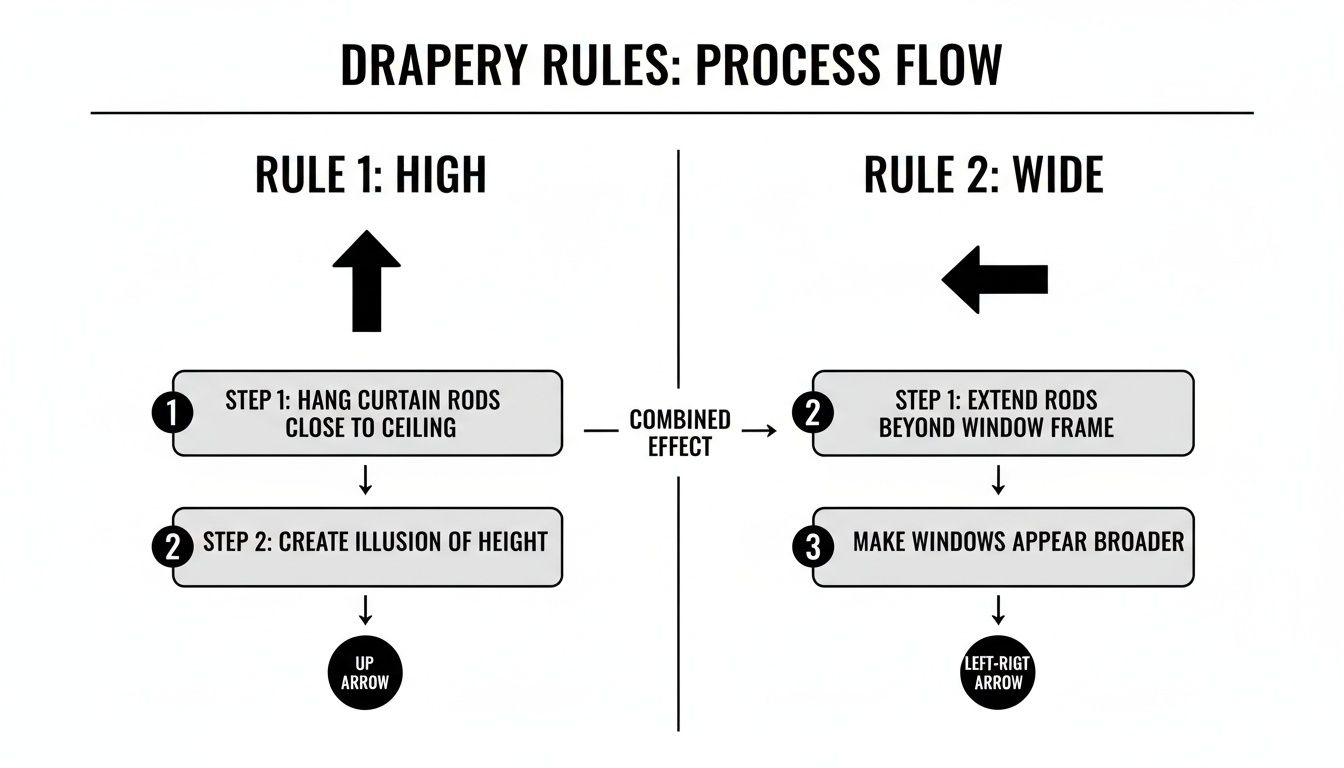
Before you drill a single hole, let’s talk about the secret that separates amateur-looking drapes from a professional finish. It all comes down to two simple but powerful words: hang them high and wide. Mastering this one technique is the single most effective way to elevate your home's style.
This guide will walk you through exactly where to hang drapes, answering all your key questions so you can get that high-end look without the guesswork.
Hanging curtains might seem straightforward, but a few inches in the wrong direction can make a room feel cramped and an expensive window treatment look cheap. We’ve all seen it: drapes hung right on the window frame, blocking beautiful natural light. It’s the design equivalent of wearing pants that are too short; it just throws everything off.
By mastering the "high and wide" method, you’re using a classic designer's trick to fool the eye. You create the illusion of taller ceilings and more expansive windows, instantly adding grandeur to your space. Homeowners are increasingly treating window coverings as a core design feature, which is why the global window coverings market is valued at around USD 16.5 billion according to a recent report on GlobeNewswire.
So, what’s the magic behind this simple adjustment? It’s all about playing with perception.
Let's look at just how big of a difference this makes.
See the dramatic difference between standard placement and the designer-approved high-and-wide method.
| Hanging Method | Visual Effect on Room | Common Mistake? |
|---|---|---|
| Standard (Low & Narrow) | Makes ceilings feel lower and windows look small. Blocks natural light. | Yes, a very common one! |
| High & Wide | Creates an illusion of height, maximizes light, and makes windows a focal point. | No, this is the pro move. |
The takeaway here is clear: a few extra inches of height and width completely transform the feel of your space.
Expert Takeaway: Your goal is to frame your window, not just cover it. Think of your drapes as a beautiful picture frame that enhances the view and the light, rather than hiding it. Moving that rod is the single quickest way to get a polished, high-end look.
Now that you're on board with the "high and wide" philosophy, let's get down to the nitty-gritty of where to actually hang your drapes. The first rule, "go high," is about more than a general idea—it involves specific measurements. So, what does "high" really mean?
The short answer is to place your curtain rod 4 to 6 inches above the window frame. This is the sweet spot.
For starters, forget about mounting the rod right above the window trim. It’s a common mistake, but it visually squashes your window and makes the ceiling feel much lower than it is. The 4-to-6-inch rule immediately draws the eye upward, creating a powerful sense of height. It feels intentional and professionally styled, signaling height without looking disconnected from the window.
While the 4-to-6-inch rule is a fantastic starting point for standard 8-foot ceilings, it's not a one-size-fits-all solution. Taller ceilings give you an opportunity to be even more dramatic.
For Ceilings 9 Feet or Taller: A great designer trick is to mount the rod about halfway between the top of the window frame and the ceiling. This accentuates the room's height even more, lending a grand, luxurious feel.
For Vaulted or Sloped Ceilings: The goal is still to create a consistent, elevated line. Mount the rod at the same height on both sides of the window, following the horizontal plane—not the ceiling's slope.
When Crown Molding is Present: Never mount the curtain rod on the crown molding. Place the rod just below it to respect the architectural detail while still maximizing height.
This visual guide breaks down the two core principles for flawless drapery placement.
As you can see, elevating the rod and extending it past the frame are two parts of the same strategy to make your windows a true standout feature.
Once you've landed on the perfect rod height, you must choose the right curtain length. Getting it wrong is how you end up with the dreaded "high-water" look, where drapes hang awkwardly short.
The goal is for your drapes to either gracefully kiss the floor or hover just slightly above it. To figure this out, measure from the spot you've marked for the rod all the way down to the floor. This measurement is your map for picking the right panel length.
Expert Tip: Don't measure from the top of the window frame! Always, always measure from where you plan to install the rod. Those few inches can be the difference between a perfect fit and a decorating disaster.
Ready-made curtains usually come in a few standard lengths. For a more detailed breakdown, explore our expert tips on how high to hang curtains.
Here’s a quick guide to choosing based on your measurement:
Remember, it's always better to buy curtains that are a little too long than too short. A tailor can easily hem drapes, but you can't add fabric to a panel that doesn't reach the floor.
We’ve talked about getting the height right, but now let's focus on the horizontal game—the width. Going wide with your curtain rod is just as critical as going high. It's the secret sauce for achieving that luxurious, full look while making your windows feel enormous.
The point is to maximize natural light and give your drapes a proper place to rest when they're open. Drapes shouldn't block the very window they're supposed to be framing.

The golden rule for width is simple: extend your curtain rod 4 to 10 inches beyond the window frame on each side. For larger windows or heavier fabrics like velvet, you might even push this to 12 inches.
This extra space is essential for what designers call "stack back"—the compressed area of fabric when curtains are fully open. By extending the rod, you ensure the entire stack back rests on the wall, not on the glass.
This accomplishes two amazing things:
A rod that only spans the width of the window frame forces the drapes to cover inches of glass on each side, blocking precious light and visually shrinking your window.
Extending your rod is the first step, but it works hand-in-hand with choosing the right curtain panel width. Fullness is what gives drapes their rich, pleated appearance. Without it, your curtains look like a flat sheet.
The professional standard is that the total width of your curtain panels should be 2 to 2.5 times the width of your window. This ratio ensures that even when closed, the drapes have soft, elegant folds.
Let’s see how this plays out in a real-world scenario.
Example Scenario: A Small Bedroom Window
Imagine a bedroom window that is 40 inches wide.
This simple adjustment transforms the window into a bright, expansive feature. For a deeper dive, check out our guide on calculating the width of your curtains.
Insider Tip: For a very large window, use four panels instead of two. Hang two on each side. A tailor can sew them together for a seamless look. The resulting fullness will feel far more custom and luxurious.
A common mistake is thinking that if the panel width matches the window width, it's enough. But that leaves zero extra fabric for gathering or pleating.
The fabric itself matters, too. Heavier materials like velvet or lined linen need more fullness to hang properly. Lighter fabrics can get away with a little less, but the 2x rule is still a safe bet.
You’ve mastered the "high and wide" philosophy, but even perfectly placed drapes will fall flat—literally—without the right support system. Choosing your hardware isn't just a finishing touch; it affects how your curtains function and last.
Think of it this way: the hardware is the foundation of your window design. A flimsy rod will sag under heavy drapes, creating an unprofessional, droopy line. The right hardware provides a strong, straight line that enhances your drapery.
Not all curtain rods are created equal. Picking the right one comes down to your needs, from layered looks to light control.
Here’s a breakdown of the most common options:
The material and finish of your hardware should complement your room's decor. A matte black metal rod can add modern flair, while a warm wood finish feels more traditional.
Many homeowners are also thinking more about sustainability. There's a growing demand for window treatments made from materials like organic cotton and recycled polyester, reflecting a broader interest in eco-friendly home updates.
Style is important, but strength is non-negotiable, especially for heavy drapes like velvet or lined linen. The rod's diameter is a key indicator of its strength.
Expert Tip: For standard-weight curtains on a window up to 60 inches wide, a 1-inch diameter rod is usually sufficient. For wider windows or heavier fabrics, step up to a 1 1/8-inch to 1 3/8-inch diameter to prevent sagging.
No matter how sturdy the rod, it needs proper support. For any window wider than 48 inches, a center support bracket is essential. Without it, even the thickest rod will eventually bow. Our guide on selecting curtain rods for heavy curtains offers more tips for a rock-solid setup.
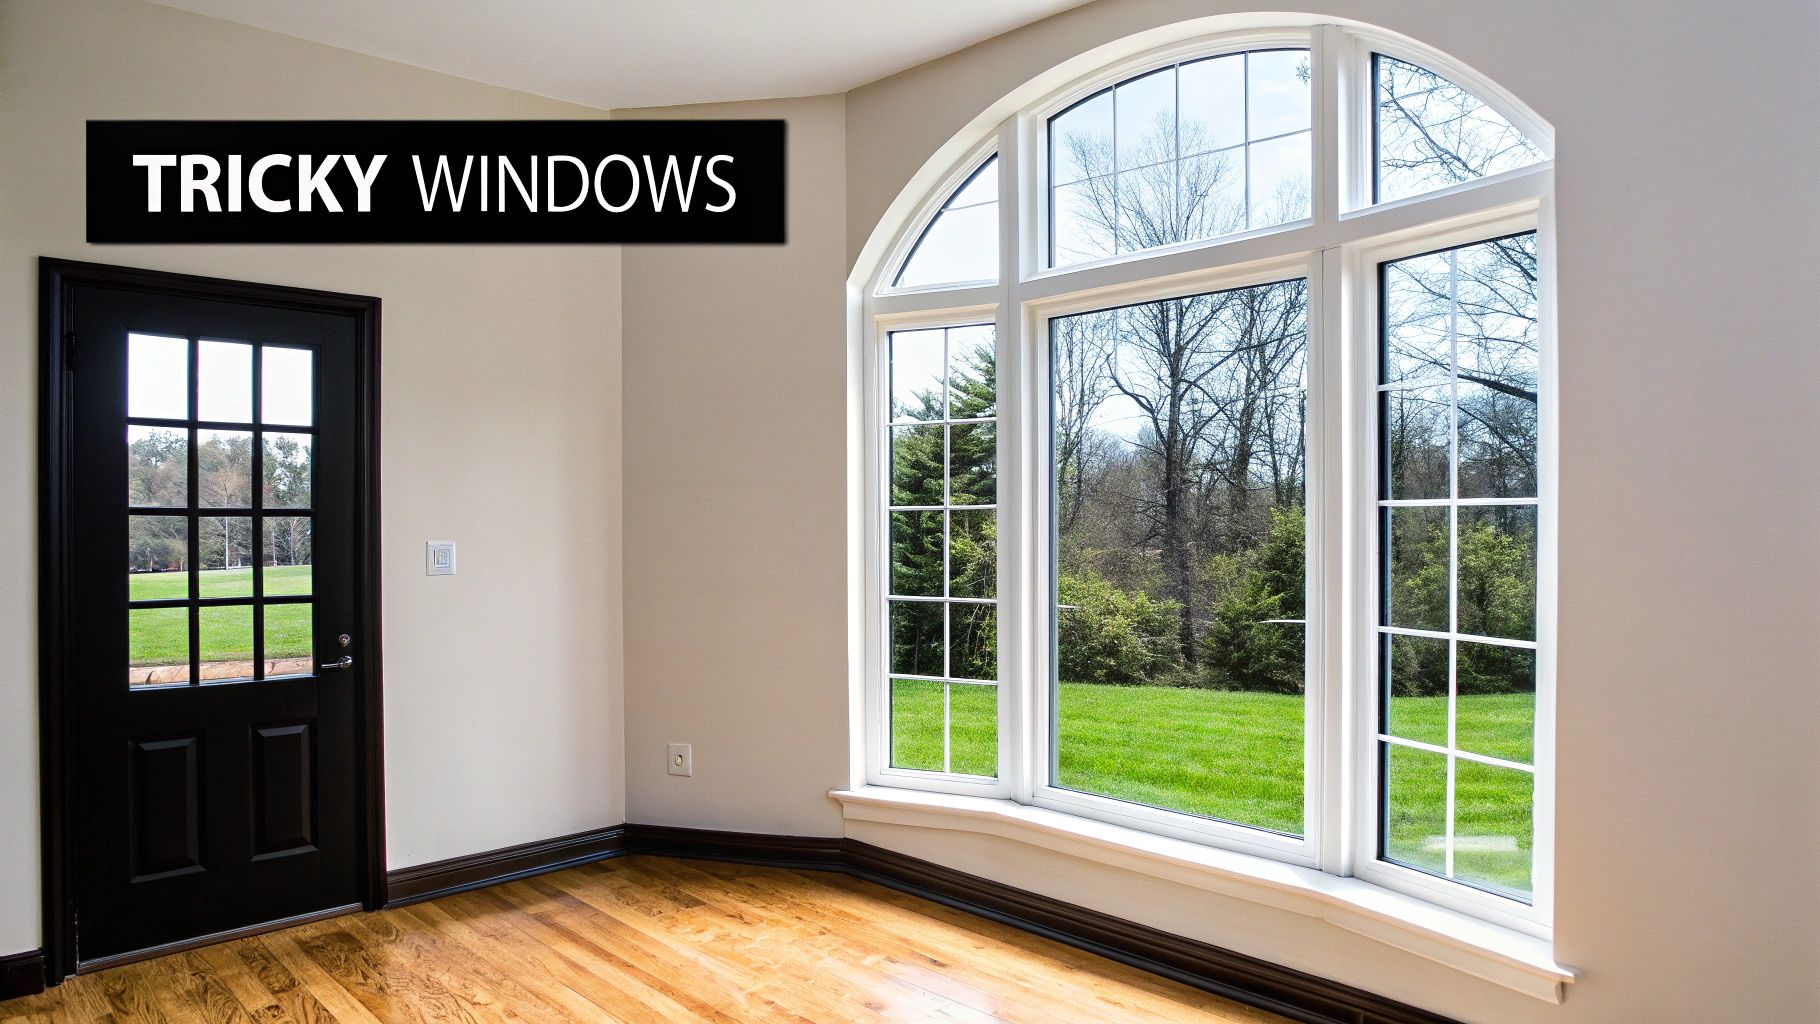
The "high and wide" rule is a fantastic starting point, but most homes have architectural quirks. From bay windows to tricky corners, figuring out where to hang drapes in these spaces can feel like a puzzle. But every awkward window has a clever solution.
Homes are getting more creative with window designs. A surge in unique architectural styles has made the Asia Pacific region the fastest-growing market for window coverings, as noted in these global market trend reports.
Sometimes the standard rules don’t apply. Let’s walk through a few common head-scratchers.
Bay windows are gorgeous, but their angles can be intimidating. The secret is to treat the entire bay as one cohesive unit, not three separate windows.
You have two great options:
Mount the hardware high (4-6 inches above the frame) and be generous with your curtain panels to ensure a full, luxurious look.
For sliding glass doors, function is key. Treat the door like an extra-large window.
Install one long rod that extends at least 10-12 inches past the door frame on each side. This critical space lets the panels "stack back" completely onto the wall, leaving the doorway clear.
When two windows meet in a corner, avoid four separate panels, which can look cluttered.
Instead, use an elbow connector to join two curtain rods into an L-shape. Then, hang just three panels: one on the outer edge of each window and a third, fuller panel in the corner where the rods meet.
Arched windows are stunning architectural features; don't hide them! The best solution is often to leave the arch completely exposed.
Install a straight curtain rod just below the arch, about 4-6 inches above the rectangular part of the window. This allows you to hang drapes for privacy while keeping the beautiful curve visible.
If you can't drill holes, you can still hang drapes. Renter-friendly solutions have come a long way.
Expert Tip: When using damage-free options, always opt for lightweight fabrics. Pair them with our stylish Lightweight Linen Curtains to ensure your hardware isn't overloaded.
Navigating these unique situations can be tricky, so here’s a quick reference guide.
| Window Type | Recommended Hardware Solution | Expert Tip |
|---|---|---|
| Bay Windows | Custom-bent rod or straight rods with corner connectors | Treat the entire bay as a single window for a cohesive look. |
| Sliding/French Doors | One long rod extending 10-12" past the frame on each side | Ensure panels can stack back completely onto the wall to clear the doorway. |
| Corner Windows | Two rods joined by an elbow connector | Use three panels: one on each outer side and one in the corner. |
| Arched Windows | A straight rod mounted below the arch | Leave the arch exposed to preserve the architectural detail. |
| Rentals | Heavy-duty tension rods or high-performance adhesive hooks | Pair with lightweight fabrics to avoid overloading the hardware. |
With the right hardware, even the most challenging windows can become beautiful focal points.
We’ve covered a lot of ground, but there are always a few lingering questions. Here are quick answers to the most common queries.
Ready to put all this knowledge to work? At Joey'z Shopping, we've curated a collection of curtains, rods, and all the accessories you need to bring your vision to life.