
Join the Joey'z Family!

Getting that clean, custom look for your windows is easier than you think. Learning how to hang window blinds inside mount is the secret to achieving that polished, built-in appearance that makes any room feel more put-together. This guide will walk you through the entire process, from measuring to final adjustments, ensuring a flawless finish.
This guide provides a step-by-step process for a successful DIY installation. We'll cover everything you need, making it perfect for first-timers and seasoned DIYers alike. The inside mount style is a popular choice for homeowners, offering a sleek look that fits modern design trends.
Before you begin, gathering the right tools is the first step toward a smooth, frustration-free project. Having everything you need laid out and ready to go will save you from annoying mid-project trips to the hardware store.
Here's a quick checklist of everything you'll need. Proper preparation is key to hanging your blinds perfectly on the first try.
| Tool/Material | Why You Need It | Joey'z Pro Tip |
|---|---|---|
| Steel Measuring Tape | This is non-negotiable for accuracy. Fabric tapes can stretch and give you the wrong numbers. | Measure twice, order once! Always double-check your width and height before buying. |
| Pencil | For clearly marking where your brackets will go inside the window frame. | A sharp pencil makes a fine line. It's easier to be precise with a clean mark. |
| Drill with Drill Bits | Needed for creating pilot holes. This makes installing screws a breeze and stops the wood from splitting. | Keep a few different bit sizes handy. You never know what you'll run into. |
| Level | Guarantees your brackets are perfectly aligned. There's nothing worse than a crooked blind. | A small torpedo level is perfect for fitting inside tight window frames. |
| Screwdriver | To drive the mounting screws in securely. A drill with a screw bit works great, too. | If you're using a drill, set it to a lower torque to avoid stripping the screw heads. |
Insider Tip: I can't stress this enough: always pre-drill your holes! A pilot hole that’s just a bit smaller than your screw gives it a perfect path, preventing the wood frame from cracking and ensuring a much stronger, more secure hold for your brackets.
While this guide focuses on blinds, understanding general installation instructions for window accessories can provide a broader perspective on window projects.
Getting the measurements right is the most critical part of this project. Think of yourself as a tailor for your windows; precision is everything for a custom fit. A steel measuring tape is essential here, as fabric tapes can stretch and lead to errors.
A few extra minutes spent here separates a clean, professional-looking installation from a frustrating afternoon of adjustments. The sleek, built-in look of inside-mount blinds all starts with nailing these initial numbers.
Here’s a secret from the pros: window frames are rarely perfectly square. That's why we measure in three spots to account for any variations.
Now, review your three numbers. The golden rule for width is to always use the narrowest measurement. This is non-negotiable. If you use a wider number, your blinds will scrape, bind, or get stuck.
Just like you did for the width, you’ll measure the height in three places. Measure the inside height of the window frame on the far left, down the middle, and on the far right.
For the height, you’ll do the opposite of what you did for the width: use the longest of the three measurements. This ensures your blinds are long enough to cover the entire window without an awkward gap at the bottom.
The final, often-forgotten check is for depth. You must ensure the window casing is deep enough to hold the blind's headrail for a flush fit. Check the product specifications for the minimum depth requirement before you buy. For a more detailed walkthrough, see our complete guide on how to measure windows for blinds.
This simple flow shows the key steps for getting your tools and prep right.
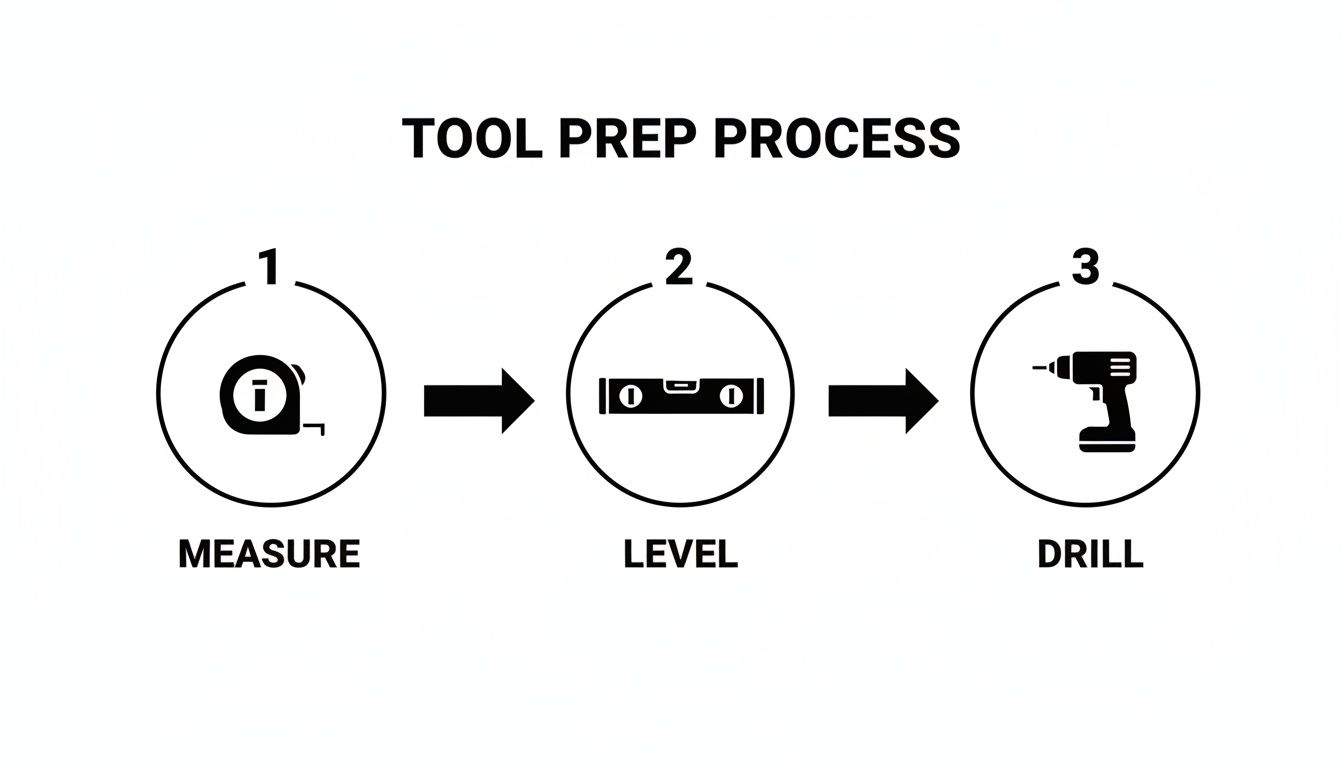
As you can see, precision in measuring, leveling, and drilling is what makes or breaks the installation.
Pro Tip: When you write down your measurements, always list them as Width x Height (for example, 34 ½" W x 60" H). This is the industry standard and will prevent mix-ups when ordering.
You’ve double-checked your measurements and you're ready to get those blinds up. The installation process varies slightly depending on your blind type, but the brackets are always the star of the show. They do all the heavy lifting, holding the full weight of your blinds.
Getting the brackets perfectly level and spaced correctly is what separates a DIY job from a professional one. Crooked brackets can prevent the blind from operating correctly and put stress on the internal parts. Let’s walk through how to do it right.
First, hold an installation bracket inside a top corner of the window frame, about 1.5 to 2 inches from the side. Using a sharp pencil, mark the frame through the screw holes on the bracket. Do the same on the other side. If your blinds are wider than 48 inches, you will likely have a center support bracket to install; place it in the middle and mark its holes.
Crucial Tip: Before drilling, place your level across the window frame to ensure your pencil marks are perfectly even. A crooked blind is a sad sight, and this simple check saves a lot of frustration.
Once your marks are level, it's time to drill pilot holes. Choose a drill bit that is slightly smaller than your screws. This step is essential—it prevents the wood from splitting and makes it much easier to drive the screws in securely.
As you install, consider your window's construction. Deeper frames, like those on triple pane windows, offer more surface area. If you're working with a different style, our guide on how to install vertical window blinds may be helpful.
You’re on the home stretch! With the brackets secured, these last few steps ensure a professional polish. The quickest win is adding the valance—the decorative piece that clips onto the front of the headrail to hide the hardware.
Now, it’s time for the moment of truth. Operate the blind, raising and lowering it several times. Does it glide smoothly? If it’s a cordless model, does it hold its position? This is your chance to spot and fix any quirks.
If you feel resistance, first check that the headrail is level and fully snapped into the brackets. A tiny adjustment is often all it takes. It’s also common for slats to get jumbled during shipping; just guide them back into place as you lower the blind for the first time.
We can't finish without talking about safety, especially if you have children or pets. If your blinds came with cord tensioners or cleats, installing them is essential.
Once everything works perfectly, give the blinds a final wipe-down. From here on, a quick dusting with a microfiber cloth is all you need to keep them looking great.
What if you love the clean look of an inside mount but can't drill holes into your window frames? Whether you're renting or just want to avoid permanent marks, there are excellent damage-free ways to hang your blinds.
The global window treatments market is projected to reach $45.1 billion by 2030, according to a report by Grand View Research. This growth means more innovative, renter-friendly products are constantly hitting the shelves.
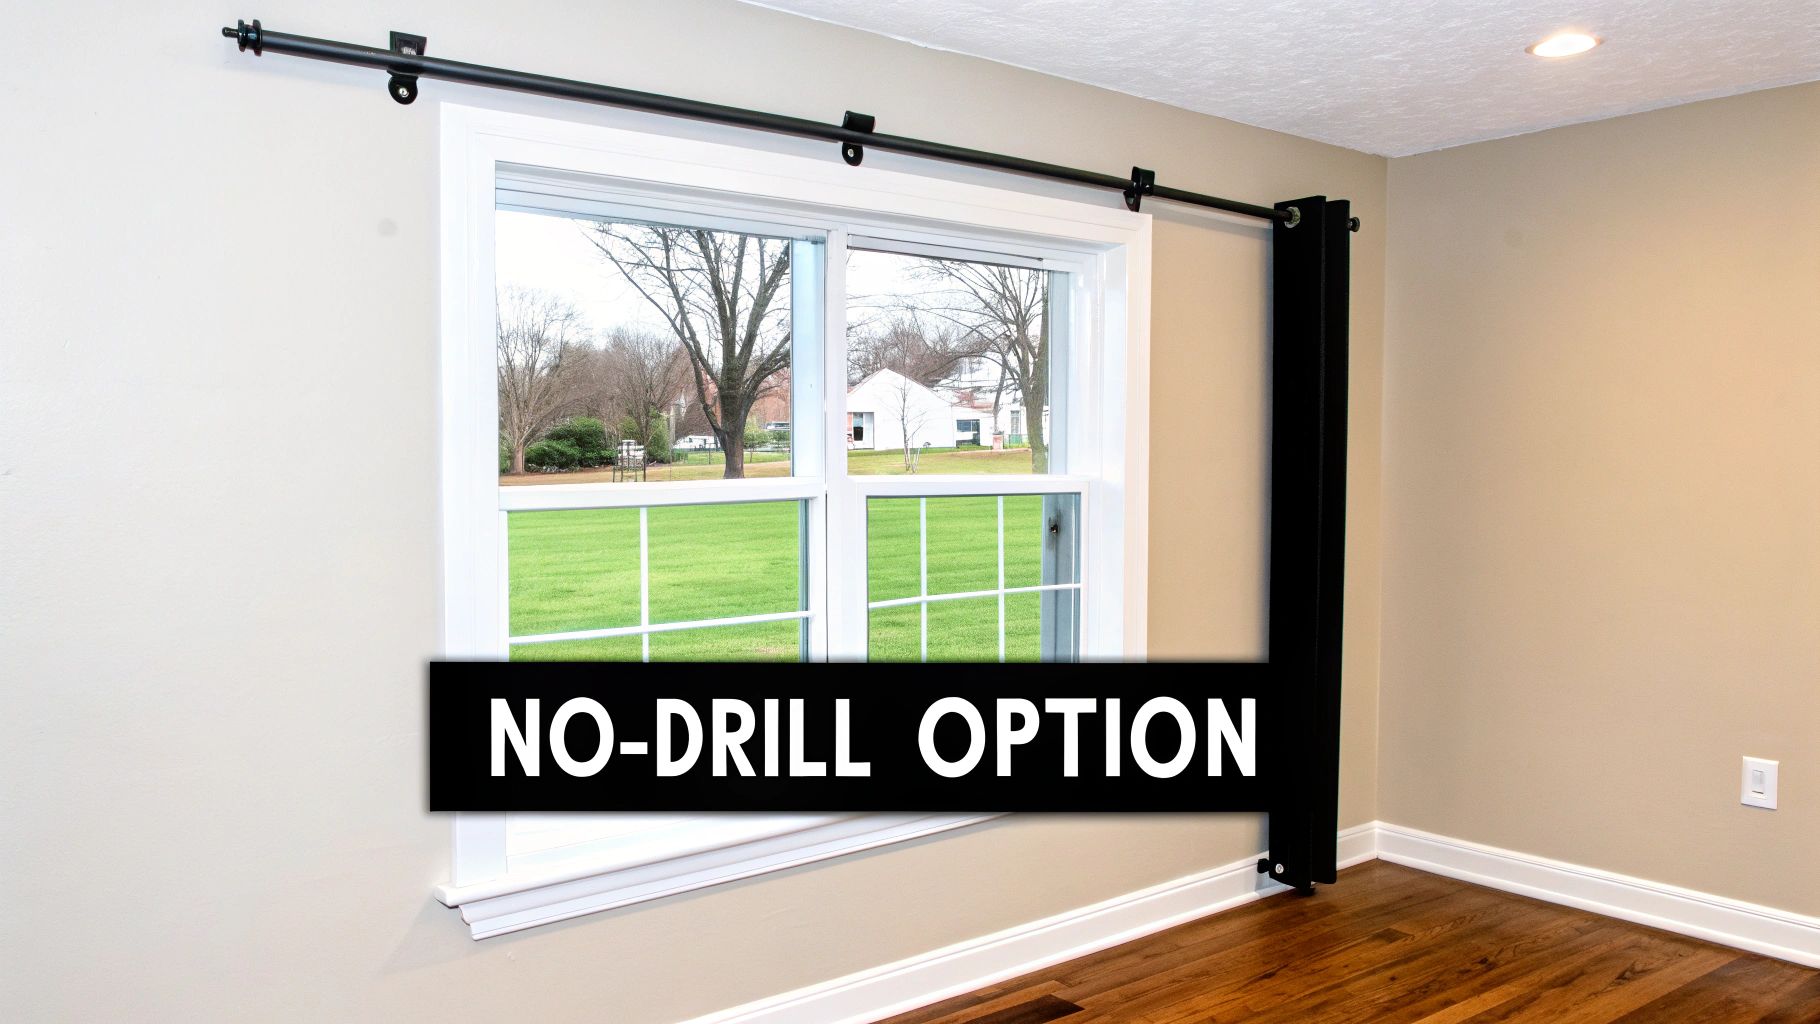
Here's a quick comparison of the two most popular no-drill methods to help you decide which is right for you.
| Method | Best For | Weight Limit | Pros | Cons |
|---|---|---|---|---|
| Tension Rods | Lightweight blinds like roller or cellular shades in deeply recessed windows. | Low to Medium | Super easy to install and remove; completely reusable; adjustable. | Not suitable for heavy blinds; may slip in humid conditions. |
| Adhesive Brackets | Vinyl mini-blinds, sheer shades, and other very lightweight options. | Low | Creates a fixed, secure mount; invisible once installed. | Requires careful surface prep and cure time; adhesive can be difficult to remove. |
Expert Insight: For adhesive brackets, always clean the surface with rubbing alcohol first. Let the adhesive cure for at least one hour—but 24 hours is best—before hanging the blind. This ensures the bond reaches maximum strength.
Both options are fantastic ways to get the look you want without a long-term commitment. For more damage-free ideas, check out our guide on how to hang curtains without drilling.
Even with careful planning, DIY projects can throw you a curveball. Most installation issues are minor and just need a small adjustment. Let's turn those "uh-oh" moments into "aha!" solutions.
When you order an inside-mount blind with your window's exact width, manufacturers automatically subtract about 1/4 to 1/2 inch. This "factory deduction" ensures the headrail doesn't scrape the window frame.
Older homes often have window frames that aren't perfectly square. If you mount a bracket on an uneven surface, your blind will hang crookedly. The simple solution is shims.
Shims are thin wedges of wood or plastic that you slip behind a bracket to level it. Place the bracket in position, put your level on top, and slide shims behind it until the bubble is centered. Then, drive your screws through both the bracket and the shims for a solid, level mount.
If you hear a high-pitched grind instead of seeing soft wood shavings, you've likely hit a metal corner bead or reinforcement. Stop drilling immediately. Forcing a standard wood bit will only ruin the bit.
The fix is to switch to a cobalt or titanium drill bit made for metal. Drill slowly with firm, steady pressure. Once you're through the obstruction, you can switch back to your regular bit to finish the pilot hole.
You're not the only one with questions. Let’s clear up the most common queries about how to hang window blinds inside mount so you can finish your project with confidence.
The short answer is yes, most popular styles like faux wood blinds, cellular shades, and roller shades are designed for inside mount installation. The critical factor isn't the blind type, but your window depth. Your window casing must be deep enough to hold the headrail. Always check the "minimum depth requirement" in the product specs before you buy.
A factory deduction is a small adjustment made by the manufacturer. When you provide the exact width of your window opening for an inside mount, the factory automatically subtracts 1/4 to 1/2 inch from the total width. This ensures your blinds operate smoothly without scraping the sides of the window frame. It is crucial that you do not make this deduction yourself—provide your precise measurement and let the pros handle the rest.
An inside mount is the best choice when you want a clean, built-in look and have decorative trim you wish to show off. It makes a room feel tidier and more spacious.
However, an outside mount is the better option if:
Not at all. Cordless blinds are installed the exact same way as corded ones. The lifting mechanism is self-contained within the headrail and doesn't add any extra steps to the installation. Given their safety benefits for homes with children and pets, they are strongly recommended by organizations like the U.S. Consumer Product Safety Commission.
Ready to start your project with confidence? At Joey'z Shopping, we have a wide selection of blinds perfect for any inside mount installation. Explore our collection of high-quality and affordable window treatments to find the perfect style for your home at https://joeyzshopping.com.