
Join the Joey'z Family!

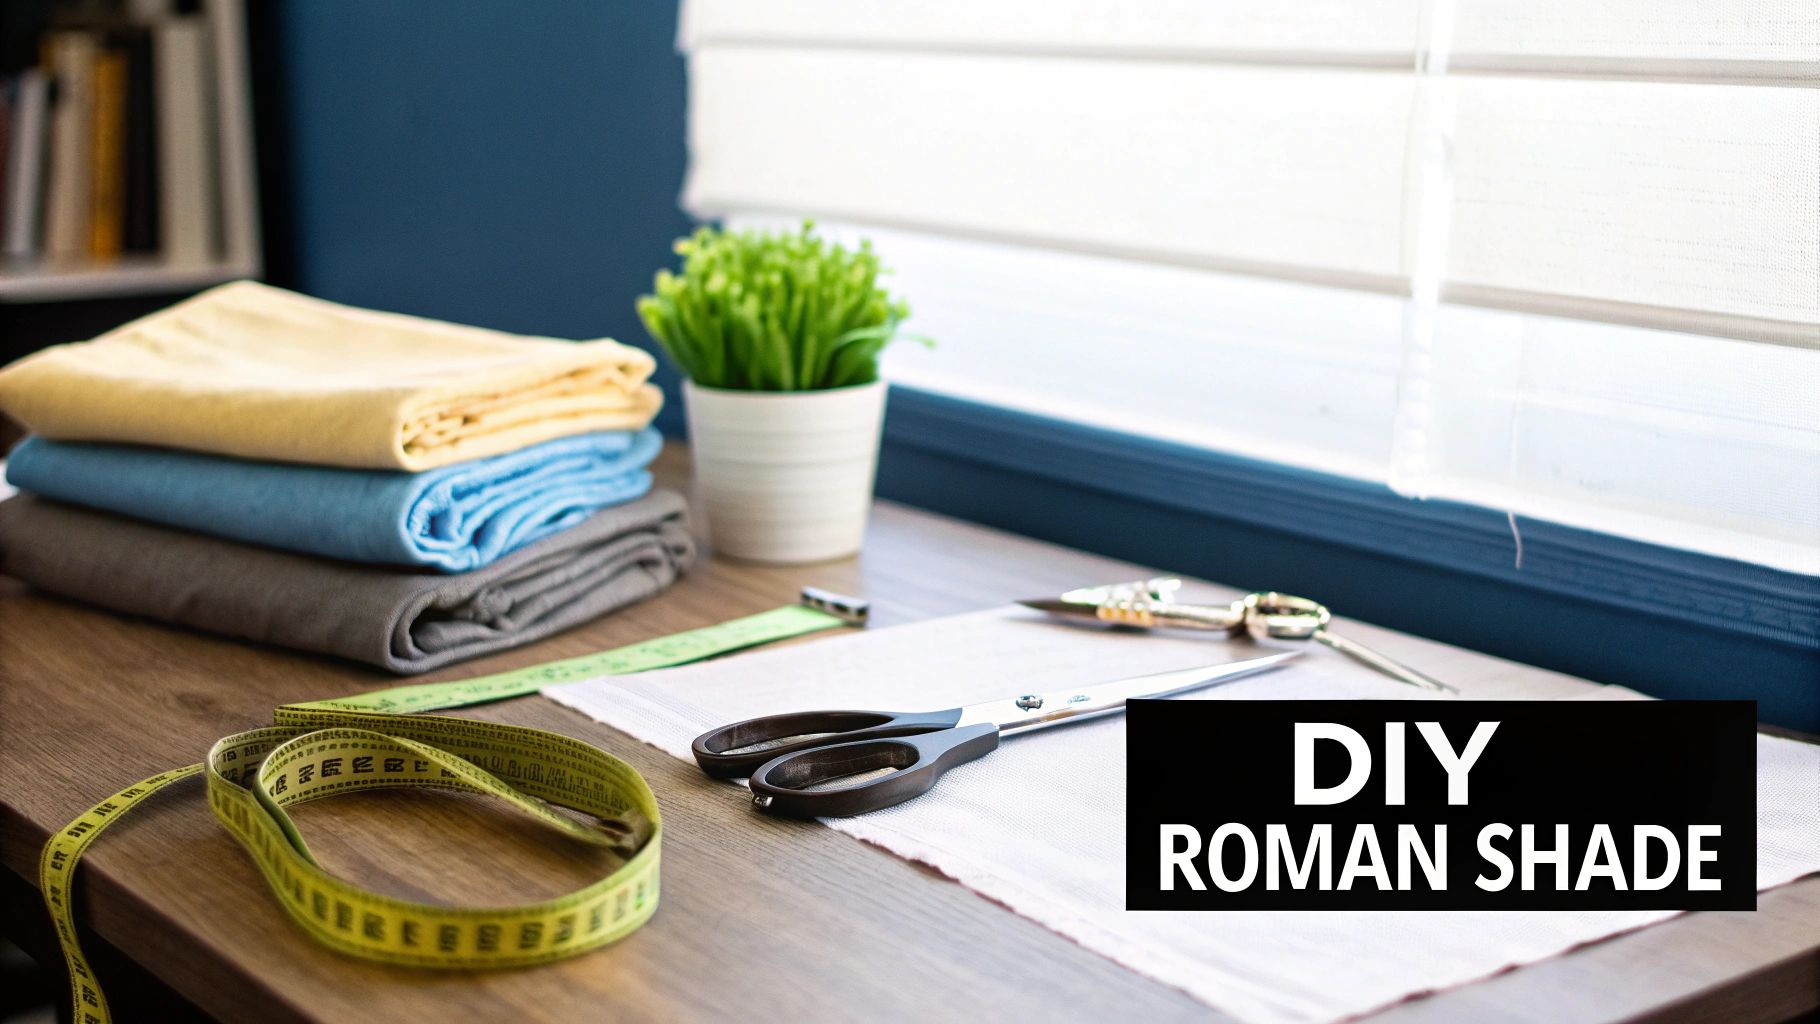
Ever admire the clean, elegant lines of a Roman shade and think, "I could never make that"? Well, you absolutely can. We're here to walk you through exactly how to make a Roman shade, turning a seemingly complex project into a totally doable and rewarding weekend task.
This guide will help you ditch the hefty price tags of custom window treatments. From choosing the perfect fabric to the final installation, we've got you covered.
Table of Contents
Choosing to make your own Roman shades is about so much more than just saving money. While custom shades can easily set you back $300 to $1,000 per window, going the DIY route puts you in complete creative control for a fraction of that cost. You get to handpick the perfect fabric, guarantee a flawless fit, and feel an incredible sense of pride every time you look at them.
Honestly, this project is less about expert-level sewing skills and more about precision and patience. The key to a smooth process is getting everything ready beforehand. Before you dive in, it helps to get organized. To make your crafting experience as enjoyable as possible, check out these tips on how to organize your craft supplies efficiently.
This guide is designed to give you the skills to create a professional-quality shade that fits your window and your style perfectly.
Our Take: The real beauty of a DIY project like this isn't just the final product; it's the confidence you build with every measurement, cut, and stitch. You’re not just making a shade; you’re personalizing your space.
The first steps in making your own Roman shade are the most important. This is where you set the vision for your window treatment—the look, feel, and function—before you ever pick up a pair of scissors. Getting these details right ensures you’ll love the final result.

This classic window treatment isn't a fleeting trend. Roman shades first appeared in European homes around 1780. By 1890, historical records show over 60% of upscale Victorian-era homes in cities like New York and Boston featured them. Their timeless appeal is why they're still so popular today.
Your first big decision is choosing a style. The two most common options are Flat and Hobbled (sometimes called Teardrop), and each one creates a totally different vibe. Knowing the difference is key to matching the shade to your home's personality.
Here’s a quick breakdown to help you decide.
| Feature | Flat Roman Shade | Hobbled Roman Shade |
|---|---|---|
| Look When Lowered | A single, smooth panel of fabric. | Soft, cascading loops of fabric. |
| Look When Raised | Stacks into neat, crisp, uniform folds. | The loops remain, creating a soft, decorative stack. |
| Best For | Modern, minimalist, or contemporary decor. | Traditional, transitional, or romantic decor. |
| Fabric Usage | Uses less fabric, making it more budget-friendly. | Requires significantly more fabric to create the loops. |
The short answer is: the flat style is clean and simple, while the hobbled look offers more softness and texture. If you want to explore all the possibilities, our guide on the different types of shades is a great place to get more inspiration.
Now for the fun part: picking your fabric! The right material not only looks beautiful but also behaves properly as a shade, creating those crisp, professional-looking folds.
Expert Tip: Before buying several yards, always order a fabric sample. Drape it over your hand to see how it folds. Hold it up to the window to check the color and pattern in your room’s natural light—it can look surprisingly different from the store.
I can't stress this enough: getting your measurements right is the single most important part of this project. It separates a polished, professional-looking shade from a frustrating eyesore. The old carpenter’s rule is your best friend here: measure twice, cut once.
First, decide how you want the shade to hang.
How do I measure for a Roman shade?
The answer depends on your mount type.
Our complete guide on how to measure windows for blinds walks through every possible scenario.
One of the most common mistakes is only measuring once. Trust me, window frames are almost never perfectly square, especially in older homes. Taking those extra measurements will save you a world of frustration.
With your final shade dimensions locked in, it’s time for a little math. You’ll need to add extra for hems and seams.
Here’s a standard formula:
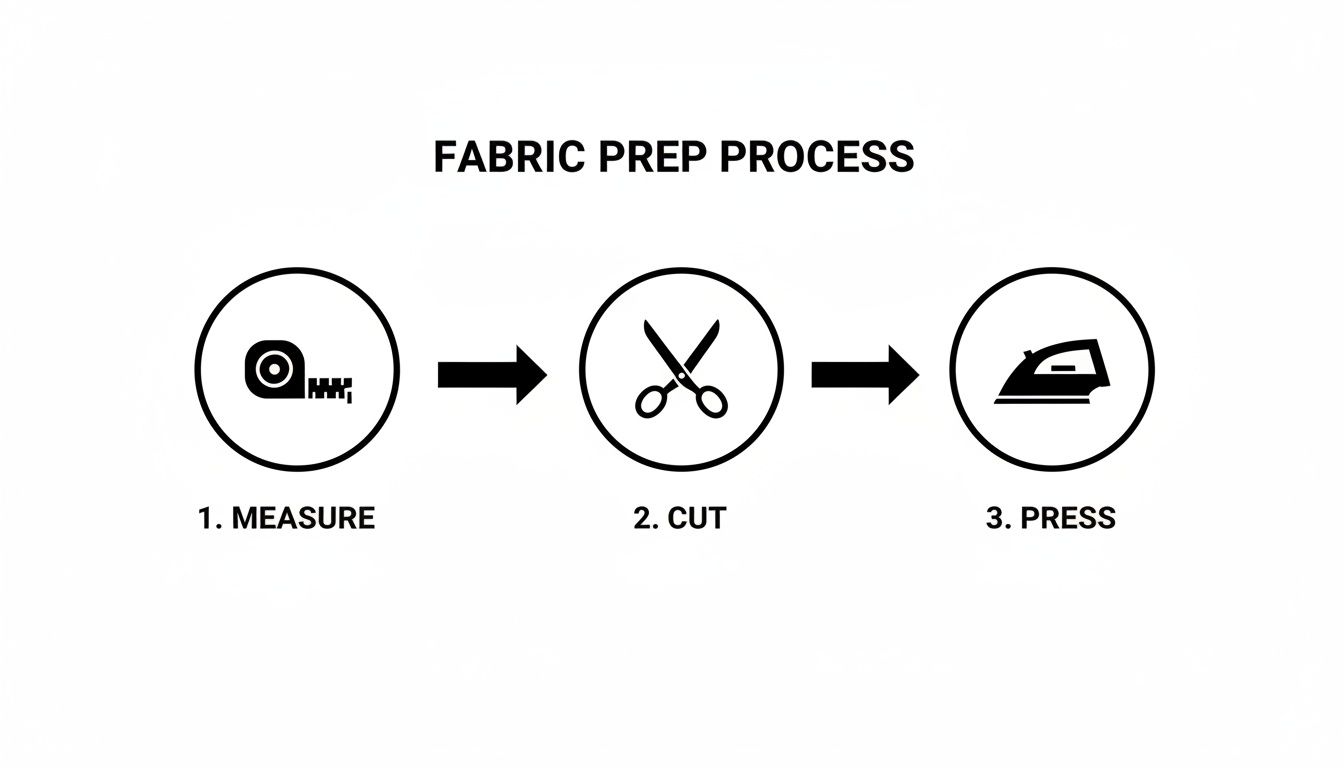
When it’s time to cut, find the biggest flat surface you can. A rotary cutter with a long straight edge is your best bet for perfectly straight lines. Always press the fabric with a hot iron before cutting to get rid of wrinkles and ensure your measurements are accurate.
This is where your carefully measured fabric starts to look like an actual Roman shade. We're going to build it layer by layer, from sewing the main panels to attaching the hardware that makes it all work.
First, create the body of the shade by joining your face fabric to the lining. With the "right" sides of the fabric facing each other, sew along the two long sides and the bottom edge, leaving the top open. This creates a fabric pocket. When you turn it right-side out, you'll have perfectly clean, hidden seams.
The horizontal dowels are the backbone of a Roman shade; they give it structure and allow it to fold up neatly. To hold them, we need to create channels, or pockets, across the back of the shade. Using a fabric pen, mark your horizontal lines on the lining side. Simply sew along these lines, stitching through both the lining and the front fabric.
Insider Tip: After you've turned your shade right-side out but before you sew the dowel pockets, give it a really good press with a hot iron. This forces the fabric and lining to lay perfectly flat and makes the edges super crisp, which is the secret to professional-looking seams.
Don't have a sewing machine? No problem. High-quality fusible hem tape is a fantastic substitute that creates surprisingly strong bonds.
The final piece of the puzzle is attaching the small rings that your lift cords will run through. The rings should be attached at the bottom of each dowel pocket, creating perfectly straight vertical columns. Most shades will need 2-3 columns of rings, spaced about 10-15 inches apart.
Now, for a crucial point on safety. The U.S. Consumer Product Safety Commission has flagged corded window coverings as one of the top hidden dangers in a home.
This final step is surprisingly straightforward. It starts with installing the headrail—the wooden board your shade is attached to.
With the headrail in place, attach the shade itself (usually stapled to the front of the board) and thread your lift cords.
Pro Tip: Don't just hang it and walk away. The first few times you raise the shade, guide the folds with your hands into perfect stacks. This simple action helps train the fabric to remember its shape, ensuring it folds beautifully every time.
Want to take your project a step further? Consider automation. Our guide to motorized shades DIY shows you how to bring smart technology into your window treatments.
Jumping into a DIY Roman shade project always brings up a few questions. To help you feel confident, I’ve put together answers to the most common queries.
The short answer is a medium-weight home decor fabric. Think cotton, a nice linen, or a sturdy cotton-blend. These materials have just enough body to create crisp, defined folds without being so heavy that they strain the lift mechanism. I recommend avoiding very lightweight, sheer, or stretchy fabrics, as they don't have the structure to hold their shape well.
Absolutely! You can create a surprisingly durable and polished-looking Roman shade using high-quality fusible hem tape and fabric glue. This is a fantastic option if you don't own a sewing machine. The key is to use quality adhesives to form strong bonds for your hems and dowel pockets.
For an outside mount, the shade should extend 2-3 inches beyond the window frame on each side, for a total of 4-6 inches of overlap. This extra width is crucial for blocking light leakage from the sides and gives the window a more finished, intentional appearance.
While you can technically skip it, I highly recommend adding a lining. A good lining protects your main fabric from sun damage and fading. It also adds structure, helping the folds look more uniform and professional. Plus, a well-lined shade can block up to 55% of solar heat gain, helping to reduce cooling costs. The residential sector is expected to lead the global window shade market for this reason, as noted in recent insights about window treatment trends.
Ready to start your next home decor project? At Joey'z Shopping, we have a wide selection of beautiful fabrics, cordless lift systems, and all the hardware you need to bring your vision to life.
Explore our collection today at https://joeyzshopping.com.