
Join the Joey'z Family!

Getting that custom, high-end drapery look is more achievable than you think. Learning pleated drapes how to comes down to a simple formula: measure your window width, multiply it by 2 to 2.5 for beautiful fullness, and use pinch pleat hooks every 4 to 6 inches. This little trick is what gives your drapes that elegant, full-bodied structure right from the start.
Pleated drapes are so much more than just a way to cover your windows. Think of them as a timeless design element that brings structure, elegance, and a surprising amount of function to any room.
Unlike basic rod-pocket curtains that can look a bit limp, the sewn-in pleats create a permanently tailored, uniform look. They always appear neat and intentional, whether you have them drawn open or closed. It's this built-in structure that gives them their classic, professionally designed appeal.
But it’s not just about looks. Pleated drapes bring some serious practical benefits to the table, too. Their fullness and layered construction help with:
The love for these classic window treatments isn't just anecdotal—it's reflected in their growing market. Valued at USD 3.2 billion in 2024, the global residential pleated curtains market is on track to hit USD 5.32 billion by 2033. This steady demand just goes to show how much homeowners and designers continue to value their timeless appeal.
Expert Tip: One of the most common mistakes I see is underestimating fabric fullness. A skimpy drape just looks cheap and won't give you any of the aesthetic or functional benefits. Always, always aim for at least double your window's width in fabric.
This guide is here to demystify the entire process, from picking the perfect pleat style to hanging your drapes like a seasoned pro. We'll walk through choosing the right look for your home, measuring accurately, and getting the hardware installed flawlessly.
For a deeper dive into one of the most classic styles, you can check out our guide on what makes pinch pleat curtains a top choice for designers. By the time you're done here, you’ll have the confidence to tackle this project and achieve a stunning, professional result.
Before we get into the nuts and bolts of hanging your drapes, let’s talk about the fun part: picking the perfect style. We understand that the type of pleat you choose does more than just hang there—it sets the entire mood of a room, turning a simple window into a real design statement.
Think of pleat styles as having different personalities. A structured, formal pleat can bring a sense of tradition and grandeur to a dining room, while a more relaxed, modern pleat can make a living room feel cozy and current. The goal is to find the right match for both your style and how you use the space.
Each pleat style has its own unique shape and character. Getting to know their differences is the first step toward creating a look you’ll love for years to come.
The fabric you choose is just as crucial as the pleat style. The weight and texture of the material will completely change how the drapes hang, how they filter light, and how well they function.
For example, a lightweight, airy fabric like sheer linen is wonderful for Euro or Cartridge pleats, creating a soft, ethereal look that lets natural light gently filter through. On the other hand, heavy fabrics like velvet or brocade are ideal for more structured styles like Pinch or Goblet pleats. Their weight helps define the folds and provides excellent light-blocking, insulation, and even sound-dampening qualities.
These functional yet stylish options are becoming more and more popular. The market for pinch pleat curtains alone grew from USD 8.2 billion in 2023 and is forecasted to hit USD 12.5 billion by 2032. It's easy to see why—pleated drapes made from heavier fabrics can block 75-95% of light and even improve a room's acoustics. You can explore more about these market trends and see how they're shaping home decor.
Insider Tip: When in doubt, always order fabric samples! A small swatch can look completely different once you see how it catches the light in your own room. Hold it up to your window at different times of the day before you make a final decision.
Choosing the right combination of pleat and fabric ensures your drapes aren't just beautiful but are also perfectly suited to your home's needs. If you’re looking for maximum privacy and light control in a bedroom, a blackout-lined velvet with a tight pinch pleat is a fantastic choice. For a sun-drenched living room where you just want to soften the glare, unlined linen drapes with a relaxed Euro pleat will do the trick beautifully. The key is to match the drape's design to the room's purpose.
The real secret between drapes that look custom-made and ones that just feel… off? It almost always comes down to the measurements. Getting this part right is probably the single most important step in making sure your pleated drapes look incredible. Think of it like baking—if your proportions are wrong, the whole thing just falls flat.
Let's walk through exactly how to measure your windows to get that polished, designer look. It’s a lot simpler than it sounds, and once you nail this, your new drapes will hang perfectly.
Before you even reach for the tape measure, commit these two rules to memory. They're what designers use to make any window look grander. The mantra is: hang them high and hang them wide.
First, hang your curtain rod 4-6 inches above the window frame. This simple trick draws the eye upward, creating an illusion of height that makes the whole room feel taller and more open.
Second, extend the rod 6-12 inches beyond the frame on each side. This makes the window itself appear much larger and, more practically, it lets the maximum amount of natural light pour in when your drapes are open.
This quick flowchart breaks down the key decisions you'll make, from style to function.
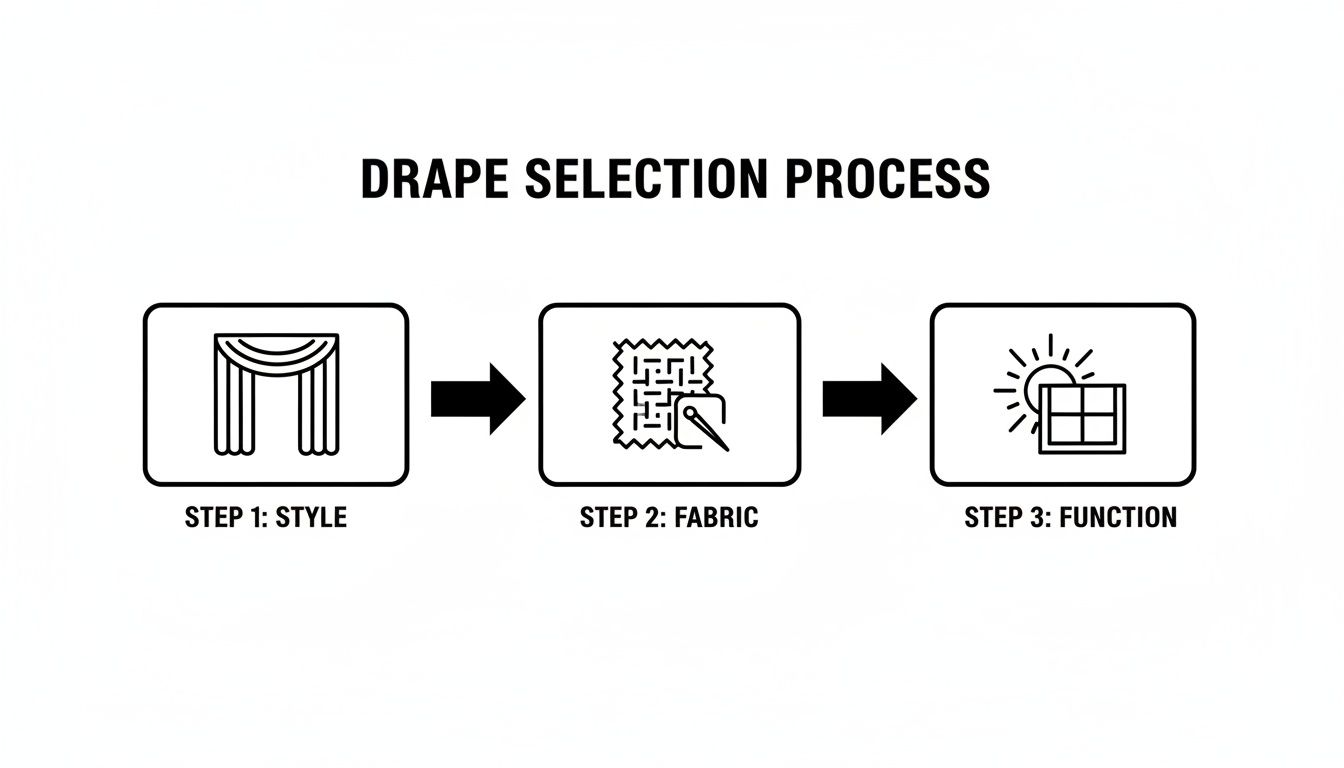
As you can see, your style, fabric, and functional needs are all connected. They work together to guide you toward the perfect measurements for your space.
Here's a bit of insider lingo for you: "stackback." All this means is the amount of space your pleated drapes take up on the side of the window when they're pulled all the way open. If you don't plan for stackback, your beautiful new drapes will end up covering a big chunk of the glass, blocking both your light and your view.
A good rule of thumb is that the stackback will be about one-third of the window's width. So, for a 60-inch window, you’ll want to account for roughly 20 inches of stackback. That means your rod should extend at least 10 inches past the frame on each side to give the drapes a place to rest.
To figure out the total fabric width you need, start by measuring your curtain rod from end to end (including those extra inches we added). For pleated drapes to have that lush, full look, you need way more fabric than the width of the rod itself.
For example, if your curtain rod is 80 inches wide, you’ll want drapery panels that have a combined width of at least 120 inches (80 x 1.5) and up to 200 inches (80 x 2.5) for that truly high-end appearance.
The length of your drapes has a huge impact on the room's overall style. To get it right, measure from the bottom of where your curtain rod will sit down to where you want the drapes to end.
Here are the three most common styles:
Knowing how to get accurate window measurement techniques is a great skill for any home project. But for a complete walkthrough tailored specifically for this, check out our deep-dive guide on measuring windows for drapes.
Alright, you’ve done the hard work of measuring and choosing the perfect drapes. Now comes the best part: bringing it all to life. Hanging your drapes is where you really see your vision take shape, and we'll walk you through it so you get a beautiful, professional-looking result every time.
The whole process really begins with the hardware. It’s more than just a way to hold up the fabric; it's a key part of the final look and how your drapes will function day-to-day. It’s worth putting a little thought into this choice.
Your first big decision is whether to go with a classic curtain rod or a more streamlined track system. They both have their strengths, and the right one often comes down to your pleat style and the vibe you're going for in the room.
Curtain Rods: You can't go wrong with a traditional rod. They’re incredibly versatile and work beautifully with most pleat styles, especially pinch, Euro, and cartridge pleats. Plus, they come in a huge range of finishes and designs, so it’s easy to find one that matches your decor. Just remember you'll need curtain rings with little eyelets at the bottom for your drapery pins.
Track Systems: If you’re aiming for that seamless, ceiling-to-floor effect or have particularly heavy drapes, a track system is your best bet. Tracks are much less visible than rods and let the fabric glide like a dream. They're especially great for box pleats and for creating that modern, wall-to-wall curtain look.
The global curtains market hit USD 10.4 billion in 2022 and is expected to climb to USD 19.4 billion by 2030, with a huge push towards integrated smart home tech. In North America, which held 35.79% of the window covering market in 2024, smart home compatibility is king. In fact, nearly 80% of new high-end projects now call for motorized pleats—a feature that works best with track systems. You can read the full research on global curtain trends for more on where the market is headed.
Now, let's look at how your hardware choice pairs with different pleat styles. Getting this match right is key for both looks and function.
| Pleat Style | Recommended Hardware | Installation Tip |
|---|---|---|
| Pinch Pleat | Curtain Rod with Rings | Use one ring per pleat. The fullness is built into the pleat, so it hangs perfectly. |
| Euro Pleat | Curtain Rod with Rings | The pleat is tacked at the very top, creating a clean, modern cascade. Works great on decorative rods. |
| Box Pleat | Track System | For that crisp, architectural look, a track allows the pleats to stack back neatly without obstruction. |
| Cartridge Pleat | Curtain Rod (Traverse or Standard) | These large, rounded pleats look stunning on a substantial rod. Ensure rings are large enough to glide easily. |
Matching the hardware to the pleat ensures your drapes hang and move exactly as they were designed to.
With your hardware picked out, it's time to get the brackets on the wall. This step is absolutely critical. If your brackets aren't secure, they won't hold the weight of your drapes and you could end up with damaged walls. The goal is always to screw brackets directly into wall studs.
What if there's no stud where you need a bracket? Don't even think about using those little plastic drywall anchors that come in the box. They just won't hold up. Instead, grab some toggle bolts or heavy-duty drywall anchors designed for serious weight. A laser level is your best friend here—it guarantees your brackets are perfectly aligned for a straight, polished finish. For a more detailed guide, check out our post on how to install curtain rods.
Drapery pins (or pin hooks) are the little metal MVPs that connect your pleated drapes to the rings or track carriers. You’ll insert them into the back of each pleat. Most quality drapes today come with adjustable pin hooks, which is a fantastic feature for fine-tuning the length.
To start, set all the pins to the same height on the back of the drapes. I usually suggest starting around the halfway point on the pin’s adjustable track. This gives you plenty of room to shift them up or down later to get that perfect "floor kiss" length without having to touch your brackets again.
Pro Tip for a Smooth Glide: Before you hang anything, take a clean cloth and apply a tiny bit of silicone spray to it. Wipe down the top of your curtain rod. It takes ten seconds but creates a super smooth, frictionless surface. Your drapes will open and close with an effortless glide every single time. It's a game-changer.
Brackets are up, the rod is in place, and the pins are set. You're ready to hang the drapes! I highly recommend grabbing a friend for this part, especially if you have wide windows. One person can support the weight of the panel while the other hooks the pins onto the rings.
Start at one end and work your way across, hooking each pleat. Once the panel is up, take a step back and look at the length. If it needs adjusting, it’s much easier to take the panel down and move the pins than to fiddle with them while they're hanging.
Don't rush this final step. Make sure every hook is securely in place and that the drapes are spaced out evenly. It’s this attention to detail that makes an installation look truly professional.

Now that your drapes are perfectly installed, it's time for the fun part—the finishing touches. This is where you elevate them from simple hanging fabric to a polished, intentional piece of your home's design. Styling and proper care are the secrets to achieving that professional look and making sure your drapes stay beautiful for years to come.
The very first thing to do after hanging is to "train" your pleats. Fresh out of the package, the fabric can be a little unruly. Training is just a simple way to encourage the material to fall into those crisp, uniform folds you see in magazines.
Think of it like styling hair—you need to guide the drapes into the shape you want them to hold. The process is straightforward: you arrange the folds neatly and then loosely secure them for a couple of days. This simple step helps set the fabric's "memory," ensuring your pleats hang in elegant, consistent columns.
Here’s the breakdown:
When you untie them after a few days, you'll see a huge difference. The folds will fall naturally into those beautiful, rhythmic columns that give pleated drapes their classic charm.
Layering drapes with other window treatments adds incredible depth, texture, and functionality to a room. It’s a classic designer trick that can turn your windows into a true focal point. Combining pleated drapes with sheers or blinds is a fantastic way to get versatile control over light and privacy.
For example, pairing heavier pleated drapes with some lightweight sheer curtains from Joey’z Shopping gives you the best of both worlds. You can leave the sheers closed during the day for soft, filtered light and a bit of privacy, then draw the main drapes at night for total darkness. Another great option is layering drapes over stylish blinds, which provides precise light control while adding a sophisticated, multi-dimensional look.
Proper maintenance is the key to making your drapes last. Dust and dirt can build up over time, which not only dulls the fabric but can also cause damage to the fibers. Thankfully, keeping pleated drapes clean is much easier than you might think.
A good routine is all about prevention. Regular, light cleaning is far more effective than waiting to do a deep clean every once in a while.
Routine Care Checklist:
Expert Tip: To get rid of wrinkles and refresh the fabric between cleanings, a handheld steamer is your best friend. Work from top to bottom, holding the steamer a few inches away from the fabric to avoid water spots. It’s a quick and easy way to restore that crisp, just-hung look.
Even after following a guide, it's natural to have a few questions pop up. We get it. Think of this section as a quick chat with our in-house experts, where we tackle the most common things people ask when they're in the middle of a pleated drape project. We’re here to help you get those final details just right so you can hang your drapes with total confidence.
Getting that lush, professionally styled look all comes down to fullness. It's the secret sauce. The short answer is you'll want your drapes to be 1.5 to 2.5 times the width of your window or curtain rod. This extra fabric is what creates those deep, elegant folds that make pleated drapes so timeless.
Here’s how to nail the calculation every time:
You hear these terms used interchangeably all the time, but in the design world, there’s a subtle but important difference. It really boils down to the fabric's weight and how the window treatment is constructed.
Curtains are the lighter, more casual option. They're usually made from unlined fabrics like cotton, linen, or sheers. Their main job is to filter light and add a soft decorative touch, not provide heavy-duty privacy or insulation.
Drapes are the more formal, functional choice. They’re almost always crafted from heavier fabrics—think velvet, thick linen, or brocade—and are typically lined. This robust construction is what gives them their superior light-blocking, privacy, and insulating powers.
Because of their structured headers and heavier fabric, pleated styles almost always fall into the "drape" category.
This is one of the easiest parts! With pleated drapes, the pleats themselves do the work for you. You'll place one drapery pin hook into the back of each pleat. It's that simple. This ensures your drapes hang with perfect, even spacing across the rod.
The adjustable pin hooks included with our drapes are a fantastic feature. They use a neat little ratchet system that lets you tweak the final hanging length of your drapes without having to move the whole curtain rod. It’s a real time-saver. Just be sure to set all the hooks to the same height before you hang them for a perfectly level look.
This is a big one, and the answer depends entirely on the fabric. Your first step should always be to check the care label. Some materials, like silk or heavy velvet, are strictly dry-clean only and can be ruined in a washing machine.
The good news is that many modern pleated drapes, especially those made from durable faux linen or polyester blends, are designed for easy, at-home care.
If your drapes are machine washable, here’s how to do it right:
Here’s a trick straight from the interior designer’s playbook. For a truly elevated look, always hang your curtain rod 4 to 6 inches above the top of the window frame. It feels counterintuitive, but this simple move creates an amazing optical illusion, drawing the eye upward and making your ceilings feel significantly taller.
Pro Tip: If you're working with lower ceilings, don't be afraid to hang the rod as high as you can—even just an inch or two below the ceiling or crown molding. This maximizes the vertical line of the drapes and can make the whole room feel grander and more spacious.
To complete the effect, extend the rod 6 to 12 inches past the window frame on each side. This "high and wide" method makes the window itself appear larger and lets more natural light in when the drapes are open.
When you’re hanging substantial drapes—especially velvet or those with a blackout lining—your hardware needs to be up to the task. The last thing you want is a rod that bows in the middle or pulls away from the wall.
Start with a sturdy metal curtain rod that's at least 1-inch in diameter. The thicker the rod, the better it will support the weight without sagging.
Even more important, though, is how you anchor the brackets. Whenever you can, screw the brackets directly into the wooden wall studs. If a stud isn't conveniently located where you need a bracket, don't rely on the little plastic anchors that come in most kits. Instead, use heavy-duty toggle bolts. They expand behind the drywall to create a far more secure hold, giving you peace of mind that your beautiful, heavy drapes are there to stay.
Feeling inspired to transform your windows? At Joey'z Shopping, we offer a beautiful selection of high-quality window treatments to help you achieve the perfect look for your home.
Explore our collection of curtains and drapes at Joey'z Shopping today!