
Join the Joey'z Family!

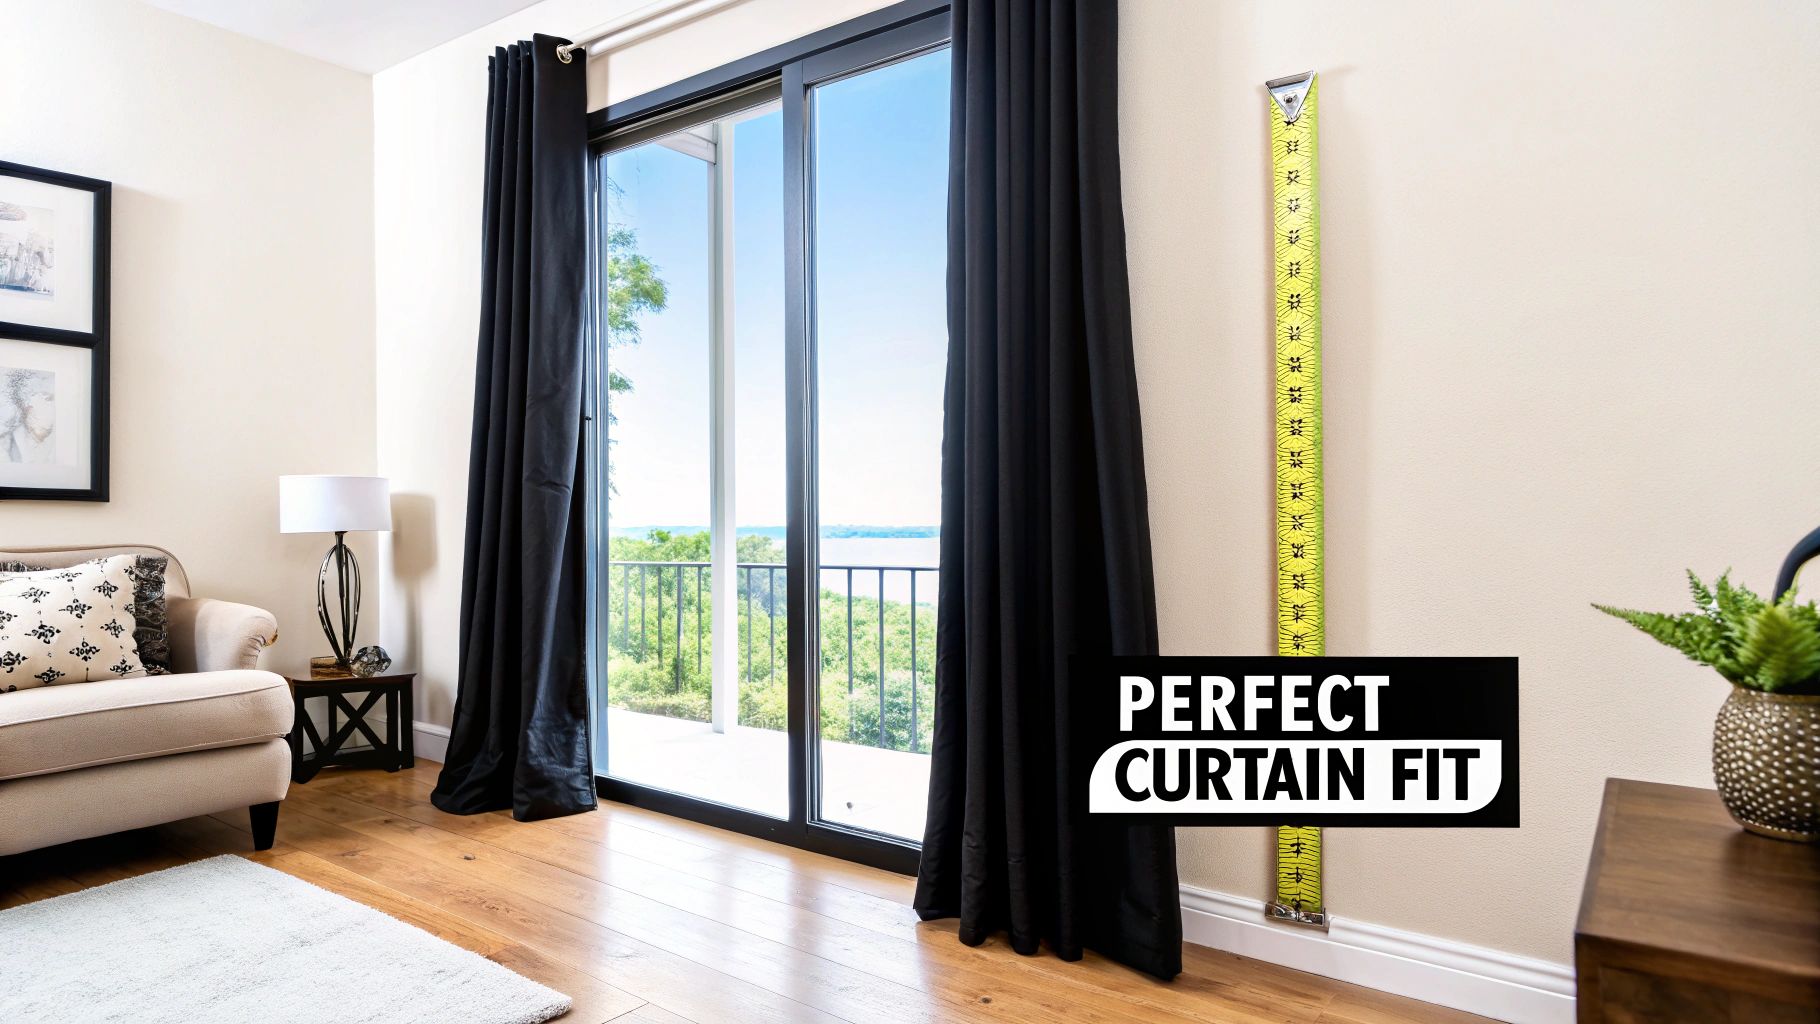
Getting your window curtain measurements right is the secret to a polished room. It's not just about covering glass; it’s about creating height, controlling light, and achieving that professional, put-together finish that elevates your entire space. The right sizing affects everything from how the fabric drapes to the room's overall feel.
Table of Contents
Think of curtains as the frame for your windows. When you get it right, they enhance both the view and the room itself. But when the measurements are off, it can make an otherwise beautiful room feel awkward and unfinished. It’s the one detail that can either pull everything together or throw it all off balance.
Taking the time to measure correctly from the very beginning saves you from the headache of returns, wasted money, and frustration. More importantly, it directly shapes the final look and feel of your home.
Here’s what accurate measurements really do for you:
"A pretty room with poorly hung curtains is like a beautiful, pulled-together lady wearing way ‘too-small pants’. It cheapens everything else, stands out in a jarring way, and just makes everyone feel uncomfortable."
So many people fall into the same traps. They measure only the window frame itself, forget to account for where the rod will go, or buy panels that are just too short. These simple mistakes lead to curtains that hover awkwardly above the floor or barely cover the glass when closed.
These principles are just as vital when you're looking at other options like custom blinds. In North America, which holds a dominant 37.46% market share, curtains are often styled to be 1.5 to 3 times the window's width for that full, luxurious drape.
This guide will give you the foundation you need to avoid those pitfalls, making sure your window treatment project is a success from the very first measurement.
Before you even grab a tape measure, let's talk about setting yourself up for success. Getting this part right is the difference between a frustrating weekend project and a flawless, professional-looking result. Having the right tools on hand and knowing a bit of the lingo will make sure your window curtain measurements are spot-on from the very first try.
Think of it like baking a cake—you wouldn't just start throwing ingredients in a bowl without a recipe. A little prep work here builds confidence and helps you sidestep those common mistakes that trip up so many home decorators.
You don't need a whole workshop to get this done. A few simple, reliable tools are all it takes to get precise measurements. Gathering them before you start makes the whole process go smoothly.
Here’s a quick look at what you’ll need to have ready.
| Tool | Why You Need It | Pro Tip |
|---|---|---|
| Steel Tape Measure | This is your non-negotiable MVP. Unlike cloth tapes that can sag or stretch, a steel measure gives you a true, accurate reading every time, especially over long spans. | Get one that's at least 12 feet long and has a locking feature. It makes taking measurements by yourself so much easier. |
| Pencil & Paper | Go old-school for this. Juggling numbers in your head while you're balancing on a stool is a recipe for disaster. | Jot down every single measurement as soon as you take it. Even better, sketch a quick diagram of your window and label it. |
| Sturdy Step Stool | Safety first! Balancing on a wobbly dining chair is a bad idea. | A proper step stool or ladder lets you safely reach the top of the window frame so you can measure without stretching or guessing. |
Having these simple items ready will make you feel like a pro before you even start.
Diving into the world of window treatments can feel like learning a new language. You'll hear words like "stackback" and "return," but don't worry—they're simple concepts once you know what they mean. Getting a handle on these is key for accurate window curtain measurements.
Finally, you have a big decision to make: how will your curtains hang? You can mount the rod inside the window frame or outside it on the wall. Your choice here impacts both the look of your room and the measurements you'll take.
An inside mount means the curtain rod is installed within the window casement. This gives you a very clean, built-in look that's great for showing off nice, chunky window trim. The downside? The curtains will always cover a bit of the glass, even when fully open, which cuts down on some natural light.
The outside mount is far more common and what we almost always recommend. Here, the rod is installed on the wall above and outside the window frame. This method is incredibly versatile. It tricks the eye into seeing a larger window and allows you to pull the curtains completely clear of the glass, flooding your room with light. For a deeper dive on placement, check out our guide on how high to hang curtains for some expert tips.
Pro Tip: For most rooms and styles, an outside mount is your best bet. It gives you the power to create an illusion of height and width, making any space feel bigger and more professionally designed.
Getting the width of your curtains right is probably the most important part of achieving that high-end, professionally styled look. The secret? You don't actually measure the window. You measure the curtain rod. This one measurement is what determines the beautiful flow and drape of your window treatments.
A common mistake is buying curtains that are only as wide as the window frame itself. This makes them look flat and skimpy when they're closed, and it can even make the window feel smaller. What we're going for is beautiful, soft folds—a quality designers call fullness.
This flowchart breaks down the initial prep to get you ready for measuring.
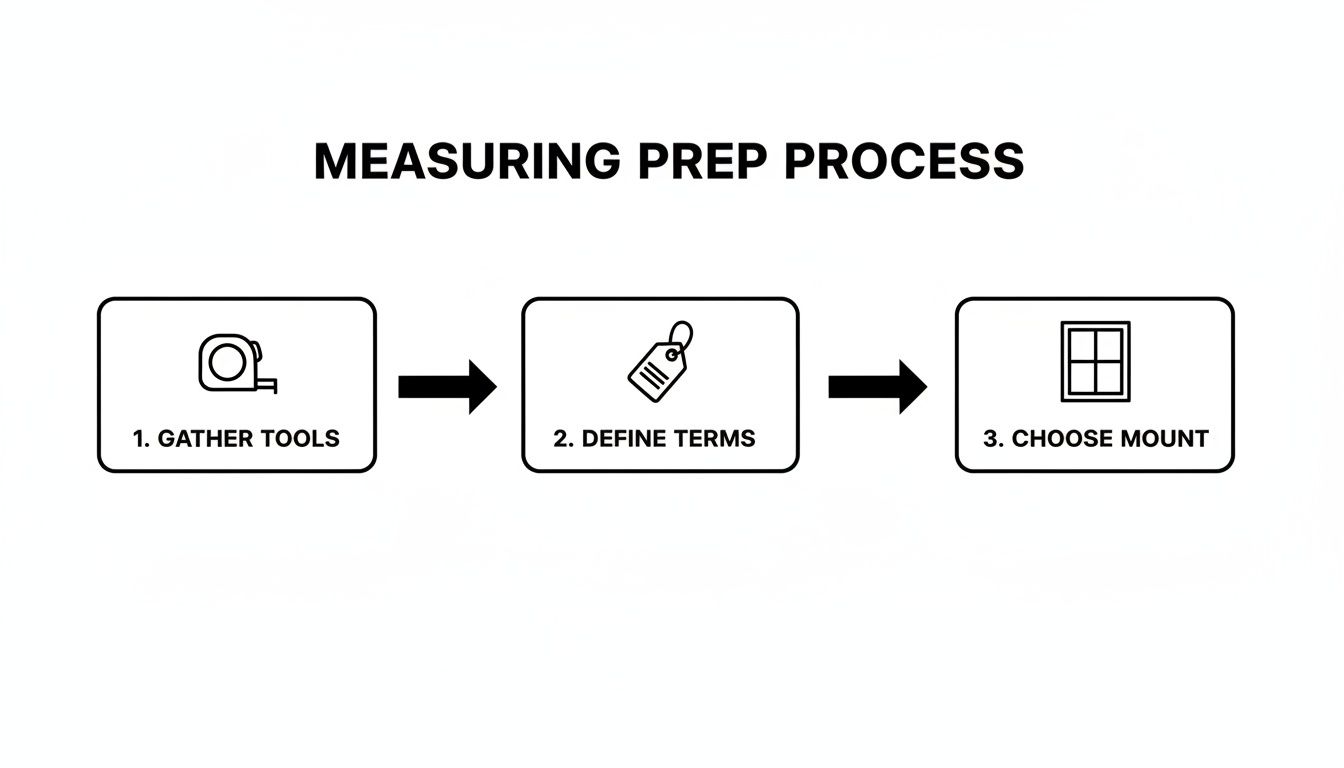
As you can see, the process always starts with grabbing the right tools, getting familiar with the lingo, and deciding on your mount type before you even think about taking a measurement.
If you want to make your windows look larger and let in as much natural light as possible, always install your curtain rod so it extends beyond the window frame. This is a non-negotiable rule in my book.
The short answer is to extend the rod 3 to 6 inches past the frame on each side. For larger windows or in rooms where you're aiming for a more dramatic effect, you can even go as wide as 10 to 12 inches on each side.
This extra width is what allows you to pull the curtains completely clear of the window when they're open, flooding your room with light and keeping your view unobstructed.
Fullness is just the ratio between the total width of your curtain panels and the width of your curtain rod. Without enough fullness, even the most gorgeous fabric will look cheap and sad.
The calculation is surprisingly simple:
Curtain Rod Width x Fullness Multiplier = Total Curtain Width Needed
The multiplier you choose depends entirely on the fabric and the heading style of your curtains.
Insider Tip: Always buy curtain panels in pairs. The total width calculation applies to the combined width of both panels. So, if your math tells you that you need 100 inches of fabric, you'd buy two 50-inch panels.
Getting this right is a big deal. According to industry reports, a shocking percentage of curtain returns are due to poor measurements—and a lot of that comes from ignoring fullness.
Different curtains need different levels of fullness to look their best. A heavy blackout drape, for example, doesn't need the same billowy volume as a delicate sheer panel.
Here’s a quick guide to the most common fullness multipliers:
For highly structured styles like pinch pleat curtains, the fullness is often already built into the design. In those cases, you typically just need panels that match the exact width of your rod. It's always a good idea to check the manufacturer's recommendations for these specific styles. To dive deeper, check out our detailed guide on calculating the width of your curtains.
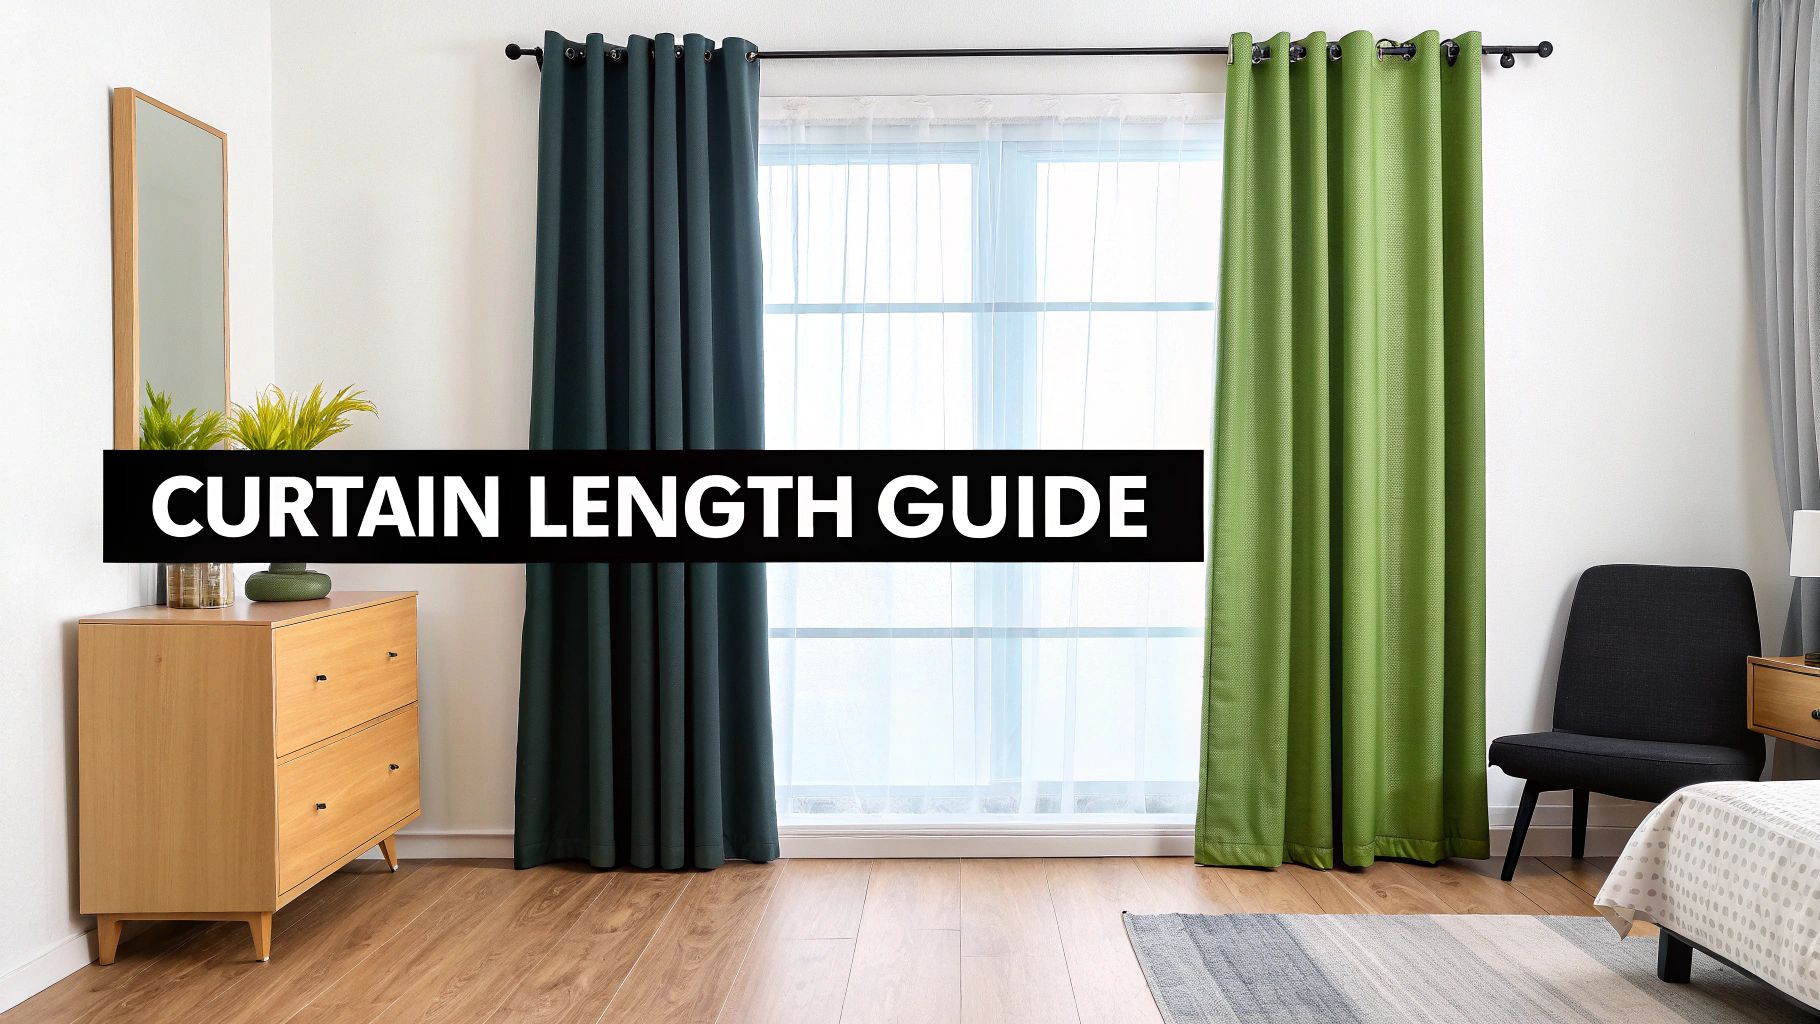
Once you’ve nailed down the width and fullness, the next big decision in your window curtain measurements journey is picking the perfect length. This single choice can completely change the vibe of a room, taking it from formal and grand to casual and relaxed. It’s like choosing between stilettos and sneakers—both get the job done, but they set entirely different moods.
The right curtain length can make your ceilings feel higher, your windows seem bigger, and the whole room look more pulled together. It’s a surprisingly powerful design tool. Let’s walk through the four most popular styles to help you find the perfect match for your home.
Sill-length curtains are the shortest of the bunch, designed to stop right at the windowsill. This style gives you a crisp, tidy, and incredibly practical look that really shines in certain spots.
Because they stay clear of furniture and don’t drag on the floor, sill-length curtains are a fantastic choice for:
To get the measurement right, run your tape measure from the top of the curtain rod down to the windowsill. From there, just subtract about 1/2 inch. This ensures the fabric hangs freely instead of bunching up.
Apron-length curtains are a classic choice that strikes a nice balance between sill and floor length. These curtains hang about 4 to 6 inches below the bottom of the window trim (also called the "apron").
This style has a little more visual presence than sill length but isn't as formal as floor-length drapes. It’s the perfect solution for windows with a radiator or a chunky piece of furniture right underneath, where longer curtains just wouldn't work. Simply measure from the top of your rod down to your preferred spot below the trim.
Insider Tip: To get a perfectly level hang, especially in older homes where floors and sills can be a bit wonky, always measure in three places. Take one measurement on the left, one in the middle, and one on the right. Use the shortest of the three to make sure your curtains don't drag.
There's a reason this is the most popular and versatile curtain length out there. Floor-length curtains create a polished, tailored look that makes almost any room feel more upscale and elongated. There are a couple of ways to approach this style.
For either option, remember to measure from the top of the rod to the floor in those three crucial spots—left, middle, and right—and use the measurement that best suits the effect you're going for.
If you’re aiming for a touch of drama and opulence, nothing delivers like the puddle effect. This style involves adding extra length so the fabric pools beautifully on the floor. It’s a romantic, old-world look that works best with rich fabrics like velvet or heavy linen.
You can go for a subtle puddle of 1 to 3 inches for a gentle break in the fabric, or make a real statement with a dramatic puddle of 6 inches or more. This style is best for formal spaces like dining rooms or master bedrooms where the curtains will stay put, as opening and closing them often can make the puddles look messy.
If you want to dive deeper into these looks, you might be interested in our complete guide to curtain lengths, which has even more detail and inspiration.
Each of these four curtain lengths brings a unique personality to a room. To make the choice a little easier, here's a quick comparison to help you find the perfect look for your space.
| Length Style | Description | Best For | Measurement Tip |
|---|---|---|---|
| Sill Length | Curtains end right at the windowsill. | Kitchens, bathrooms, and kids' rooms where long fabric is impractical. | Measure to the sill and subtract 1/2 inch for a clean float. |
| Apron Length | Curtains extend 4-6 inches below the window trim. | Windows with furniture or radiators underneath. | Measure to your desired point below the trim for a classic look. |
| Floor Length | Curtains "kiss" or float 1/2 inch above the floor. | Living rooms, bedrooms, and dining rooms for a polished, versatile style. | Measure to the floor and adjust for a "kiss" or "float" finish. |
| Puddle Length | Fabric pools on the floor with 1-6+ inches of extra length. | Formal, low-traffic areas where you want a dramatic, luxurious statement. | Add your desired puddle amount (1-6+ inches) to the floor-length measurement. |
Ultimately, the right length comes down to both the practical needs of the room and the aesthetic you're trying to create. Whether you go for crisp sill-length or dramatic puddles, getting the measurement right is what will bring your vision to life.
We’ve all seen them: the curtains that hover awkwardly above the floor like they're waiting for a flood. The ones that look like a flat sheet stretched tight across the window. Or the crooked set that just feels off.
These common issues almost always come down to a few simple measurement mistakes. But here's the good news—they are incredibly easy to prevent once you know what you’re looking for. Think of this as your cheat sheet for sidestepping the most frequent blunders so you can get a flawless result that elevates your entire room.
One of the quickest ways to end up with curtains that are too short is measuring for them before you've installed the rod or at least decided exactly where it will go. Your final curtain length is always measured from the rod, not the top of the window, so this step is everything.
A misplaced rod can completely throw off your project. If you hang it too low, even perfectly measured curtains will look stunted and awkward.
Real-World Scenario: Sarah bought beautiful floor-length curtains based on her window's height. But she installed her curtain rod just two inches above the frame. Her "floor-length" drapes now hang a full three inches off the floor, creating that infamous "high-water" look.
To avoid this, always decide where your rod will go first—ideally 4-6 inches above the window frame—and measure down from that exact spot.
It feels natural to measure just the window itself, but this is a classic trap that leads to skimpy, sad-looking curtains. Your goal isn't just to cover the glass; it's to frame the window beautifully and control the light.
This means your measurements need to account for a much wider and taller area than the window frame. By extending your rod's width and height, you create the illusion of a bigger, grander window and let in a lot more natural light when the curtains are open.
Key Takeaway: Your curtain rod width, not your window width, is the foundational number for all your calculations. It dictates fullness and ensures your curtains look intentional and properly scaled for the space.
Ever heard of "stackback"? It's simply the space your curtains take up on the wall when they're pulled all the way open. If you don't account for it, your open curtains will end up blocking a good chunk of your window, cutting down on natural light and obstructing the view.
This is exactly why we extend the curtain rod 3-6 inches (or more) beyond the window frame on each side. This extra space gives the curtain panels a place to "live" when they're not in use, maximizing your window's potential.
Industry data suggests that a staggering 65% of buyers measure incorrectly on their first try, often because they overlook things like stackback. Properly measured, energy-efficient drapes can even save you 10-15% on heating and cooling bills, so it really pays to get it right. You can find more insights by reading up on the curtains and window blinds market on gminsights.com.
Buying curtain panels that are only as wide as your window is a guaranteed way to get that flat, lifeless look. Curtains need extra fabric to create the soft, elegant folds and waves that make them look so luxurious. We call this fullness.
A great rule of thumb is to choose curtain panels that have a combined width of at least two times the width of your curtain rod. For airy sheers, you might even go for three times the width. Forgetting this step is the difference between custom-looking drapes and a stretched bedsheet.
It might seem like a tiny detail, but your choice of tool matters more than you'd think. A soft, cloth measuring tape—the kind you'd use for sewing—can easily stretch or sag over long distances, leading to inaccurate readings.
For this job, you want a retractable metal tape measure. It provides a rigid, straight line every single time, ensuring your measurements are precise and reliable. It’s a small thing that makes a huge difference in achieving that professional finish.
Even after you've got the basics down, a few nagging questions always seem to pop up right when you’re about to pull the trigger on new curtains. Nailing these final details is what separates a decent window treatment from a truly stunning one.
The short answer? Hang your curtain rod 4 to 6 inches above the top of the window frame. This is a classic interior design rule of thumb that works beautifully every time.
Mounting the rod higher creates a powerful illusion of height, making your ceilings feel taller and the room feel grander. It draws the eye upward, giving the window more presence. If you have very high ceilings, a great trick is to place the rod about halfway between the top of the window trim and the ceiling.
This one comes down entirely to personal style and the vibe you're going for. There’s no single right answer, but there are a few go-to looks, each with its own mood.
Fullness is the secret ingredient to getting that rich, gathered look instead of just having a flat sheet of fabric hanging over your window. It’s the ratio of your total fabric width to the width of your curtain rod, which is what gives curtains their lovely, soft folds.
The industry standard is to use 2 to 2.5 times the width of your curtain rod in fabric. So, if your rod is 50 inches wide, you’ll want your curtains to have a total width of 100 to 125 inches. Lighter fabrics like sheers look best with more fullness (up to 3x), while heavy fabrics like velvet can use a bit less (1.5x to 2x).
Yes, absolutely! The "return" is the distance from the corner of a wrap-around curtain rod back to the wall. Measuring for this, usually 3 to 5 inches on each side, ensures the curtain panel can wrap fully around the bracket. This blocks light leakage from the sides and creates a more finished, professional appearance.
Ready to put your expert measurements to use? At Joey'z Shopping, we offer a wide variety of beautiful, high-quality curtains to fit any window and every style. Explore our collections and find the perfect finishing touch for your home. https://joeyzshopping.com