
Join the Joey'z Family!

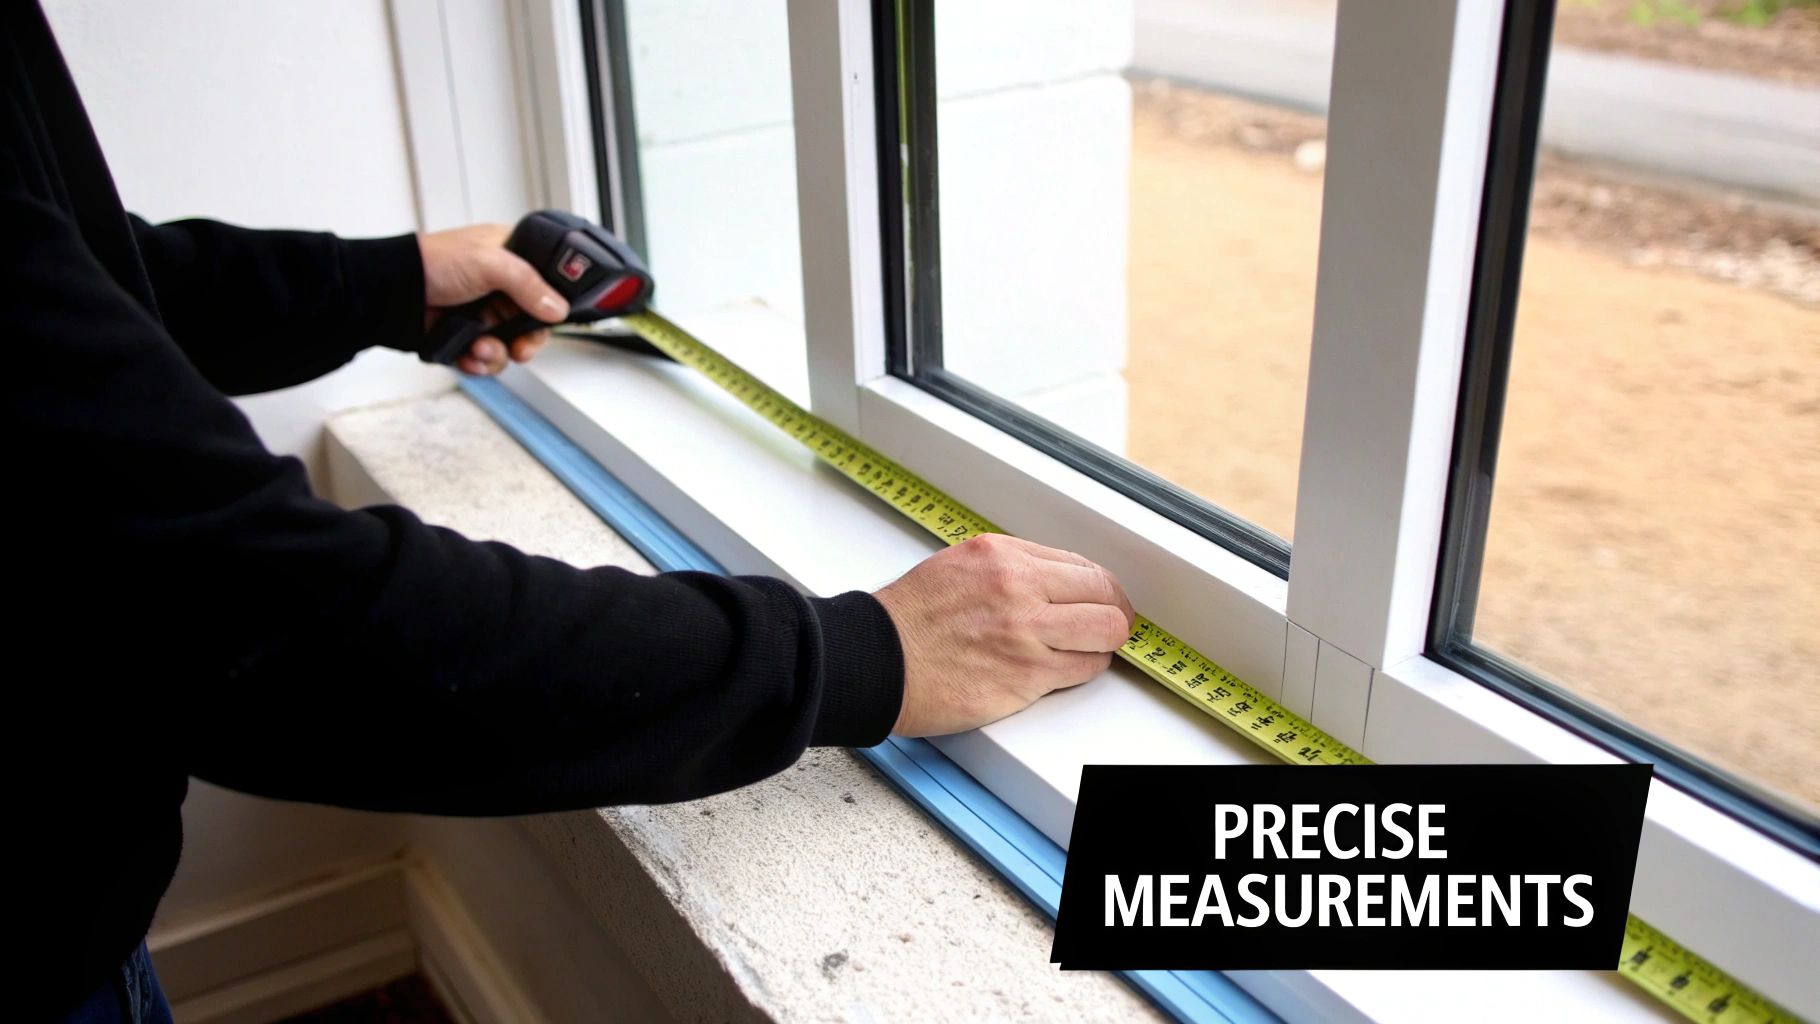
Getting the measurements right is, without a doubt, the single most important step in ordering Roman shades. Before you even think about fabrics or styles, this is where you need to focus. A tiny slip-up here—even by 1/8 of an inch—can turn your dream window treatment into a costly, ill-fitting headache.
Think of your measurements as the blueprint for your shades. They determine everything from how smoothly the shade glides up and down to how well it blocks light and gives you privacy. This guide will teach you exactly how to measure for Roman shades like a seasoned expert.
Table of Contents
Before diving into the fun stuff, let's get the foundation right. I've seen it happen too many times: someone falls in love with a fabric, rushes the measurements, and ends up with a shade that just doesn't work. Let's make sure that's not you.
The first big decision you'll make is whether to mount your shades inside or outside the window frame. This choice changes everything about how you measure and the final look you'll achieve.
This is your first fork in the road, and it’s a big one. What is the difference between an inside and outside mount?
The short answer is an inside mount fits within the window frame for a clean look, while an outside mount is installed on the wall above the frame to make the window appear larger and block more light.
Insider Tip: If your window frames aren't perfectly square (which is surprisingly common, especially in older homes), an outside mount is your best friend. It neatly covers up any quirks and still gives you a polished, professional look.
To make this crystal clear, here’s a quick-reference table summarizing the key differences when measuring.
| Measurement Type | Width Guideline | Height Guideline | Best For |
|---|---|---|---|
| Inside Mount | Measure inside the frame at the top, middle, and bottom. Use the narrowest width. | Measure inside the frame on the left, middle, and right. Use the longest height. | Clean, minimalist look; showcasing attractive window trim. |
| Outside Mount | Measure the area you want to cover. Add at least 2 inches to each side. | Measure from where you'll mount the headrail to the sill. Add 2-4 inches. | Hiding imperfect frames, maximizing light blockage, making windows appear larger. |
This table should help you quickly decide which approach is right for your space and how to tackle the measurements for each.
Accuracy isn't just about looks; it's about being smart with your money. Did you know that correct measurements can save you up to 30% by avoiding returns, alteration fees, and the headache of reordering? With the global Roman blinds market valued around USD 2.5 billion in 2023, it’s clear that a lot of people are investing in this look. Getting it right the first time protects that investment. You can learn more about the Roman shades market trends to see just how popular they are.
My goal with this guide is to give you the confidence to measure like a seasoned pro. Once you understand these core principles, you’re not just buying shades—you’re ensuring a flawless finish for your home.
Now, let's grab the right tools for the job.
Before you take a single measurement, let's talk about getting set up. Nailing the process of how to measure for Roman shades isn't about having a massive workshop; it's about having a few key items on hand to guarantee you get it right the first time. Think of it as your pre-flight checklist for a flawless installation.
Having the right equipment is what separates a smooth project from a frustrating one. It eliminates the guesswork and helps you avoid those common, preventable mistakes that can derail everything before you even start.
Let’s get you prepared.
The most important tool you'll need isn't fancy, but its quality is non-negotiable.
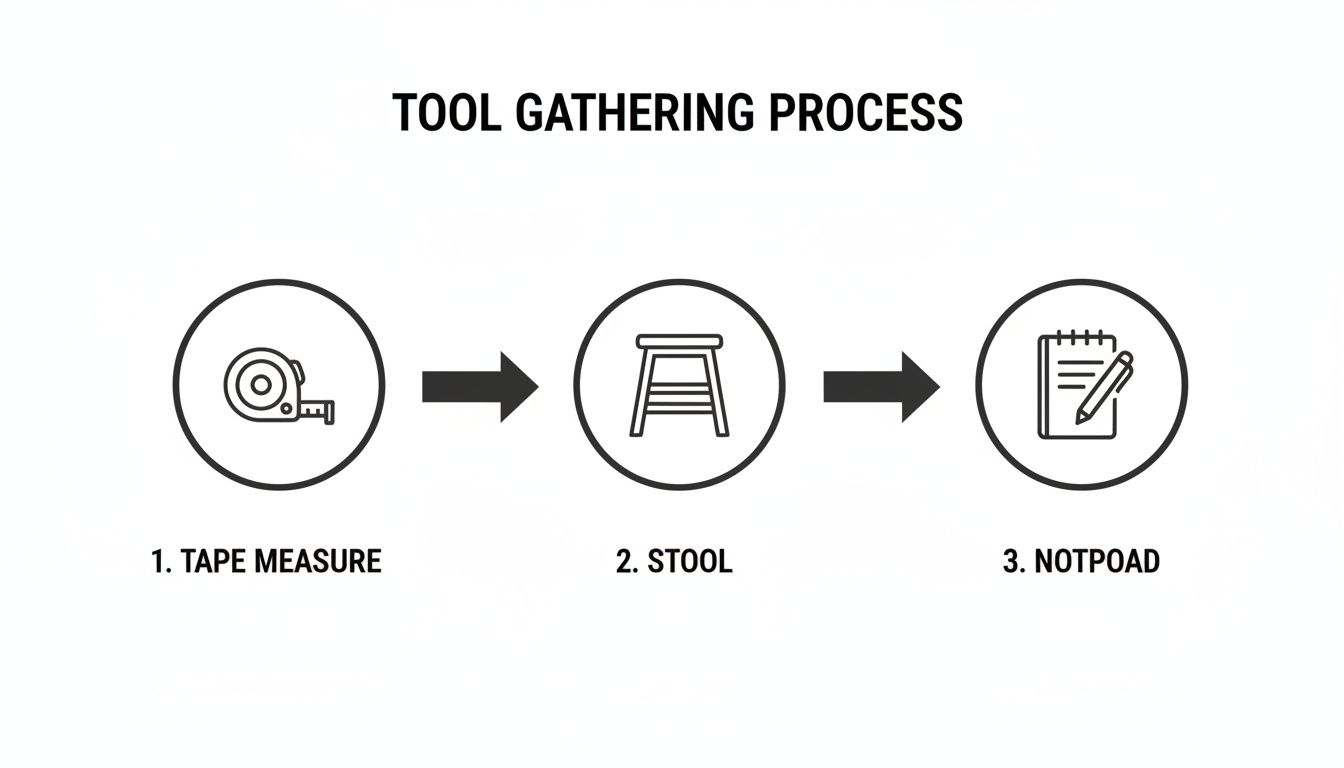
A Steel Tape Measure: This is your most valuable player. Soft vinyl or cloth tapes can stretch and sag, leading to inaccurate numbers. A rigid steel tape, on the other hand, gives you the unbending accuracy you need. A 25-foot locking tape measure is perfect for the job—it’s long enough for any window and stiff enough to extend across wide openings without drooping.
A Sturdy Step Stool or Ladder: Safely reaching the top of the window frame is a must. We’ve all been tempted to stretch from a wobbly chair, but that’s a recipe for both bad measurements and a potential accident. Make sure your stool is on a flat, stable surface before you climb.
A Notepad and Pen (or a Notes App): Don’t even think about trusting your memory, especially if you're measuring multiple windows. Write down every measurement the moment you take it. Clearly label each one (like "Kitchen Window Top Width" or "Living Room Left Height") to avoid any mix-ups down the line.
Pro Tip: When you jot down your numbers, always record the width first, then the height (W x H). This is the industry standard format, and it will help prevent any confusion when you go to place your order for beautiful new Roman shades from a place like Joey’z Shopping.
There’s a reason this old carpenter’s saying has stuck around—it’s pure gold. After you’ve taken your first set of measurements, step away for a minute, then do it all again. It's a simple habit that takes only a few extra minutes but has saved me—and countless customers—from the headache of ordering the wrong size.
This double-check is your ultimate quality control. It's your best defense against misreading a number or catching slight variations you might have missed the first time. Taking this small step ensures the custom shades you order will fit like a glove, making the final installation smooth and incredibly satisfying.
Now that your tools are ready, let's move on to the specific techniques for an inside mount.
An inside mount is how you get that sharp, tailored look for your Roman shades. The shade tucks neatly inside the window frame, which really shows off your trim and gives you a clean, built-in feel. Getting this polished look, however, is all about precision. There’s not much wiggle room, but don't stress—I'll walk you through exactly how to get it right.
Here's the most important thing to remember when you're learning how to measure for Roman shades: your window frame probably isn't perfectly square. In my experience, very few are. To handle these little quirks, we’ll take a few measurements and use the most conservative numbers to make sure the shade operates smoothly.
You only need a few simple things to get started.
It really is that simple: a good steel tape measure, a sturdy stool, and something to write on are all you need for spot-on measurements.
Let's tackle the width first, as it's the most critical part for an inside mount. You’re going to measure the inside of the window frame, from side to side, in three different spots.
Once you've jotted down all three numbers, find the smallest, narrowest measurement and circle it. This is your final width. By using the tightest dimension, you're guaranteeing your shade won't rub or catch on the frame when you raise and lower it.
Now, we'll do the same thing for the height. You'll measure the vertical opening of the window frame, from the very top of the inside casing down to the sill.
Write down all three heights. For an inside mount, you’re going to use the longest of the three measurements. This makes sure the shade is long enough to cover the entire windowpane, even if your windowsill isn't perfectly level.
Crucial Tip: Do Not Make Your Own Deductions. When you place your order with Joey’z Shopping, provide the exact, tight measurements you just took. We take care of the necessary deductions (usually about 1/4 to 1/2 inch) at the factory to create the perfect fit. If you subtract anything yourself, you’ll get a shade that’s too small.
There's one last check that’s absolutely essential: the window depth. For an inside mount to work, the headrail needs enough flat surface inside the frame to be installed securely. Grab your tape measure and check the flat depth of your window casing, from the front edge all the way back to the glass.
As a rule of thumb, you'll need at least 1 inch of depth for a standard installation. If you want the shade to be completely flush with the wall so it doesn't stick out at all, you might need as much as 3.5 inches. You should always check the "minimum mounting depth" listed on the product page for the specific shade you're buying. If you don't have enough depth, an outside mount is the way to go.
By following these steps for how to measure for Roman shades, you're setting yourself up for a flawless look. While these tips are geared toward Roman shades, the core ideas apply to other treatments, too. You can even check out our guide on how to measure for blinds for more helpful pointers.
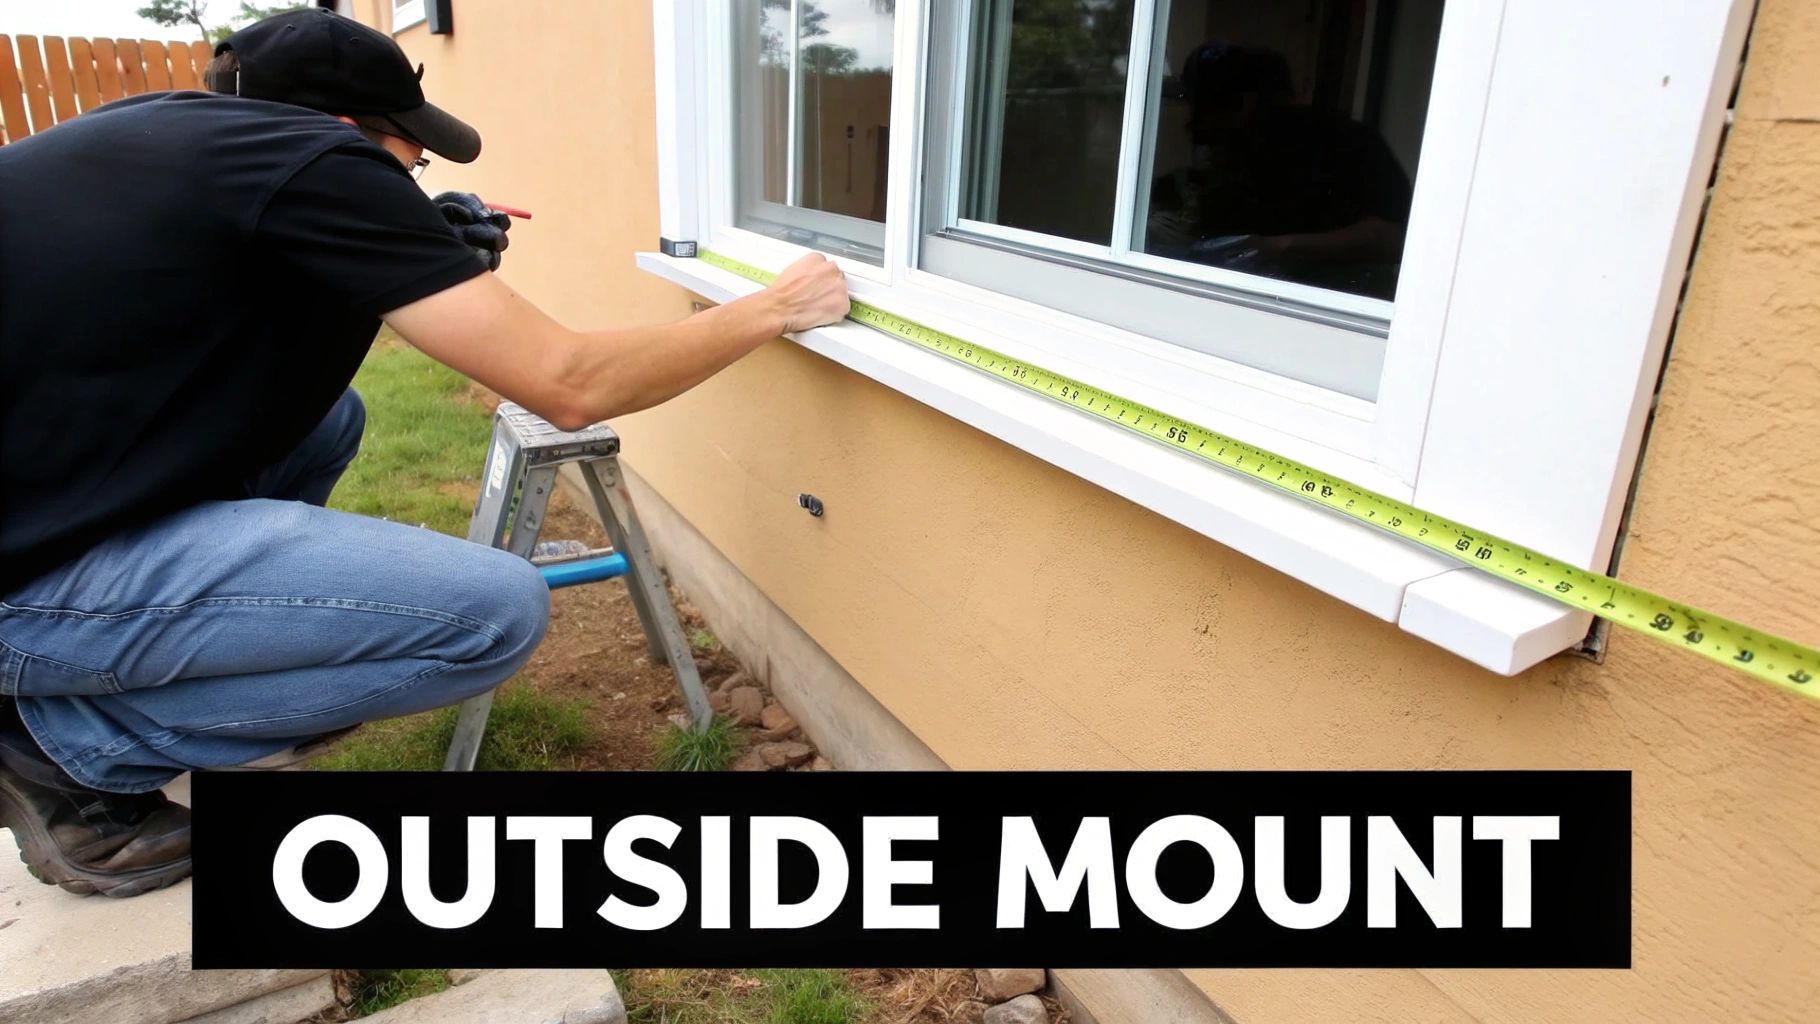
When you want your windows to make a statement, an outside mount is the way to go. This approach involves installing the Roman shade on the wall or trim around the window, which is a fantastic trick for making windows appear larger, hiding less-than-perfect frames, or getting serious about light control. It’s also much more forgiving than an inside mount, giving you a little breathing room with your numbers.
The whole idea behind an outside mount is overlap. We’re intentionally making the shade wider and taller than the window opening itself. This overlap is what stops light from peeking in around the edges and creates that grand, elegant look.
Let's walk through exactly how to get these measurements right so you can order with confidence.
With an outside mount, you get to decide how wide the final shade will be. Start by measuring the full width of your window frame or trim, from the absolute outermost edge on the left to the outermost edge on the right. If your window doesn't have trim, no problem—just measure the opening and use that as your starting point.
Now, it’s time to add that crucial overlap.
Expert Tip: Grab a couple of sticky notes and place them on the wall where the edges of your new, wider shade would be. Step back and take a look. This simple visual check helps you confirm the new proportions look balanced in the room before you commit to the numbers.
Height is where you can really bring the drama with an outside mount. First, you need to decide where you'll install the headrail. Mounting it 3 to 6 inches above the top of the window trim is a classic interior design move. It draws the eye upward, creates an illusion of height, and makes sure that when the shade is fully raised, it clears the glass to maximize your view.
Once you’ve picked your mounting spot, measure from that point down to where you want the shade to end. This is usually the bottom of the windowsill.
That final number is the height you’ll order. You don’t need to add or subtract anything else.
Take a quick look around your window. Are there any obstacles that could get in the way? You’ll thank yourself for checking this now.
Making these quick checks now prevents a world of installation headaches later. While these principles are pretty consistent, you can find more detailed examples in our guide on how to measure for window blinds with an outside mount.
An outside mount is also a great opportunity to boost safety, especially in homes with kids and pets. When you’re ordering a cordless Roman shade, a slightly wider overlap is a smart move. It ensures total coverage and minimizes any temptation for little hands to peek behind the shade. The U.S. Consumer Product Safety Commission recommends cordless window coverings as the safest option available, and that’s a recommendation we strongly support for a worry-free home.
You've got the hang of inside and outside mounts, but there's one more layer to this whole measuring thing: the style of the shade itself. It's a detail that can make a huge difference in the final look and function.
Not all Roman shades are created equal. While the core width and height numbers won't change between a sleek flat shade and a plush hobbled one, the shade's style dramatically impacts a crucial factor called stack height.
So, what is stack height? It's simply the amount of space the shade takes up at the top of the window when it's fully raised. Think of it as the compressed bundle of fabric.
A style with more fabric, like a hobbled shade with its beautiful, cascading folds, is naturally going to have a larger stack than a minimalist flat shade. This is a game-changer for outside mounts, where a bulky stack could end up blocking your view or some of that precious natural light you wanted to let in.
Understanding these subtle differences is the key to picking a style that not only looks great but works perfectly for your window. Let's break down the three most popular options you'll find here at Joey'z Shopping.
Flat Roman Shades: These are your go-to for a clean, modern look. When they're down, they're just a single, smooth piece of fabric. When raised, the folds are crisp and neat, creating the smallest possible stack height. This makes them perfect for windows where you want to maximize every inch of your view.
Hobbled Roman Shades: Sometimes called waterfall or teardrop shades, these have the most traditional and voluminous feel. They keep their soft, looping folds even when fully lowered, which gives them a rich, textured appearance. All that extra fabric means they have the largest stack height of the three.
Relaxed Roman Shades: This style hits a sweet spot with its casual, softer aesthetic. Instead of stiff supports, the fabric gently curves in a "smile" shape at the bottom. The stack is usually bigger than a flat shade but smaller than a hobbled one, offering a really nice middle ground.
Insider Tip: For outside mounts on shorter windows, a hobbled shade's bigger stack might feel a bit overwhelming. A flat shade is often a better choice to keep the window feeling open and uncluttered. If you're curious about other options, check out our guide on the different types of shades.
Sometimes, seeing it all laid out makes the decision much easier. This quick comparison table should help you visualize how these styles will actually look and function on your window.
| Shade Style | Typical Stack Height | Aesthetic | Measurement Tip |
|---|---|---|---|
| Flat Roman | Smallest (6-8") | Modern, clean, minimalist | Excellent for inside mounts or outside mounts where preserving the view is the top priority. |
| Hobbled Roman | Largest (8-12") | Traditional, luxurious, soft | For outside mounts, add extra height above the frame to ensure the large stack clears the glass when raised. |
| Relaxed Roman | Medium (7-10") | Casual, soft, informal | Works well in spaces like bedrooms or living rooms where a less structured, more decorative look is desired. |
By thinking about the stack height early on, you can make sure your new shades will look and work exactly how you pictured them. It's the final piece of the puzzle that empowers you to choose the perfect style for your home's look and your window's practical needs.
Even with the best instructions, a few questions always seem to pop up. It’s completely normal! We get calls and emails about these all the time at Joey'z Shopping, so we’ve put together the answers to the most common queries right here.
The short answer is using a soft measuring tape and only measuring in one spot.
Hands down, the single biggest—and most common—mistake is using a soft, flexible tape measure instead of a steel one. It seems like such a minor detail, but those cloth or vinyl tapes can easily stretch or sag, throwing your numbers off by a quarter-inch or more. That tiny error is all it takes for a shade to fit poorly.
The second major error we see is not measuring in three separate places for both the width and the height. It's so easy to assume your window frames are perfectly square, but they almost never are, especially in older homes. If you don't use the narrowest width for an inside mount, you'll end up with a shade that's too tight to operate smoothly.
No, you should never make your own deductions for an inside mount.
When you order an inside mount Roman shade, just give us the exact, tight measurement of your window frame opening. Reputable manufacturers, including us at Joey’z Shopping, will automatically take the necessary small deduction—usually 1/4 to 1/2 inch from the width—at the factory. This is done to ensure the shade fits perfectly inside the frame with just enough clearance to operate without scraping the sides.
If you make your own deductions, you'll likely double up on the adjustment and end up with a shade that's too narrow, creating unsightly light gaps. Trust the process and provide your precise numbers. We'll handle the rest.
The short answer is you need at least 1 inch of flat mounting depth for a standard installation.
The depth you'll need really depends on the headrail system and the fabric style of the shade you choose. A good rule of thumb is to have at least 1 inch of flat, unobstructed surface inside your window casing for a secure installation. However, if you're aiming for a fully flush mount where the headrail doesn't stick out past the trim at all, you might need anywhere from 2 to 3.5 inches.
Always check the "product specifications" or "installation details" on the Joey’z Shopping product page. We list the exact depth requirements for every shade we sell, taking all the guesswork out of the equation for you.
Yes, absolutely. The choice between inside and outside mounts is often a stylistic one, not just a practical one.
The choice between an inside and outside mount isn't always about necessity; a lot of the time, it comes down to personal taste and the look you want to achieve. Many people who have plenty of window depth still choose an outside mount for a few great reasons.
It’s a versatile option that works for both functional needs and stylistic goals, giving you much more creative control over the final look.
Ready to put your newfound measuring skills to the test? Explore the beautiful and diverse collection of Roman shades at Joey'z Shopping. From classic flat styles to elegant hobbled designs, you'll find the perfect fit to elevate your home's decor. Find your perfect window treatment today at https://joeyzshopping.com.