
Join the Joey'z Family!

Table of Contents
If there's one secret to the proper way to hang curtains like a pro, it's this: hang them high and wide. This single technique is the most impactful change you can make, instantly taking your space from amateur to professionally designed. By moving the curtain rod up and out, you create a powerful optical illusion that transforms the entire feel of a room.
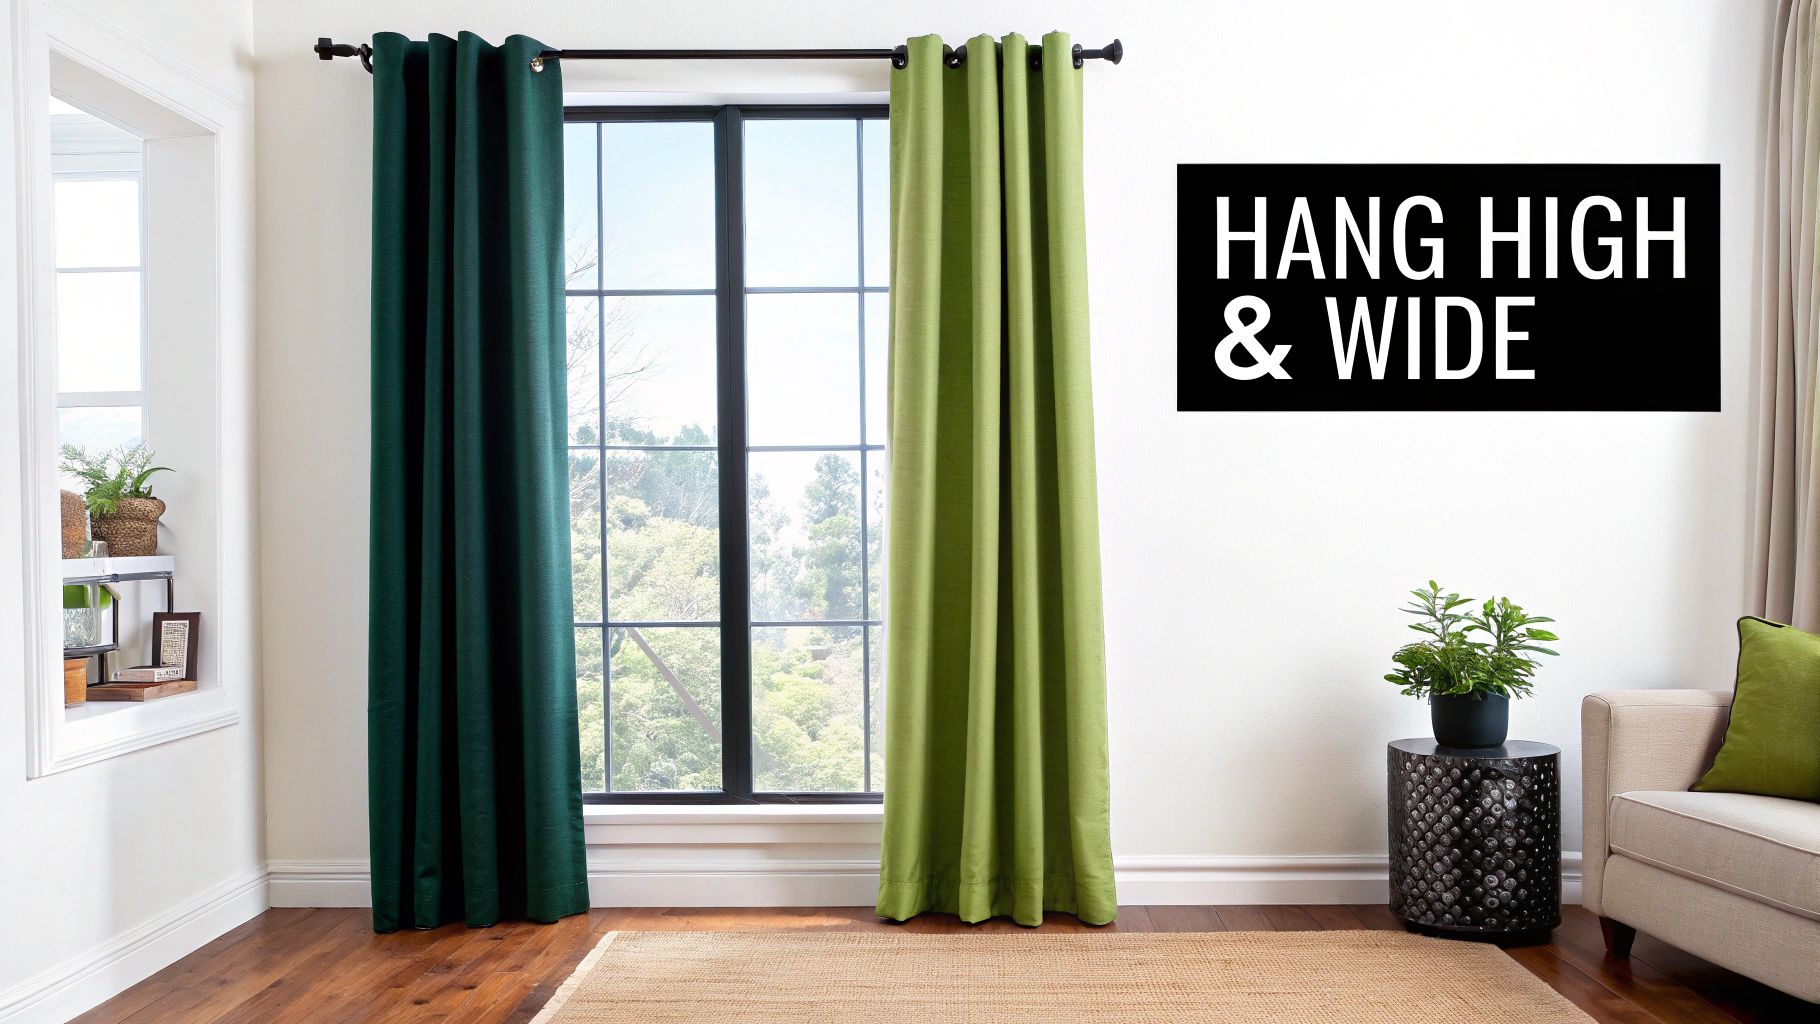
Hanging curtains right on the window frame is one of the most common decorating mistakes. It instantly makes a window feel smaller and can stunt the perceived height of your ceilings. The goal is to treat the window and the curtains as a single, grand feature, not just a covering for a pane of glass.
When you're strategic about where you place your hardware, you achieve several key design benefits. The best part? This foundational principle works in any room, with any style, and with nearly any type of curtain, from airy sheers to heavy velvet drapes.
The "high and wide" method is a go-to for interior designers because it dramatically enhances a room's architecture without needing structural changes. It's all about mounting the curtain rod significantly above and beyond the window's actual frame.
Here’s a quick breakdown of what this looks like in practice:
This approach maximizes natural light, making the space feel brighter and more open. It also frames the window beautifully, turning it into a deliberate focal point.
Use this cheat sheet to quickly find the perfect height and width for mounting your curtain rod, ensuring a professional look.
| Measurement | Designer Recommendation | Why It Works |
|---|---|---|
| Rod Height | 4-10 inches above the window frame. Aim for halfway to the ceiling if possible. | Draws the eye upward, creating the illusion of taller ceilings and a more spacious room. |
| Rod Width | 6-12 inches beyond the window frame on each side. | Allows curtains to hang beside the window when open, maximizing natural light and making the window appear larger. |
Stick to these guidelines, and you'll be amazed at the difference it makes.
Designer's Tip: When your curtains are open, you should be able to see the entire window frame. If the fabric is covering any part of the glass, your rod isn't wide enough. This is a simple check to make sure you're letting in as much light as possible.
Think of it like choosing the right frame for a beautiful piece of art. A thin, poorly placed frame can diminish the artwork, but a substantial, well-proportioned frame enhances it. Your curtains and rod are the frame for your window and the view outside.
By adopting this simple hanging philosophy, you can avoid that "waiting for a flood" look from curtains that are too short or the cramped feeling of panels that crowd the window. This guide will walk you through turning this core principle into a flawless reality.
A flawless curtain installation begins with gathering the right tools and hardware. Having everything on hand before you start makes the process smoother and ensures your curtains hang securely. Think of this as your pre-flight checklist for perfect windows.
You don't need a massive workshop, but a few key items are absolutely essential for a clean installation.
Beyond basic tools, the hardware you choose is just as important. The right rod, brackets, and anchors don't just support your curtains; they're a key part of the room's overall style.
The drapery hardware market is booming, projected to jump from USD 5.76 billion to 9.21 billion. This shows how much homeowners value a polished, secure installation. You can explore more about these curtain market trends to see how hardware fits into the bigger picture.
When picking out your hardware, here’s what to focus on:
The curtain rod is the backbone of your window treatment. It must be strong enough to hold your fabric without bowing and wide enough to achieve the designer "high and wide" look.
Insider Tip: Always choose a rod that is at least 12 inches wider than your window frame. This lets you extend it 6 inches on each side, so you can pull the curtains completely clear of the window.
Brackets are the unsung heroes. They do all the heavy lifting. Most rod kits come with brackets, but double-check that they're sturdy enough, especially for heavy fabrics like velvet.
If you can't drill your brackets directly into a wall stud, you must use wall anchors. Screwing directly into drywall is a recipe for disaster—it won't hold, and your curtains will eventually come crashing down.
Choosing the right anchor for your wall type is a non-negotiable step for a safe and long-lasting installation.
Precision is your best friend when it comes to hanging curtains. Getting your measurements exactly right separates a custom, high-end look from one that feels off. This is where a simple tape measure becomes your most powerful tool.
Let's walk through not just what to measure, but why these numbers matter so much.
First, measure the width of your window frame from one outer edge to the other. Now, here’s the crucial part: do not buy a curtain rod that matches this number. To get that full, light-maximizing effect, your rod needs to be significantly wider.
A good rule of thumb is to add 12 to 24 inches to your window’s width. That means the rod will extend 6 to 12 inches beyond the frame on each side. If your window is 48 inches wide, you’ll want a rod that’s at least 60 inches wide.
This extra width allows your curtain panels to rest on the wall when they're open, completely clearing the glass. This simple trick makes the window appear larger and lets in maximum natural light. For a deeper dive, check our guide on how to measure for window curtains.
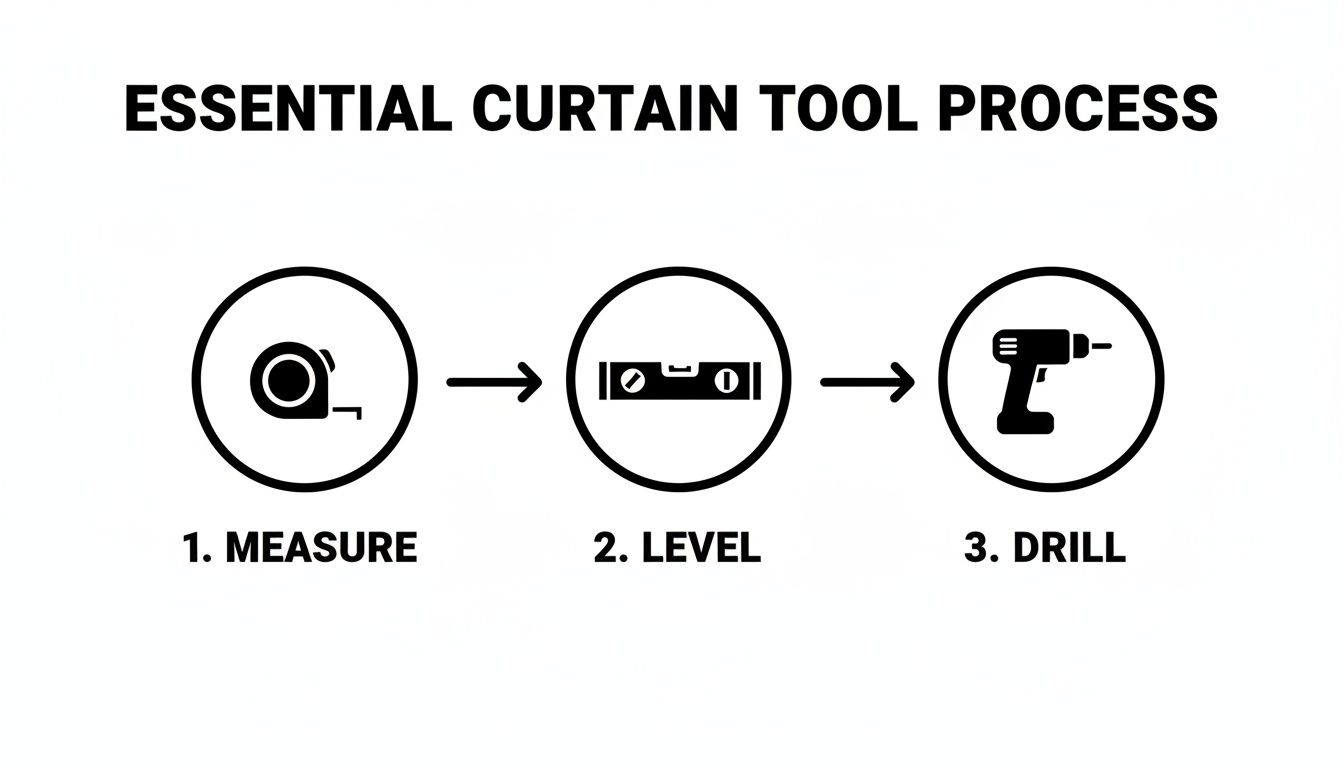
It all starts with accurate measuring before you touch a level or a drill. Getting this foundation right is everything.
Next up is height. Measure 4 to 10 inches straight up from the top of your window frame. This is the sweet spot for your curtain rod brackets. Use a pencil to lightly mark this spot above each corner of the window.
Hanging curtains higher is a game-changer. It’s one of the easiest ways to create the illusion of height and space. After marking your height, grab a level and draw a faint, horizontal line connecting your marks to ensure your rod is dead-straight.
Pro Tip: If you have high ceilings, don't be afraid to go even higher with the rod—about halfway between the top of the window frame and the ceiling. This draws the eye upward and adds a sense of grandeur.
With your rod placement decided, you can figure out the correct curtain length. This is a simple measurement from your planned rod location down to where you want the curtains to end. The choice depends on the vibe you’re going for.
This table breaks down the three classic styles to help you find the perfect finish for your room.
| Curtain Style | Length Relative to Floor | Best For | Joey'z Shopping Tip |
|---|---|---|---|
| The Float | Ends about ½ inch above the floor. | High-traffic areas like kitchens or kids' rooms where puddling isn't practical. | Easiest to maintain and keep clean. Ideal for a crisp, tailored look. |
| The Kiss | Just barely touches the floor. | Achieving a perfectly custom, intentional look. Best for formal living or dining rooms. | This requires the most precise measurement but offers a very polished and professional finish. |
| The Puddle | Extends 1-3 inches onto the floor. | Creating a romantic, luxurious, or slightly dramatic effect. Works beautifully with heavy fabrics. | Best suited for low-traffic areas where the fabric won't be disturbed. Great for adding texture. |
Avoid the "high-water" look where curtains hang awkwardly a few inches above the floor. It visually shortens your walls and makes the room feel stunted.
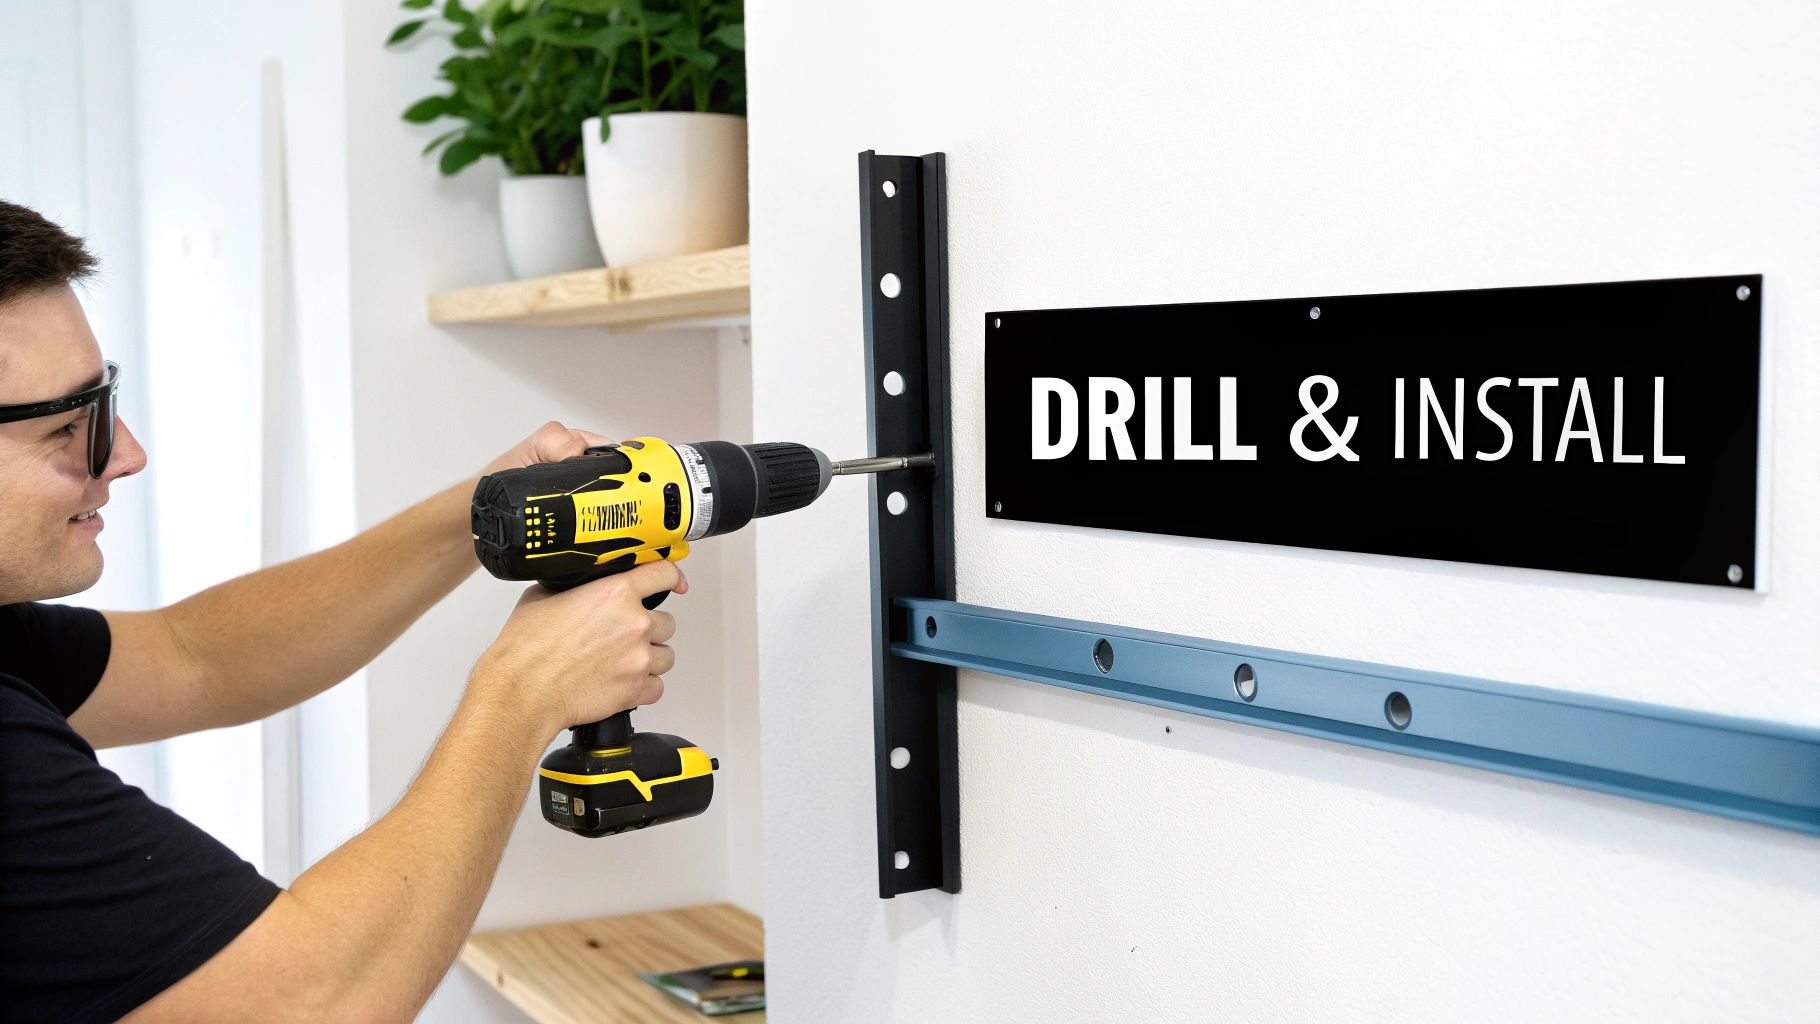
With measurements marked and hardware in hand, it’s time to bring your vision to life. This is where care and precision pay off. We'll walk through the physical installation to ensure every screw is secure and every panel hangs just right.
Getting these details right is what separates a DIY job from a professional-looking installation that lasts.
This is the most critical part of the job. A wobbly bracket means a wobbly curtain rod. Start by drilling small pilot holes on the pencil marks you made for your brackets. A pilot hole is a starter hole, slightly smaller than your screw, that keeps drywall from cracking.
If your bracket doesn't land on a wall stud, using a wall anchor is not optional.
With anchors in place, line up your bracket over the hole and drive the screw in until it's snug. For extra tips on getting things level and secure, this step-by-step guide to hanging your picture with precision is a great resource.
With brackets solid, get your curtains onto the rod. How you do this depends on your curtain’s header style.
Once your panels are on, lift the rod and settle it into the brackets. Tighten the small set screws to prevent the rod from shifting. For more details, see our article about how to properly install curtain rods.
Okay, the curtains are up, but we're not quite finished. These final touches will make your work look truly polished.
First, tackle any wrinkles from the packaging. A handheld steamer is your best friend. Gently run it down the fabric from top to bottom.
Next, it's time to "train" the fabric. Arrange the curtain panels into uniform folds. To help them hold this shape, you can loosely tie strips of ribbon around the bundled curtain—one near the top, middle, and bottom. Let them sit like that for a day or two. When you untie them, the curtains will hang in gorgeous, structured pleats.
This final step is key to the proper way to hang curtains and ensures all your hard work pays off with a refined, elegant look.
Getting your curtains mounted is a huge accomplishment, but the real magic begins with styling. This is where we turn your window treatments into a stunning, intentional design feature.
One of the biggest giveaways of a DIY curtain job is skimpiness—curtains stretched taut across a window, looking flat and sad. The key to that plush, designer feel lies in a concept called fullness.
The short answer is to use more fabric than you think you need. A professional-looking drape requires ample material to create lush, elegant folds, even when closed.
A simple formula will get you there every time:
So, for a 60-inch window, you'd want at least 90 inches of total curtain width for a classic feel. This ensures your curtains look just as beautiful closed as they do open.
Insider Tip: If you're using standard-width panels for a large window, use two panels on each side. Hang them next to each other on the rod. The generous folds will usually hide the seam, creating the illusion of one extra-wide custom panel.
The top of the curtain, the header, plays a massive role in the overall aesthetic. It dictates how the fabric drapes and sets the tone for your window treatment.
Consider these popular options:
The final styling layer involves how you hold your curtains open. For a formal, symmetrical look, install decorative tie-backs about one-third of the way up from the bottom of the window. For a more relaxed vibe, you can simply drape the panel behind the holdback without pulling it tight. You can explore more ideas in our guide on where to properly hang drapes.
Achieving a harmonious look can completely transform your space. For more expert tips on how to make your home cozy and comfortable, check out our other guides.
Even with a perfect plan, hanging curtains can present a few challenges. We’ve gathered the most common questions that pop up mid-project to help you troubleshoot.
Corner windows are a beautiful feature that can feel like a puzzle. The cleanest solution is a special curved or corner-connector curtain rod. This lets the fabric flow seamlessly around the corner for a continuous look. Alternatively, you can mount two separate rods that meet in the corner, using simple end caps where they meet to avoid a cluttered look.
The short answer is yes. For a polished, high-end look, the proper way to hang curtains is to have them at least "kiss" the floor. When curtains hang a few inches short, it can make a room feel unfinished and even make your walls look shorter.
Here are the three lengths designers swear by:
This is a huge concern for renters. Thankfully, you have fantastic no-drill options that still look great.
One of the most common mistakes is not using enough fabric, which creates a skimpy, flat look. For a full, luxurious effect, the total width of your curtain panels should be 1.5 to 3 times the width of your window. For a standard look, aim for 2x fullness. So, if your window is 50 inches wide, you'll want a total of 100 inches of curtain panel width, which usually means two panels.
Ready to put these tips into action and find the perfect window treatments for your space? At Joey'z Shopping, we offer a wide range of beautiful curtains, rods, and accessories to help you achieve that designer look. Explore our collections today at https://joeyzshopping.com.